繼上次將資料存到excel之後,這次要來研究怎麼存到資料庫中
需要的知識點有:
關於開發環境的建置,因為之前有使用過wordpress+local虛擬伺服器玩看看如何建立自己的網站
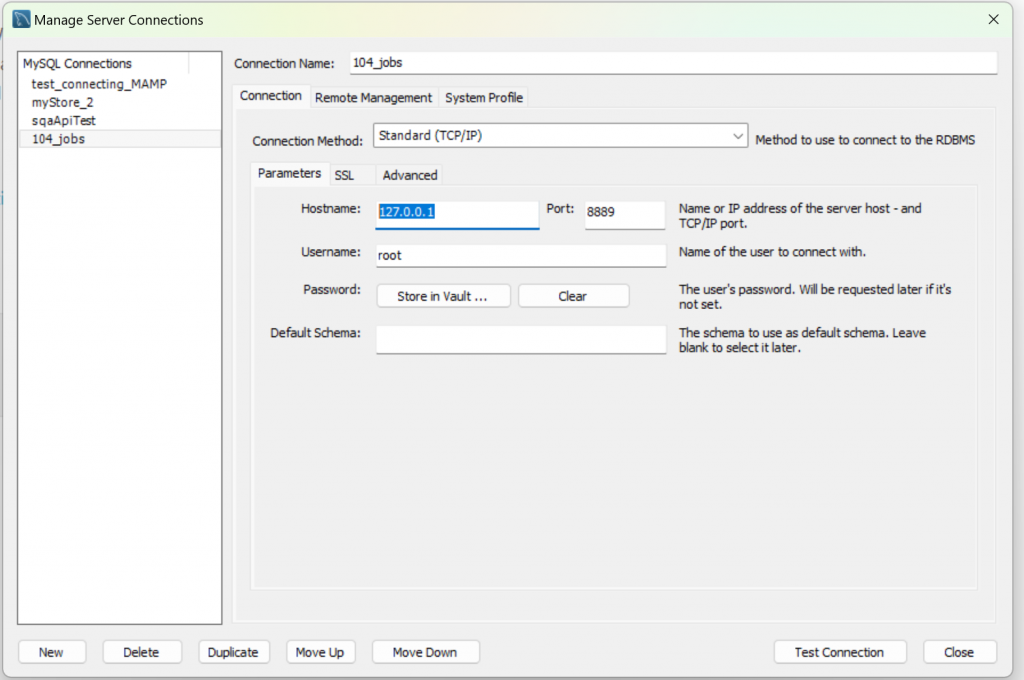
所以使用MAMP來建置MySQL的環境設定
並搭配MySQL workbench的gui介面,SQL語法的使用則可以參考這裡
接著可以在python的專案中安裝pyMySQL套件並引入
並使用以下程式碼測試是否有連接到資料庫了
需要注意的是>>port號必須是你設定的mySQL port號
(通常mySQL會是用3306,但使用MAMP會改到8889,可查看wiki列出的常用端口)
代碼在這邊:
import pymysql.cursors
# Connect to the database
connection = pymysql.connect(host='localhost',
                            port=8889,
                            user='root',
                            password='root',
                            database='test_db',
                            cursorclass=pymysql.cursors.DictCursor)

# 使用 cursor() 方法创建一个游标对象 cursor
cursor = connection.cursor()

# 使用 execute()  方法执行 SQL 查询
cursor.execute("SELECT VERSION()")

# 使用 fetchone() 方法获取单条数据.
data = cursor.fetchone()

print ("Database version : %s " % data)

# 关闭数据库连接
connection.close()
查看有成功印出版本了
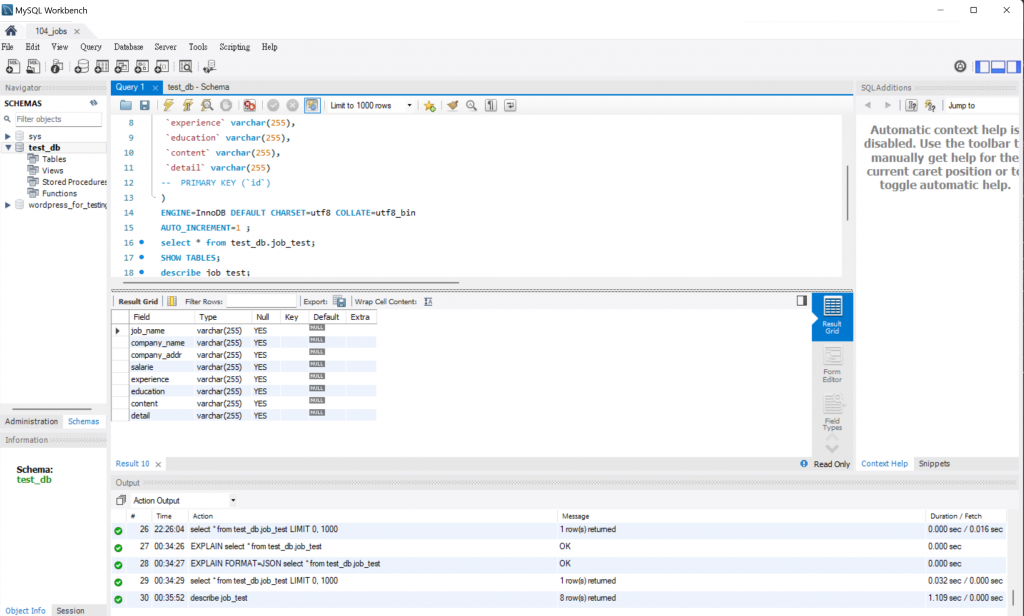
接著試看看查詢剛剛已建立的資料庫table內資料(select * from [table name])
代碼:
# 建立Cursor物件
with connection.cursor() as cursor:
    # 查詢資料SQL語法
    command = "select * from test_db.job_test"
    # 執行指令
    cursor.execute(command)
    # 取得所有資料
    result = cursor.fetchall()
    pprint.pprint(result)

# 关闭数据库连接
connection.close()
印出來的結果,與上面對照相符~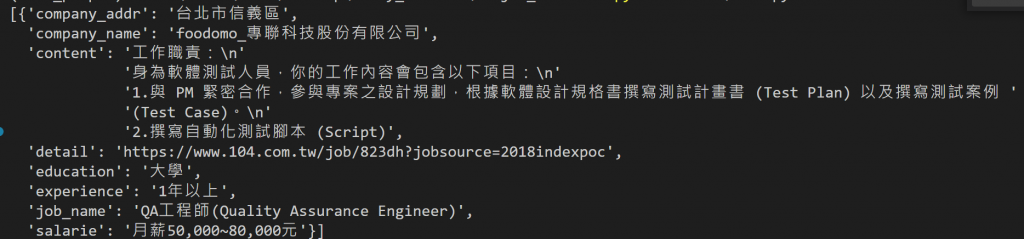
今天先做查詢的部分,明天再來研究如何把爬到的資料寫入資料庫中囉~


 iThome鐵人賽