昨天我們已經完成 Store 的 Model 建立了,接著我們就一樣來把他的 CRUD 完成,不過由於大部分的流程都蠻像的,所以這邊會加快速度一點,類似的東西就不會再特別解釋~
先來整理一下等等會用到的一些頁面連結
<!-- 商店列表頁 -->
http://127.0.0.1:8000/online/stores

<!-- 商店新增頁 -->
http://127.0.0.1:8000/online/store/create/
url 設定
# online/urls.py

urlpatterns += [
    path("stores/", views.StoreListView.as_view(), name='store-list'),
    path("store/create/", views.StoreCreate.as_view(), name='store-create'),
]
我們一次把三個 store-list、store-create 的路徑給設定好
路徑設定好了,接下來當然是收發 request/response 的 views.py 檔案:
# online/views.py

# ... 省略
from .models import Employer, Store

class StoreListView(generic.ListView):
    model = Store

class StoreCreate(CreateView):
    model = Store
    fields = '__all__'
    success_url = reverse_lazy('store-list')
這邊則是設定好剛剛路徑對應的 views.py,這邊跟之前差不多,所以就不再多說
store-list 的按鈕,這樣我們可以夠過側邊欄就進到 http://127.0.0.1:8000/online/stores/
<!-- store/online/templates/sidebar.html -->

<!DOCTYPE html>
<html lang="en">
  <head>
  <!-- ...省略 -->
  </head>

  <body>
    <div class="container-fluid">
      <div class="row">
        <div class="col-sm-2">
          {% block sidebar %}
            <ul class="sidebar-nav">
              <li>online logo</li>
              <li><a href="{% url 'index' %}">首頁</a></li>
              <li><a href="{% url 'employer-list' %}">老闆列表</a></li>
              <!-- 修改這一段 -->
              <li><a href="{% url 'store-list' %}">商店列表</a></li>
              <!-- 修改這一段 -->
            </ul>
          {% endblock %}
        </div>

        <div class="col-sm-10 ">
          {% block content %}
          {% endblock %}
        </div>
      </div>
    </div>
  </body>
</html>
store-list 對應到的 templates 大家不知道還記不記得,就是這個 store/online/templates/online/store_list:<!-- store/online/templates/online/store_list.html -->
{% extends 'sidebar.html' %}
{% block content %}
<h1>商店列表</h1>
{% for store in store_list %}
<ul>
<li>
<a href="">商店ID</a>: {{ store.id }}
</li>
<li>店名: {{ store.title }}</li>
<li>介紹: {{ store.description }}</li>
<li><a href="">刪除商店</a></li>
</ul>
{% endfor %}
<br>
<a href="{% url 'store-create' %}">新增商店</a>
{% endblock %}
這樣設定好後,我們點擊側邊欄的 商店列表,進到 http://127.0.0.1:8000/online/stores/ 連結,接著看一下圖片:
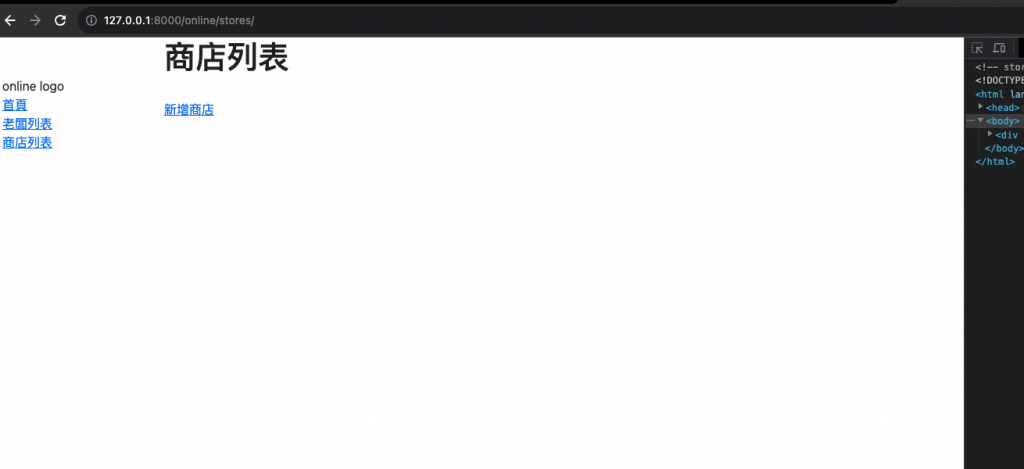
應該會發現這個頁面好像有點空,只有兩行的字,一行是 商店列表,一行是 新增商店 的按鈕,原因也很明顯,我們上面寫的判斷式 {% for store in store_list %},是要有 Store 物件才會顯示,我們現在根本還沒新增,所以 store-list 頁面啥都沒有是很正常的!
現在我們就來新增 http://127.0.0.1:8000/online/store/create/ 頁面資料:
還記得 Django Create 的 templates 對應是哪一個嗎?沒錯,就是這個 store/online/templates/online/store_form.html:
<!-- store/online/templates/online/store_form.html -->

{% extends 'sidebar.html' %}

{% block content %}
  <h2>{% if request.resolver_match.url_name == 'store-create' %}新增{% else %}編輯{% endif %} 商店</h2>
  <form method="post">
    {% csrf_token %}
    {{ form.as_p }}
    <button type="submit">儲存</button>
  </form>
  <a href="{% url 'store-list' %}">返回列表</a>
{% endblock %}
上面這一段跟 employer_form 都差不多,因此我們直接來看畫面就好,新增好這個頁面後,直接點擊剛剛在 http://127.0.0.1:8000/online/stores/ 頁面新增的按鈕,點下去後會看到這個:
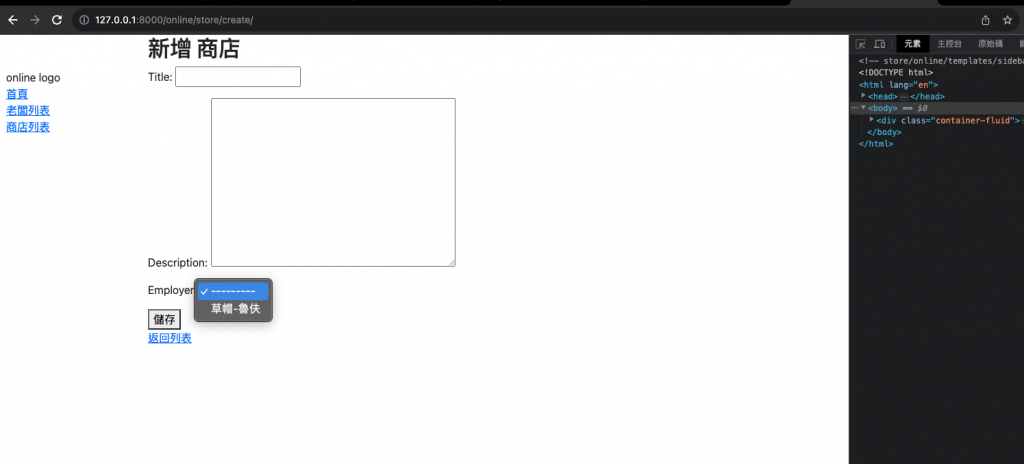
如圖,會發現除了 title 和 Description 欄位,有另外一個欄位是 Employer 的欄位,這個就是當你創建一個新 Store 的時候,一定要設定的選項,如果今天你不選擇的話,正常來說他是不會讓你儲存的!
輸入好後,點擊儲存,會自動導回 http://127.0.0.1:8000/online/stores/ 頁面,並且應該會像這樣: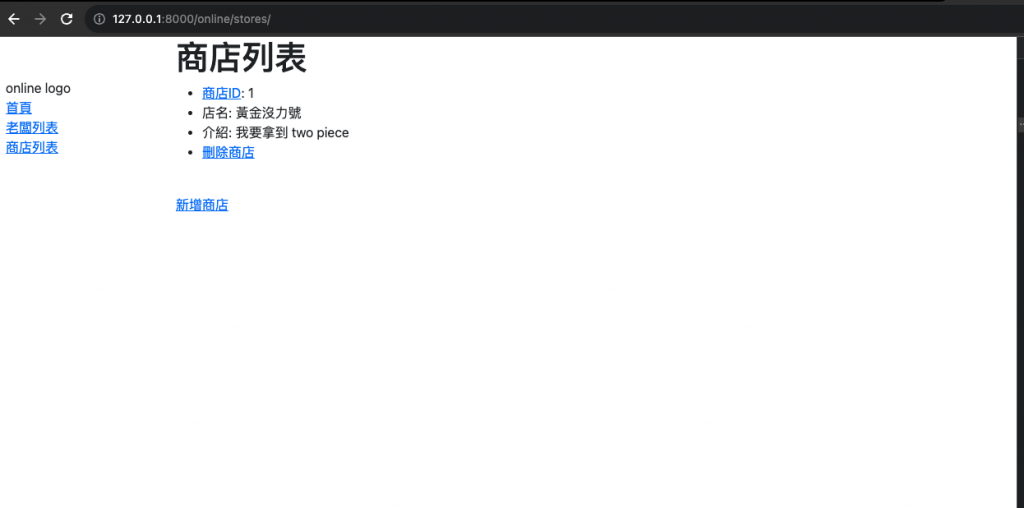
這樣我們就完成了第二個 Model 的 List 和 Create,明天我們要完成 Store 的 READ 和 UPDATE
今天學到哪些東西呢?
最後附上 Github: https://github.com/eagle0526/Django-store