昨天設定好了登入頁面,現在來新增一個登出畫面 :
<!-- store/templates/registration/logged_out.html -->

{% extends "sidebar.html" %}

{% block content %}
  <p>成功登出!</p>
  <a href="{% url 'login'%}">再次登入</a>
{% endblock %}
現在就來登入試試吧,不過在登入之前,我們先在側邊欄加上 login 和 logout 的連結:
<!-- store/online/templates/sidebar.html -->
        <!-- ...省略 -->
        <div class="col-sm-2">
          {% block sidebar %}
            <ul class="sidebar-nav">
              <li>online logo</li>
              <li><a href="{% url 'index' %}">首頁</a></li>
              <li><a href="{% url 'employer-list' %}">老闆列表</a></li>
              <li><a href="{% url 'store-list' %}">商店列表</a></li>
              <li><a href="{% url 'product-list' %}">產品列表</a></li>
              <hr>
              {% if user.is_authenticated %}
                <li>使用者名稱: {{ user.get_username }}</li>
                <li><a href="{% url 'logout' %}">登出</a></li>
              {% else %}
                <li><a href="{% url 'login' %}?next={{ request.path }}">登入</a></li>
              {% endif %}
            </ul>
          {% endblock %}
        </div>
        <!-- ...省略 -->
加上去好,我們來看一下目前的 sidebar 長什麼樣!
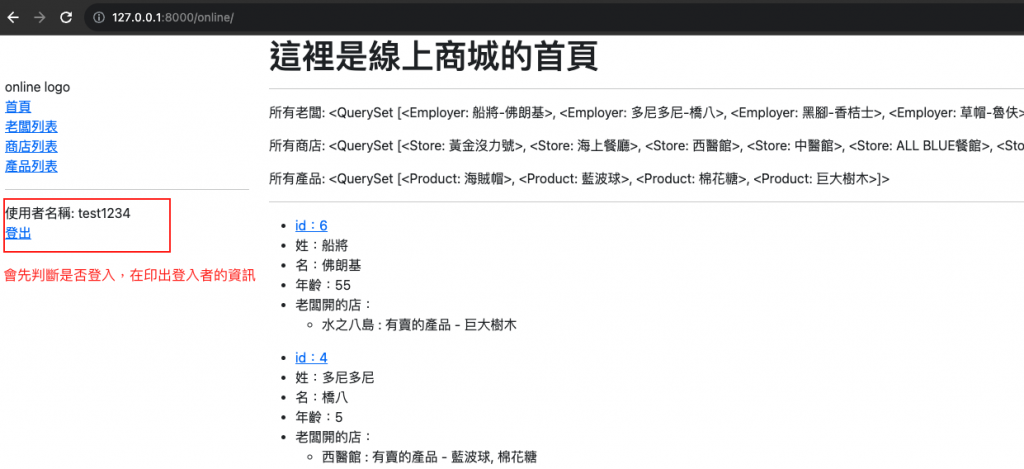
可以看到,由於我們使用 user.is_authenticated 來驗證是否登入,並且我們現在是登入狀態,所以會顯示兩個資訊,一個是 {{ user.get_username }} 和 {% url 'logout' %},那接下來我們來點擊 sidebar 的 登出 按鈕:
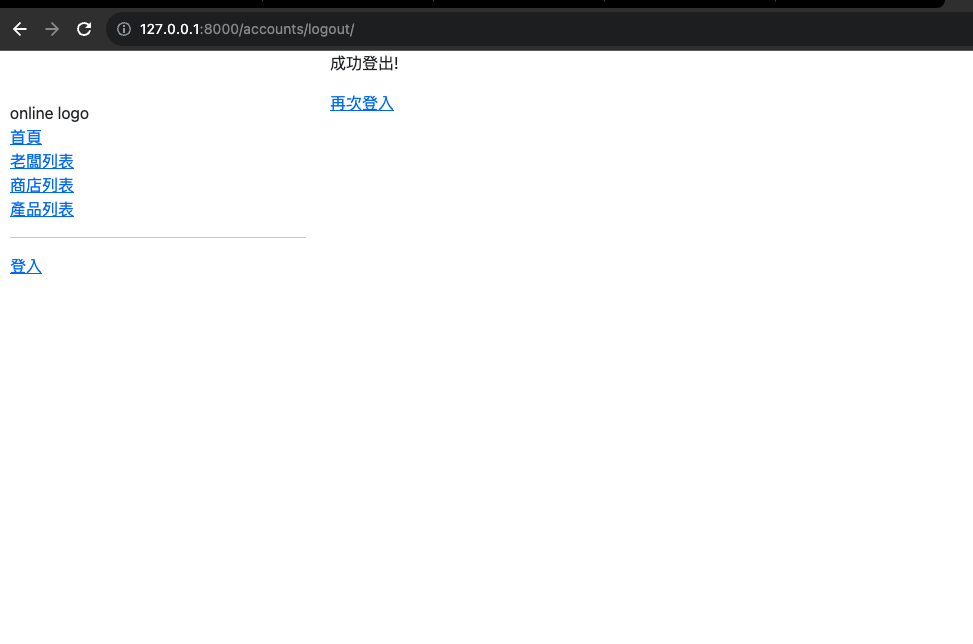
點下去後,可以發現我們轉跳到 http://127.0.0.1:8000/accounts/logout/ 頁面,並且發現側邊欄現在顯示的是 登入 按鈕,也就是我們已經成功登出了!
昨天我們說過要來實際試試看 next 的作用,現在我們實際來試試看,首先我們到 http://127.0.0.1:8000/online/ 這個頁面,接著我們點擊 登入,此時你的頁面連結是這個 http://127.0.0.1:8000/accounts/login/?next=/online/,可以發現由於我們在 sidebar.html 設定 ?next={{ request.path }} 的關係,連結上面會多一段 ?next=/online/:
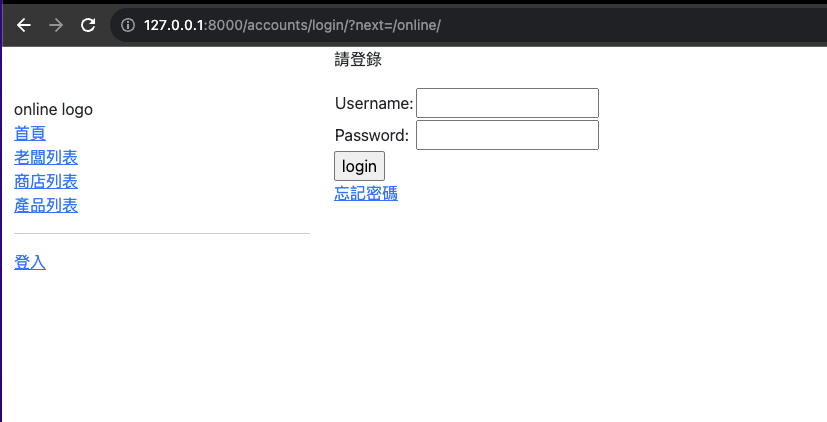
這時候我們直接輸入帳號密碼,按下確認後,應該會直接導回這個頁面 http://127.0.0.1:8000/online/:
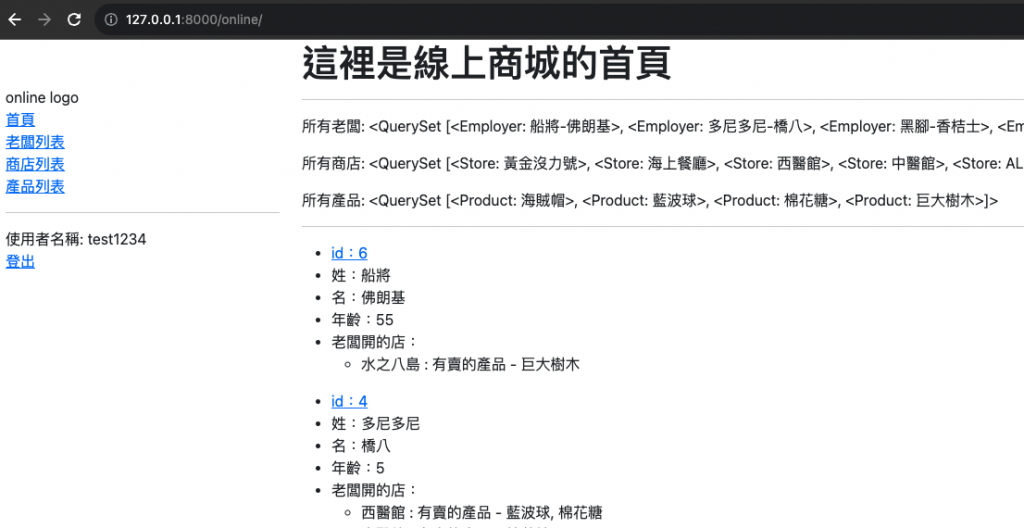
這樣應該就了解 next 這個變數在幹嘛了!
如果今天沒有 next 變數,我們預設登入後會重導的頁面是這個 http://127.0.0.1:8000/accounts/profile/,這個頁面是使用者資訊頁面,如果今天想要改成重導到 http://127.0.0.1:8000/online/ 的話,這樣修改:
到 settings 頁面加上這一句
# store/settings

# Redirect to home URL after login (Default redirects to /accounts/profile/)
LOGIN_REDIRECT_URL = '/online/'
這樣我們已經設定好 登入/登出 的相關功能了,不過大家應該蠻常忘記自己的密碼,因此我們要來新增忘記密碼的功能:
使用者要填入的信箱輸入框
<!-- store/templates/registration/password_reset_form.html -->

{% extends "sidebar.html" %}

{% block content %}

  <form action="" method="post">
    {% csrf_token %}
    {% if form.email.errors %}
      {{ form.email.errors }}
    {% endif %}

    <p>{{ form.email }}</p>
    <input type="submit" value="重置密碼">

  </form>

{% endblock %}
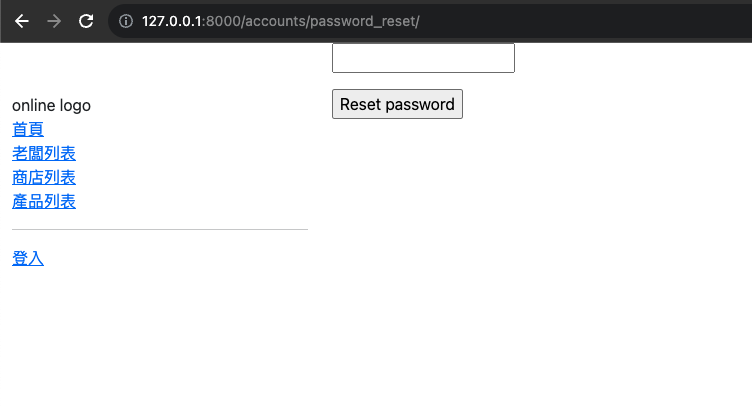
照上面設定好後,在網址輸入 http://127.0.0.1:8000/accounts/password_reset/,並且應該會像下圖一樣 :
<!-- store/templates/registration/password_reset_done.html -->

{% extends "sidebar.html" %}

{% block content %}
  <p>我們已通過電子郵件向您發送了有關設置密碼的說明,如果幾分鐘後仍未收到,請檢查您的垃圾信。</p>
{% endblock %}
Ps. 新增完資料夾後,先不要測試,先把以密碼重置的檔案設定好後再來測試
這裡設定的是使用者會收到的信件內容
Ps. 信件裡面的連結要設定完整的網址,這樣使用者才能從信件連到網站中重新設定密碼
<!-- store/templates/registration/password_reset_email.html -->

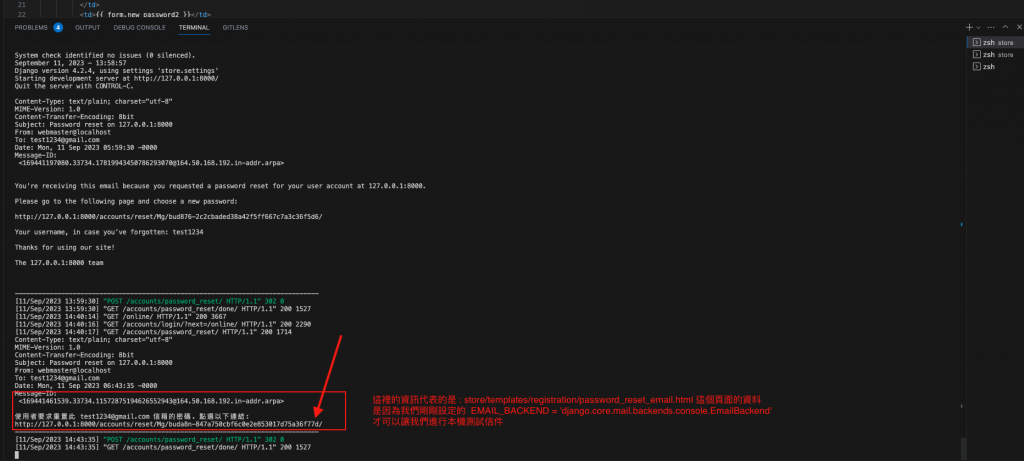
使用者要求重置此 {{ email }} 信箱的密碼. 點選以下連結:
{{ protocol }}://{{ domain }}{% url 'password_reset_confirm' uidb64=uid token=token %}
<!-- store/templates/registration/password_reset_confirm.html -->

{% extends "sidebar.html" %}

{% block content %}

  {% if validlink %}
    <p>請輸入新密碼</p>
    <form action="" method="post">
      {% csrf_token %}
      <table>
        <tr>
          <td>
            {{ form.new_password1.errors }}
            <label for="id_new_password1">新密碼: </label>
          </td>
          <td>{{ form.new_password1 }}</td>
        </tr>
        <tr>
          <td>
            {{ form.new_password2.errors }}
            <label for="id_new_password2">再次輸入新密碼: </label>
          </td>
          <td>{{ form.new_password2 }}</td>
        </tr>
        <tr>
          <td></td>
          <td>
            <input type="submit" value="Change my password">
          </td>
        </tr>
      </table>
    </form>

  {% else %}
    <h1>密碼重置失敗</h1>
    <p>密碼重置連結已經失效,因為這個連結已經被使用過,請再寄送一次重置密碼的連結</p>

  {% endif %}

{% endblock %}
<!-- store/templates/registration/password_reset_complete.html -->

{% extends "sidebar.html" %}

{% block content %}
  <h1>The password has been changed!</h1>
  <p><a href="{% url 'login' %}">log in again?</a></p>
{% endblock %}
因為要重置密碼,會需要寄信到指定的信箱,不過要如何在本地端就測試這個功能呢?只要在 settings 頁面新增這一行就可以,如果沒有設定這個,無法在本地端測試重置密碼的功能喔:
# store/settings.py
EMAIL_BACKEND = 'django.core.mail.backends.console.EmailBackend'
上面都修改完後,我們來實際測試看看畫面會長怎樣:
登入 按鈕 (記得要登出才會有這個按鈕喔),接著點擊登入頁面上的 忘記密碼 按鈕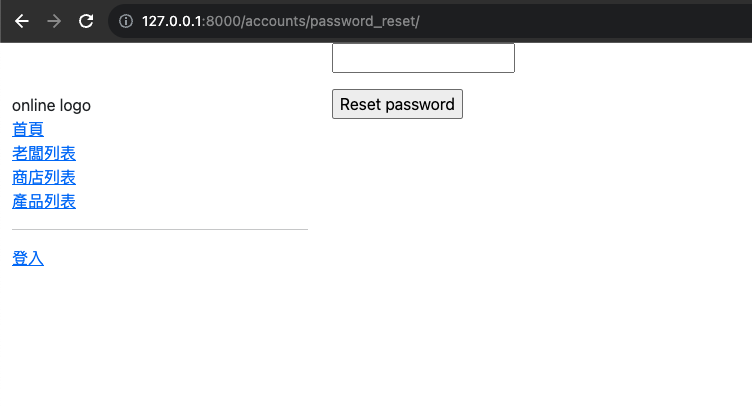
輸入想要重置的信箱後,會看到這個畫面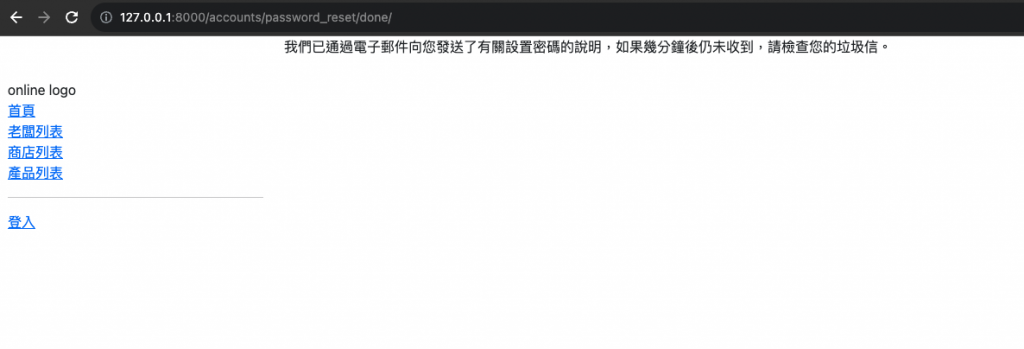
由於我們現在是本地端測試,因此到終端機找到圖中的連結
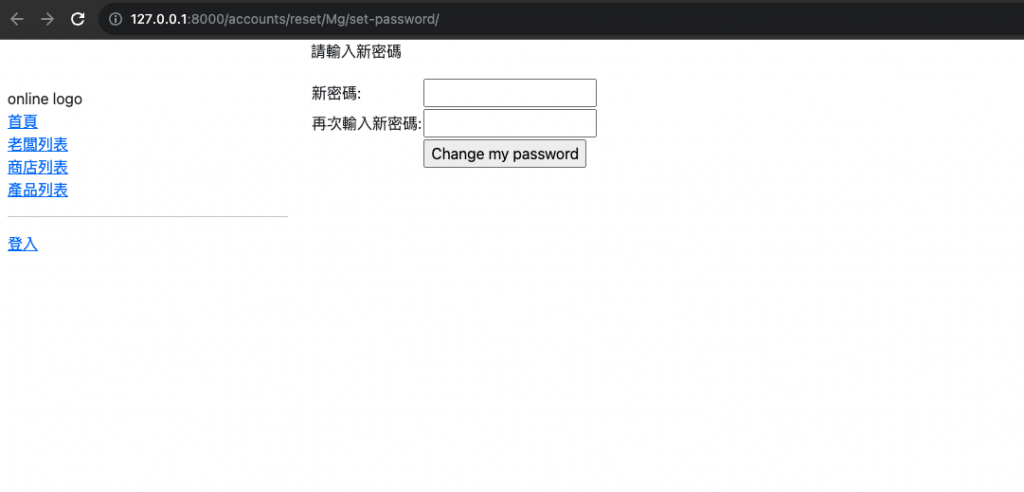
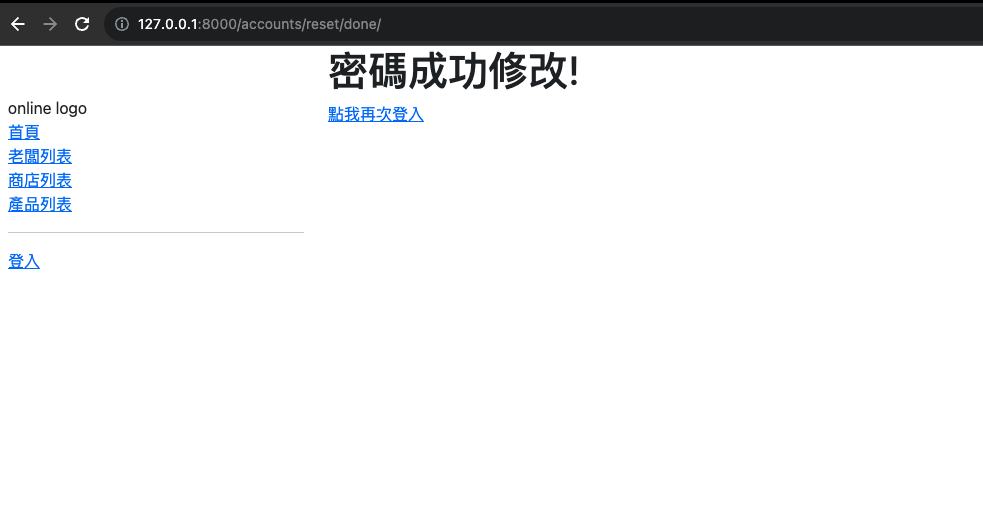
由於今天增加的檔案有點多,給大家看一下目前的資料夾架構長什麼樣子: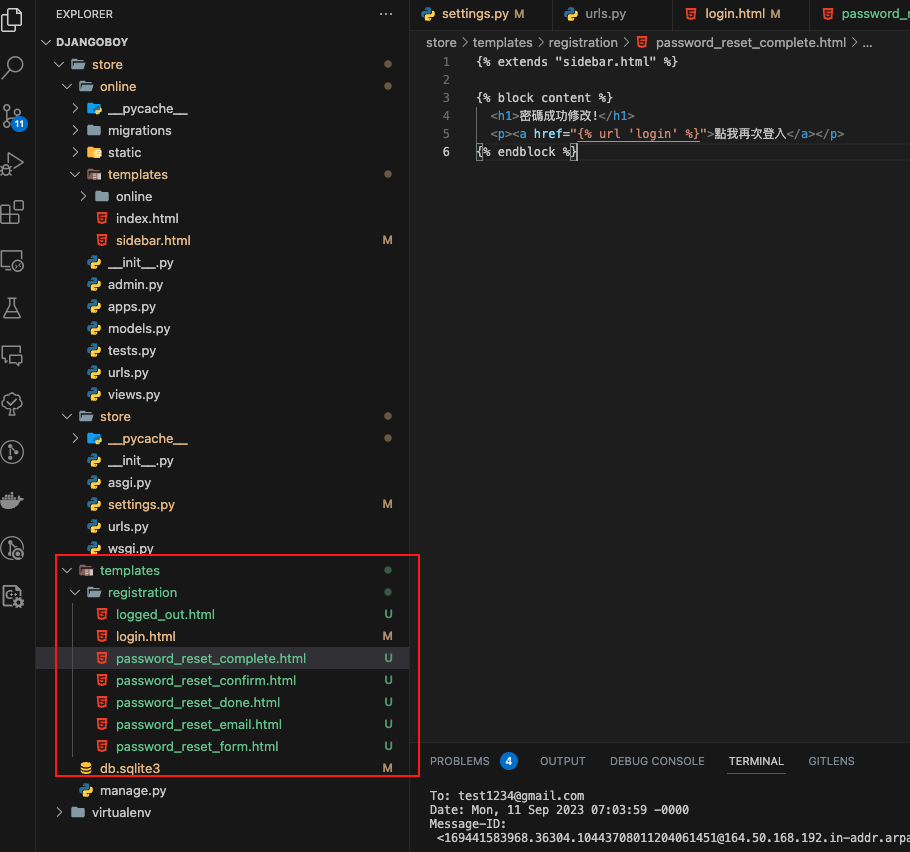
今天學到哪些東西呢?
最後附上 Github: https://github.com/eagle0526/Django-store
