
延續昨天聊到的 Marker,昨天對於外觀的設定只有提到顏色,今天會介紹更多外觀樣式上的調整。
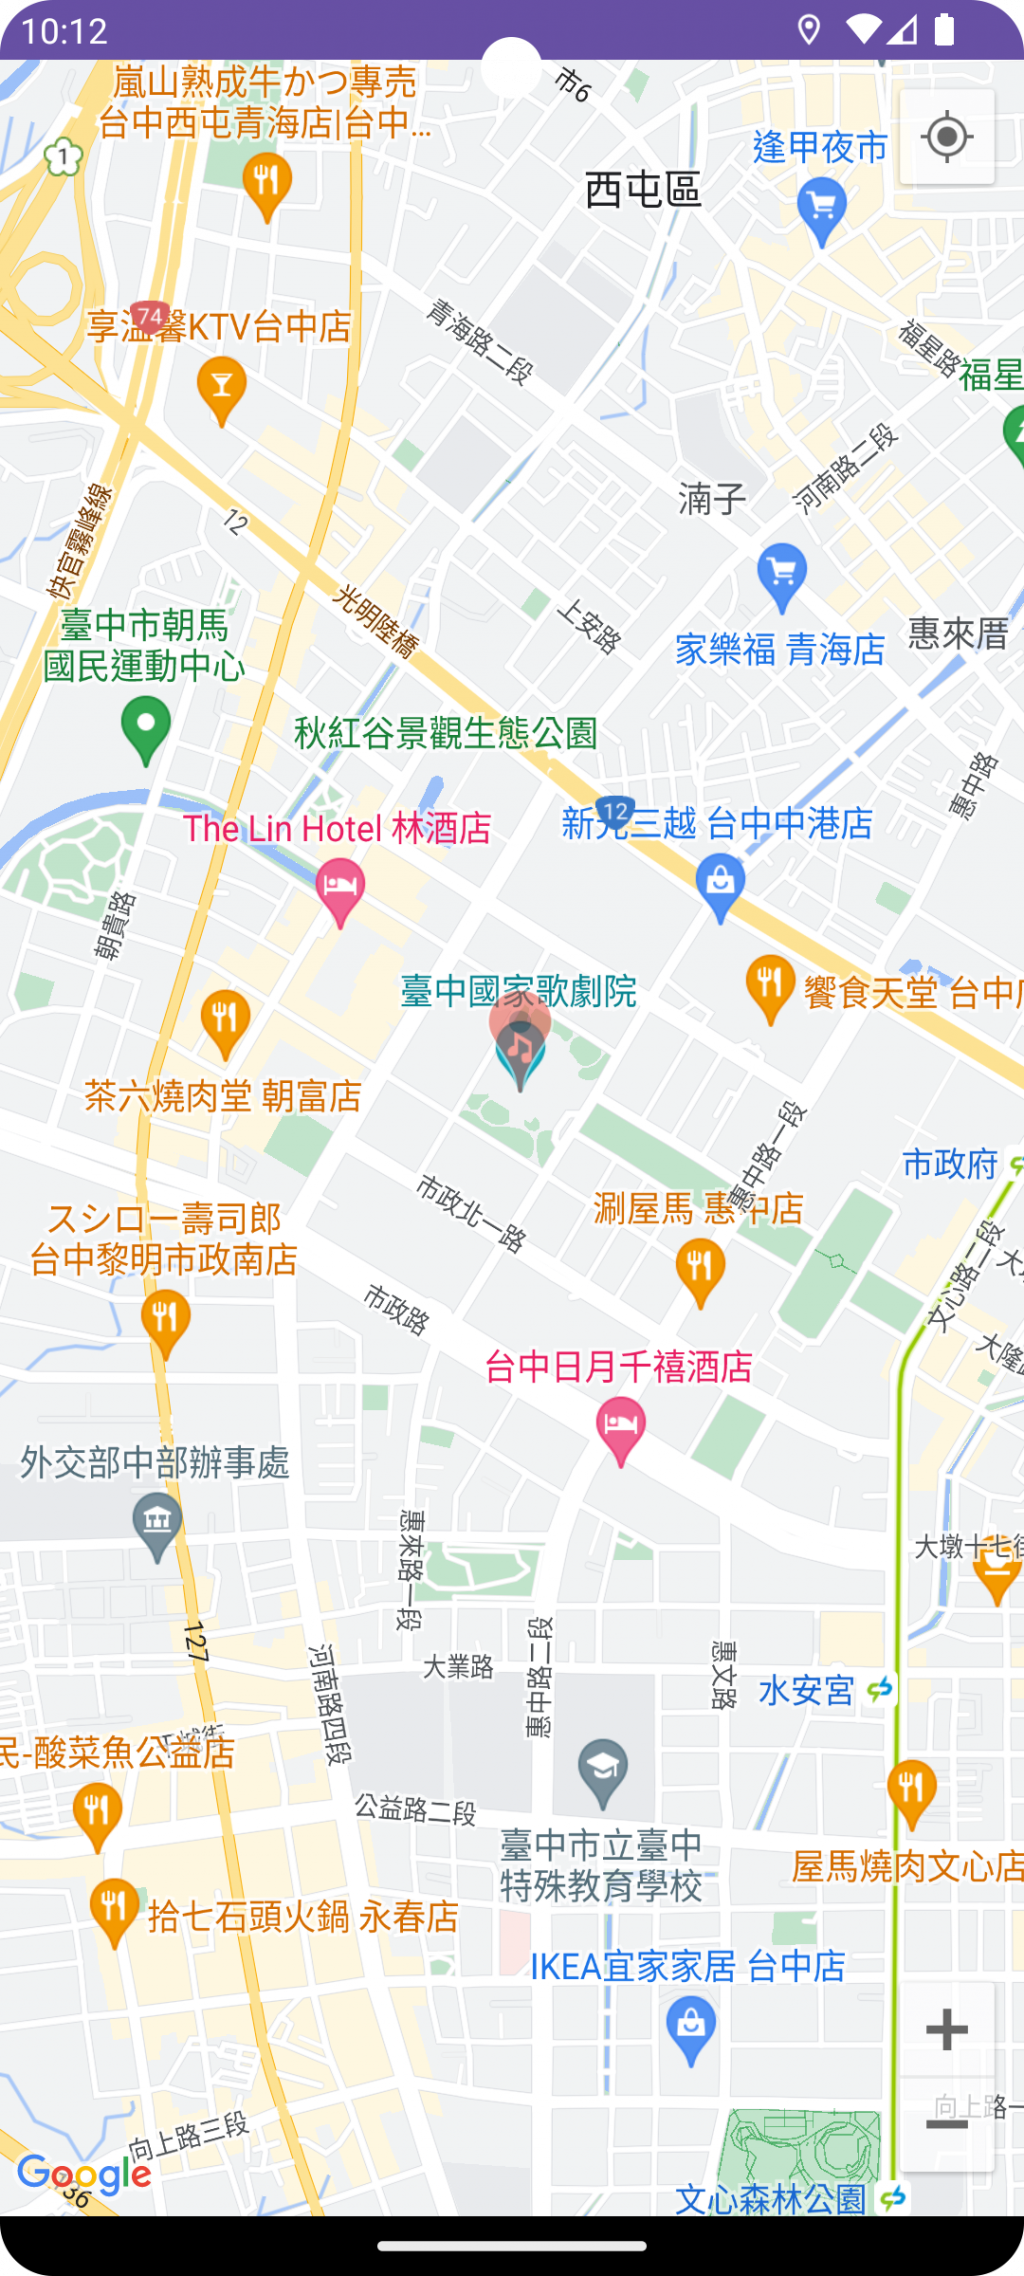
MarkerOptions.alpha()Marker 可以設定透明度,範圍是 1.0 (不透明) 0.0f (完全透明)。
private fun addTransparentMarker(map: GoogleMap) {
    val taichungOpera = LatLng(24.1627, 120.6403)
    map.addMarker(
        MarkerOptions()
            .position(taichungOpera)
            .alpha(0.5f) // 設定透明度 50%
    )
}
MarkerOptions().flat(true)如果你有注意到,其實預設的 Marker 並非是平貼在地圖上,而是像只有尖端觸碰在地圖上。而且,當你旋轉地圖的時候,Marker 永遠都會朝上。
private fun addFlatMarker(map: GoogleMap) {
    val latLng = LatLng(24.1627, 120.641)
    map.addMarker(
        MarkerOptions()
            .position(latLng)
            .icon(BitmapDescriptorFactory.defaultMarker(BitmapDescriptorFactory.HUE_BLUE))
            // 設定平貼
            .flat(true)
    )
}
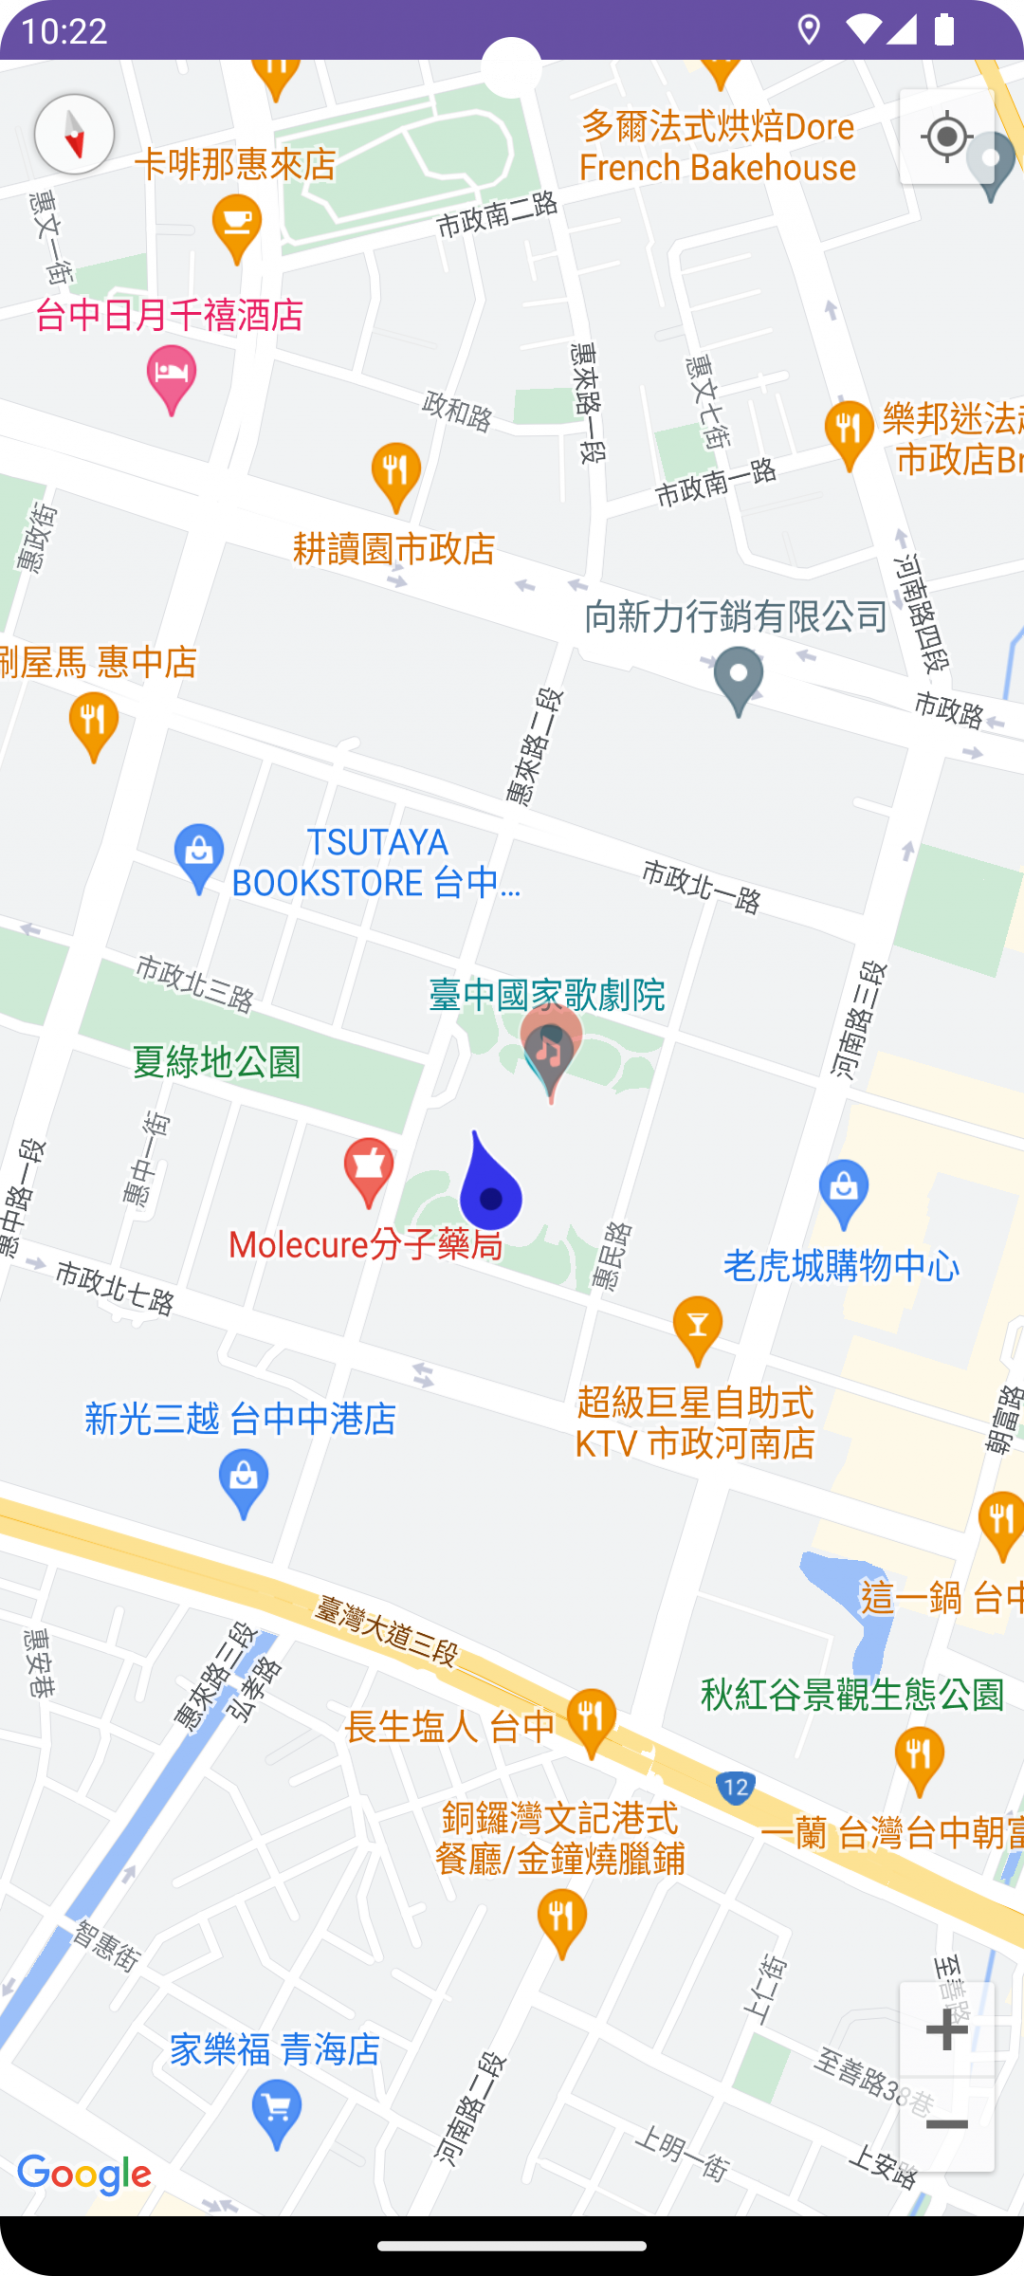
平貼在地圖上的 Marker,預設會是頭朝北擺放。如果不是平貼,則會永遠朝螢幕上方。
這個部份的效果,可以將前面兩個範例放在同一張地圖,並將地圖稍做旋轉應該就會發現差異。
那如果要設定平貼狀態的 Marker 朝向,可以使用 MarkerOptions().rotation() 方法。旋轉是以順時針方向旋轉。
private fun addRotationMarker(map: GoogleMap) {
    val latLng = LatLng(24.1627, 120.641)
    map.addMarker(
        MarkerOptions()
            .position(latLng)
            .icon(BitmapDescriptorFactory.defaultMarker(BitmapDescriptorFactory.HUE_ORANGE))
            .flat(true)
            // 設定旋轉時的基準點
            .anchor(0.5f, 0.5f)
            // 順時針旋轉 90 度
            .rotation(90f)
    )
}
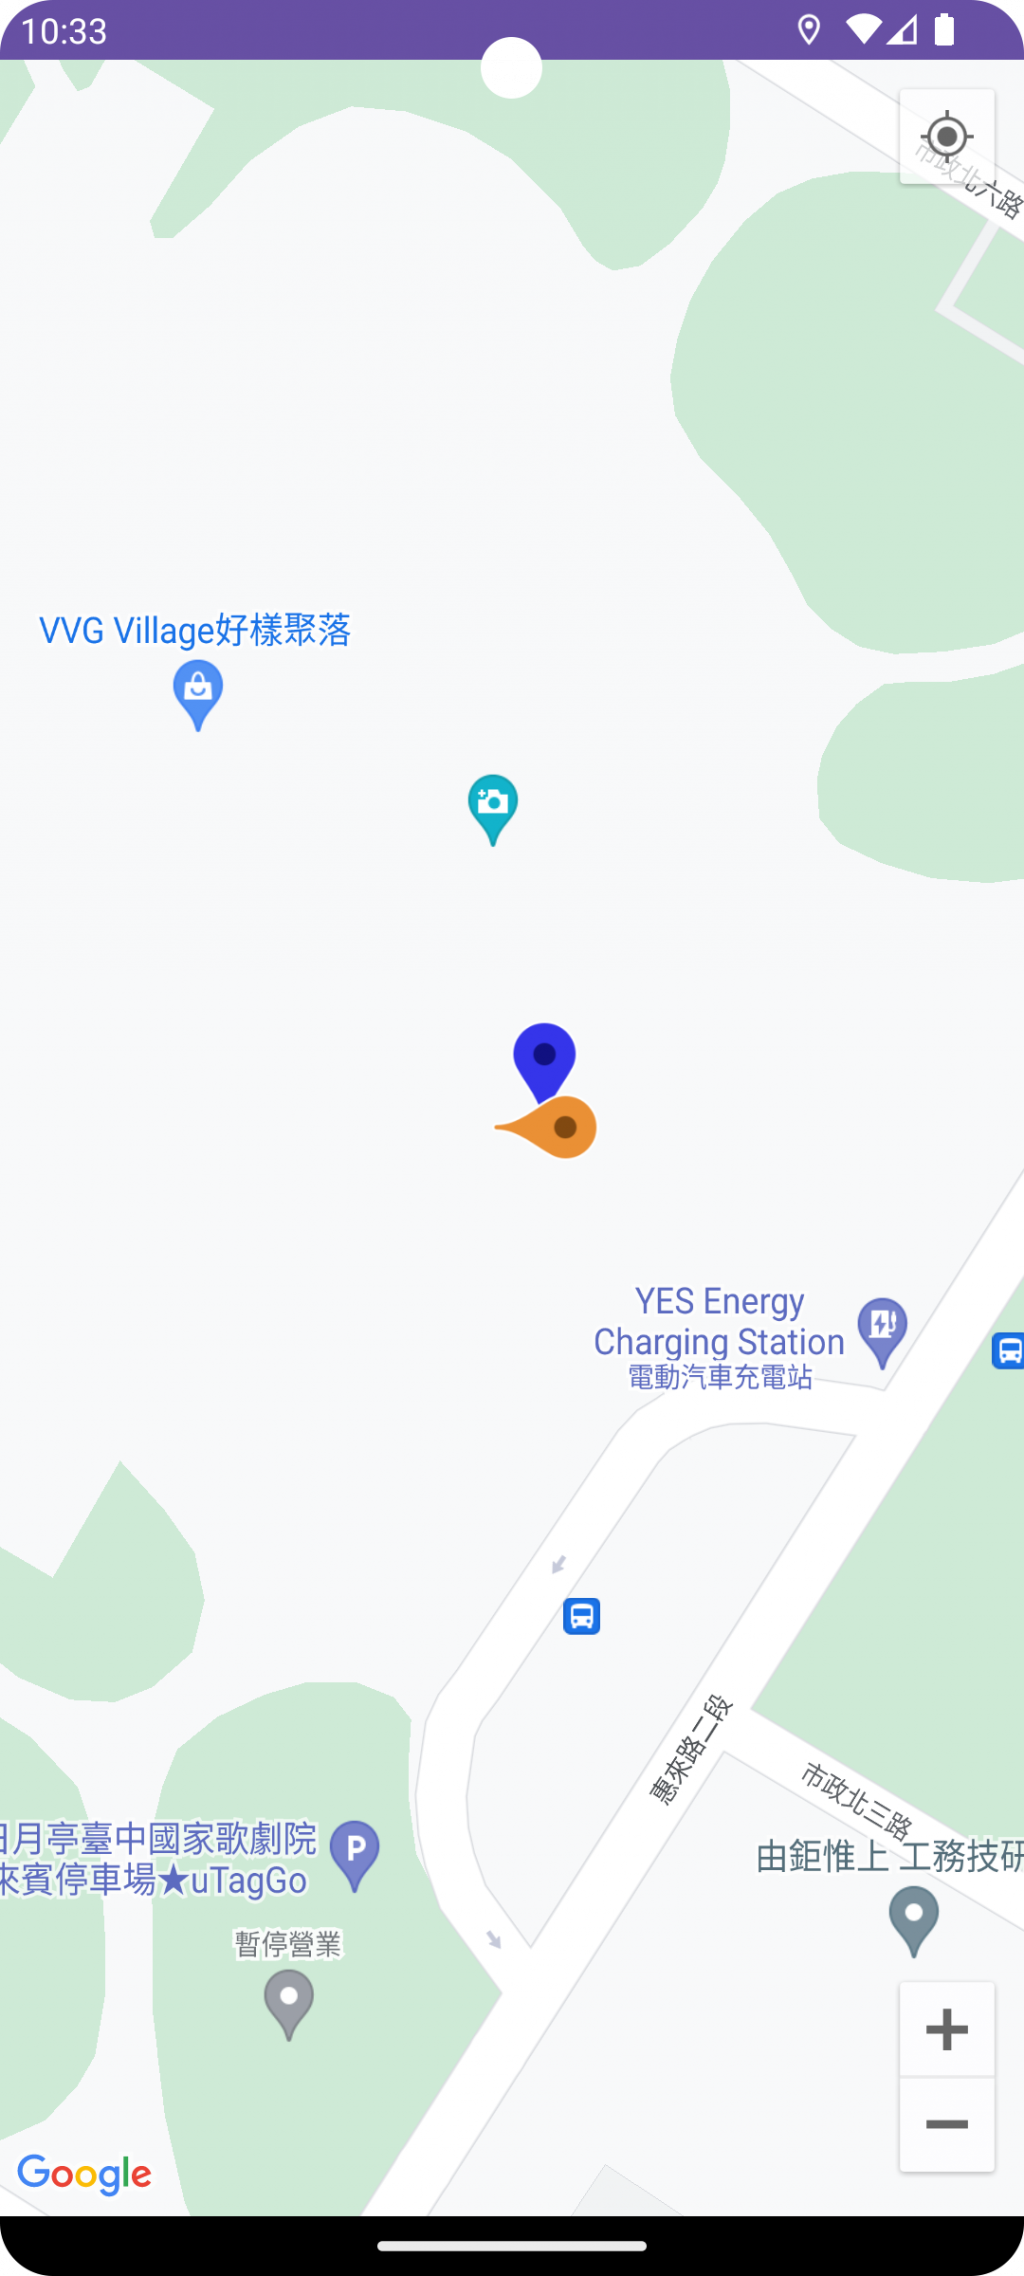
anchor()⚡2025-11-20 更新
另外補充 anchor() 方法,常與 flat()、rotation() 搭配使用。因為預設 rotation() 的旋轉是以 Marker 的底部為基準,如果要調整基準點,就需要使用這個方法。
MarkerOptions().anchor(0.5f, 0.5f)
anchor(float u, float v) 是用來指定 Icon 上的哪一個點,應該被固定在地圖上 Marker 經緯度的位置。
兩個參數都是比例值,範圍在 [0.0, 1.0] 之間,預設是 anchor(0.5, 1.0) 。
u 參數:表示錨點在 Icon 圖片的水平位置。
0.0 表示錨點在圖片的最左側。1.0 表示錨點在圖片的最右側。0.5 表示錨點在圖片的水平中心。v 參數:表示錨點在 Icon 圖片的垂直位置。
0.0 表示錨點在圖片的最頂端。1.0 表示錨點在圖片的最底部。0.5 表示錨點在圖片的垂直中心。前面幾個調整雖然也有些變化,但是 Icon 都還是水滴形狀的預設 Marker。
如果要更換 Marker Icon,一樣是使用MarkerOptions().icon() 方法,並傳入 BitmapDescriptor。
BitmapDescriptor 的建立一樣是使用 BitmapDescriptorFactory,有以下幾種方式:
fromAsset(String assetName): 取用 asset 資料夾內的 PNG 圖片。fromBitmap(Bitmap image): 傳入 BitmapfromFile(String fileName): 傳入 App 內部儲存空間的 PNG 圖片。fromPath(String absolutePath): 傳入PNG的絕對路徑。fromResource(int resourceId): 從 drawable 的 resource 中引入,檔案要是 PNG。(這個方式最簡單)fromResource(int resourceId) 範例我從 Icons8 網站下載了一個免費的 Android Icon,並把它放到 drawable 資料夾內,再使用 fromResource() 取用。
private fun addResourceIconMarker(map: GoogleMap) {
    val latLng = LatLng(24.1627, 120.645)
    map.addMarker(
        MarkerOptions()
            .position(latLng)
            .icon(BitmapDescriptorFactory.fromResource(R.drawable.icons8_android_48))
            .flat(true)
    )
}

⚡ 2025-11-20 更新
前面提到 icon 的設定是透過 BitmapDescriptor ,而要使用 Vector Drawable 當作 Icon 必須先將它轉換為 Bitmap 。
以下是一個簡單的轉換 function 。
import android.content.Context

import android.graphics.Bitmap
import android.graphics.Canvas

import androidx.annotation.DrawableRes
import androidx.core.content.ContextCompat

/**
 * 將 VectorDrawable 資源轉換為 BitmapDescriptor
 */
private fun getBitmapDescriptorFromVector(
    context: Context,
    @DrawableRes resId: Int
): BitmapDescriptor? {

    // 1. 取得 VectorDrawable
    val vectorDrawable = ContextCompat.getDrawable(context, resId) ?: return null
    // 2. 創建一個 Bitmap
    val bitmap = Bitmap.createBitmap(
        // 使用原本圖資定義的大小,但也可以自己設定
        vectorDrawable.intrinsicWidth,
        vectorDrawable.intrinsicHeight,
        Bitmap.Config.ARGB_8888
    )

    // 3. 在 Canvas 上繪製 Drawable
    val canvas = Canvas(bitmap)
    vectorDrawable.setBounds(0, 0, canvas.width, canvas.height)
    vectorDrawable.draw(canvas)

    // 4. 將 Bitmap 轉換為 BitmapDescriptor
    return BitmapDescriptorFactory.fromBitmap(bitmap)
}

// 使用方法
// val context = applicationContext
// val svgIcon = getBitmapDescriptorFromVector(context, R.drawable.my_svg_icon)

// map.addMarker(
//     MarkerOptions()
//         .position(LatLng(latitude, longitude))
//         .icon(svgIcon) // 設定轉換後的 BitmapDescriptor
// )
實務上有碰過一些需求,是 Marker 上的 Icon 必須動態顯示數值,這時候可以用 IconGenerator 來做到這件事情。
IconGenerator 是 Google Maps Utility 下的一個類別,所以要使用的話,需要另外加入 dependency。
build.gradle (app)// Utilities for Maps SDK for Android (requires Google Play Services)
implementation("com.google.maps.android:android-maps-utils:3.5.3")
// Optionally add the Kotlin Extensions (KTX) for full Kotlin language support
// See latest version at https://github.com/googlemaps/android-maps-ktx
implementation("com.google.maps.android:maps-utils-ktx:4.0.0")
private fun createMarkerBitmap(context: Context, label: String): Bitmap {
    val inflater = LayoutInflater.from(context)
    val binding: MarkerWithTextBinding = MarkerWithTextBinding.inflate(inflater)
    val iconGenerator = IconGenerator(context)
    iconGenerator.setContentView(binding.root)
    iconGenerator.setBackground(ColorDrawable(Color.TRANSPARENT))
    binding.tvMarkerLabel.text = label
    return iconGenerator.makeIcon()
}
概念上很簡單,就是把設計好的 Marker view layout,使用 ViewBinding 將 View Inflate 出來。
再透過 IconGenerator 將 View 轉成 Bitmap。
private fun addMarkerWithText(map: GoogleMap) {
    val latLng = LatLng(24.1627, 120.665)
    val bitmap = createMarkerBitmap(this, "HelloWorld")
    map.addMarker(
        MarkerOptions()
            .position(latLng)
            .icon(BitmapDescriptorFactory.fromBitmap(bitmap))
            .flat(true)
    )

    bitmap.recycle()
}
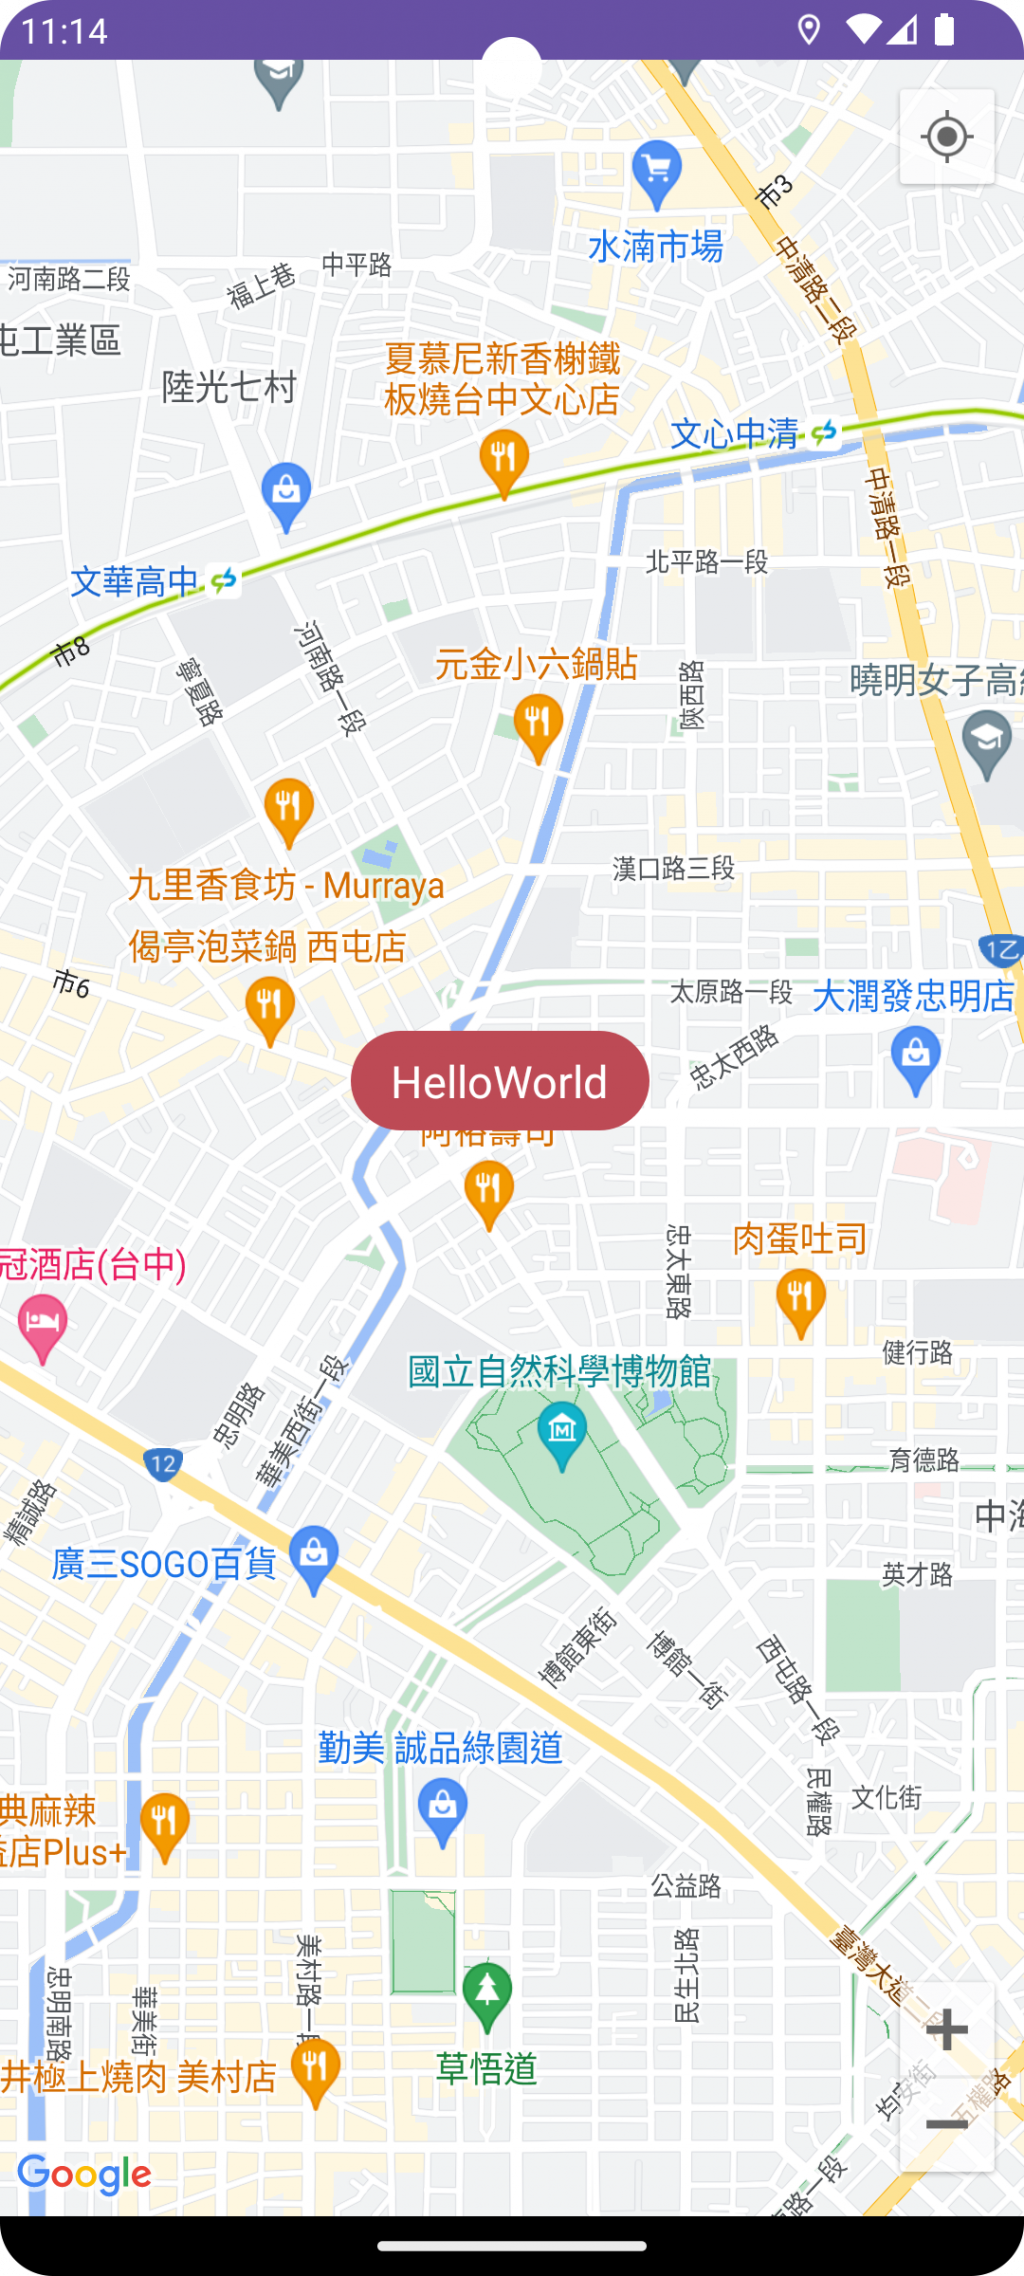
今天介紹的 Marker 樣式調整都滿簡單的,我個人覺得最實用的是 View 轉 Bitmap 的 Marker。畢竟 UI 設計的需求千變萬化,傳統的圖示 UI 已無法滿足使用者的眼睛,這招熟悉的話,可以解決很多的設計需求~
以上就是我今天的分享,有任何問題歡迎留言討論。
明天見~
