今天來講登入系統的頁面完成,明天就教大家怎麽把靜態網頁部署到 github.io 。
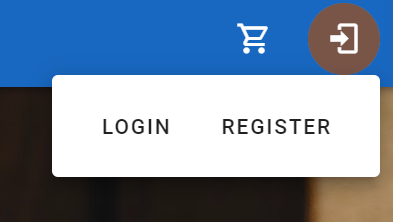
我們今天先在appbar加上導航到Register頁面的btn。
<v-btn rounded variant="text" to="/register">
  Register
</v-btn>
然後稍微給我們的dashboard增加一些功能和設計: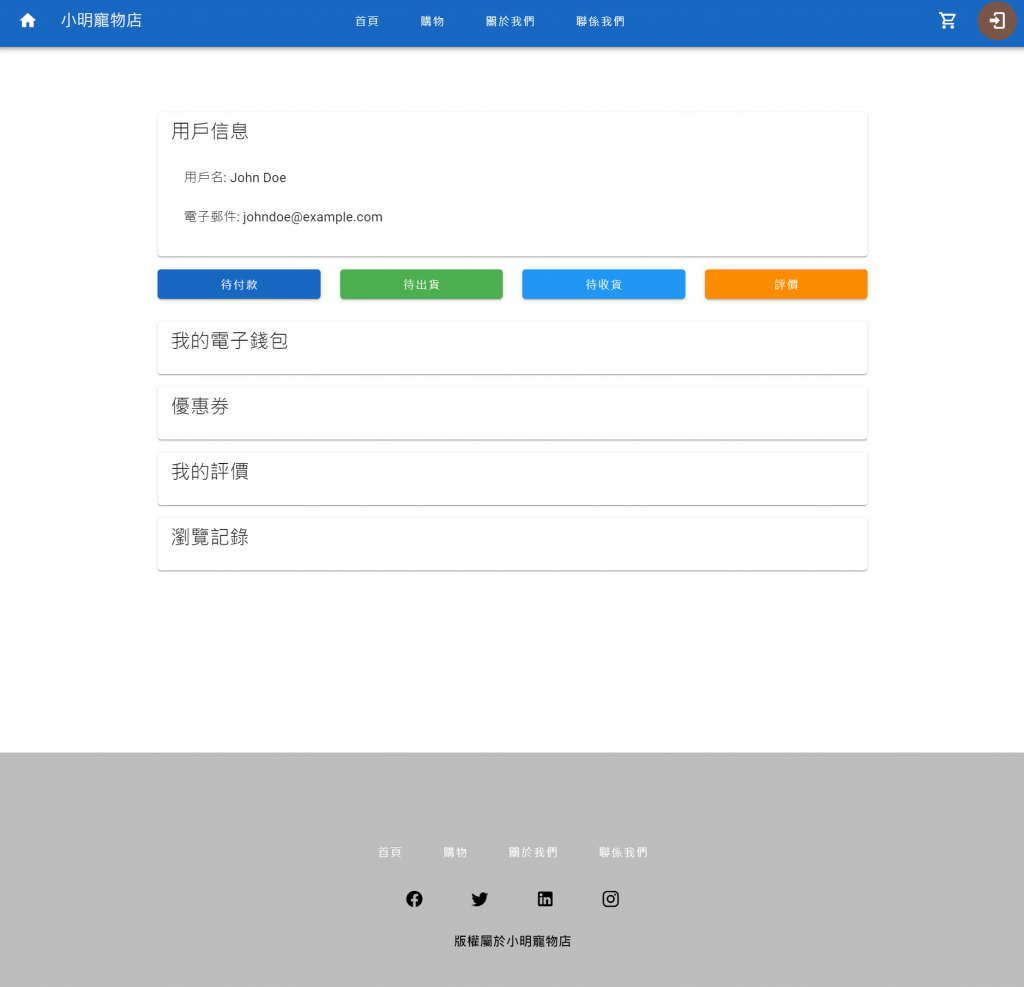
程式碼:
<template>
    <v-main>
        <v-container>
            <!-- 用戶信息卡片 -->
            <v-card class="mb-4">
                <v-card-title class="text-h5">用戶信息</v-card-title>
                <v-card-text>
                    <v-list>
                        <v-list-item>
                            <v-list-item-title>用戶名: John Doe</v-list-item-title>
                        </v-list-item>
                        <v-list-item>
                            <v-list-item-title>電子郵件: johndoe@example.com</v-list-item-title>
                        </v-list-item>
                        <!-- 添加其他用戶信息字段 -->
                    </v-list>
                </v-card-text>
            </v-card>

            <!-- 功能按鈕 -->
            <v-row class="mb-4">
                <v-col cols="3">
                    <v-btn block color="primary" @click="navigateToPendingPayments">待付款</v-btn>
                </v-col>
                <v-col cols="3">
                    <v-btn block color="success" @click="navigateToPendingShipments">待出貨</v-btn>
                </v-col>
                <v-col cols="3">
                    <v-btn block color="info" @click="navigateToPendingReceipts">待收貨</v-btn>
                </v-col>
                <v-col cols="3">
                    <v-btn block color="warning" @click="navigateToReviews">評價</v-btn>
                </v-col>
            </v-row>

            <!-- 其他用戶儀表板功能 -->
            <v-card class="mb-4" link>
                <v-card-title class="text-h5">我的電子錢包</v-card-title>
                <v-card-text>
                    <!-- 添加電子錢包相關內容和操作 -->
                </v-card-text>
            </v-card>

            <v-card class="mb-4" link>
                <v-card-title class="text-h5">優惠券</v-card-title>
                <v-card-text>
                    <!-- 添加優惠券相關內容和操作 -->
                </v-card-text>
            </v-card>

            <v-card class="mb-4" link>
                <v-card-title class="text-h5">我的評價</v-card-title>
                <v-card-text>
                    <!-- 添加我的評價相關內容和操作 -->
                </v-card-text>
            </v-card>

            <v-card class="mb-4" link>
                <v-card-title class="text-h5">瀏覽記錄</v-card-title>
                <v-card-text>
                    <!-- 添加瀏覽記錄相關內容和操作 -->
                </v-card-text>
            </v-card>
        </v-container>
    </v-main>
</template>

<script>
export default {
    methods: {
        navigateToPendingPayments() {
            // 導航至待付款頁面的邏輯
        },
        navigateToPendingShipments() {
            // 導航至待出貨頁面的邏輯
        },
        navigateToPendingReceipts() {
            // 導航至待收貨頁面的邏輯
        },
        navigateToReviews() {
            // 導航至評價頁面的邏輯
        },
    },
};
</script>
然後稍微修改login頁面的程式碼:
<template>
    <v-form v-model="form">
        <v-img class="mx-auto my-6" max-width="228"
            src="https://cdn.vuetifyjs.com/docs/images/logos/vuetify-logo-v3-slim-text-light.svg"></v-img>

        <v-card class="mx-auto pa-12 pb-8" elevation="8" max-width="448" rounded="lg">
            <div class="text-subtitle-1 text-medium-emphasis">Account</div>

            <v-text-field density="compact" placeholder="Email address" prepend-inner-icon="mdi-email-outline"
                variant="outlined"></v-text-field>

            <div class="text-subtitle-1 text-medium-emphasis d-flex align-center justify-space-between">
                Password

                <a @click.prevent="OTPPage" class="text-caption text-decoration-none text-blue" href="#"
                    rel="noopener noreferrer" target="_blank">
                    Forgot login password?</a>
            </div>

            <v-text-field :append-inner-icon="visible ? 'mdi-eye-off' : 'mdi-eye'" :type="visible ? 'text' : 'password'"
                density="compact" placeholder="Enter your password" prepend-inner-icon="mdi-lock-outline" variant="outlined"
                @click:append-inner="visible = !visible"></v-text-field>

            <v-card class="mb-12" color="surface-variant" variant="tonal">
                <v-card-text class="text-medium-emphasis text-caption">
                    Warning: After 3 consecutive failed login attempts, you account will be temporarily locked for three
                    hours. If you must login now, you can also click "Forgot login password?" below to reset the login
                    password.
                </v-card-text>
            </v-card>

            <v-btn block class="mb-8" color="blue" size="large" variant="tonal" @click="onSubmit">
                Log In
            </v-btn>

            <v-card-text class="text-center" link>
                <a class="text-blue text-decoration-none" rel="noopener noreferrer" @click.prevent="navigateToRegister">
                    Sign up now <v-icon icon="mdi-chevron-right"></v-icon>
                </a>
            </v-card-text>
        </v-card>
    </v-form>
</template>
<script>
import router from '@/router';

export default {
    data: () => ({
        form: false,
        visible: false,
    }),
    methods: {
        OTPPage() {
            router.push({ name: 'OTP' })
        },
        async onSubmit() {
            if (!this.form) return
            await new Promise(resolve => setTimeout(resolve, 3000))
            router.push({ name: 'Dashboard', params: { username: this.username, password: this.password } })
        },
        navigateToRegister() {
            router.push('/register')
        }
    }
}
</script>
那我們今天的教學就到這裏啦。各位已經可以簡單打造出一個用戶系統了,當然在前端的部分,也可以在前端加上一些路由守衛來處理登入的頁面,但是記得任何有關用戶密碼或隱私相關的敏感資料都不要放在前端處理,我覺得這是最基本的原則。所有驗證的事情必須交由後端去處理。
我們接下來幾天的教學,内容會比較豐富(這幾天中秋節一直在外面玩😭都沒在存稿😭😭😭),不會像這幾天的内容那麽簡單。
本篇終。


 iThome鐵人賽