今天要來教大家實作的部分,但是在開始之前,你需要:
確保你已經成功安裝 Laravel 並設置好你的開發環境,包括 PHP、Composer、Node.js 和 npm。如果尚未完成這些步驟,請先完成它們。
如果你還沒有 Laravel 專案,可以使用以下命令創建一個新的 Laravel 專案: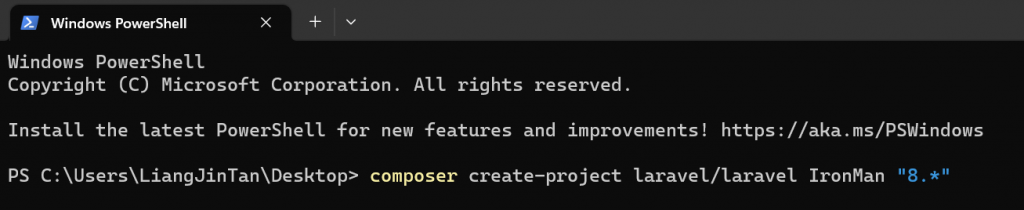
composer create-project laravel/laravel MyProject "8.*"
然後在你的vscode裏面打開這個專案:
打開terminal,依次輸入:
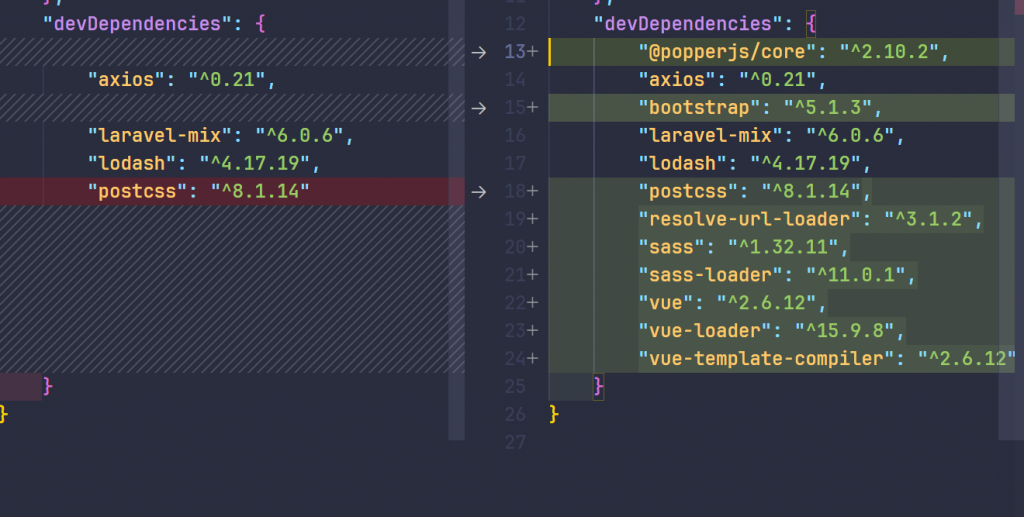
composer require laravel/ui
php artisan ui vue
php artisan ui vue --auth
npm install
npm run dev
我們可以看到composer.json和package.json都新增了一些東西: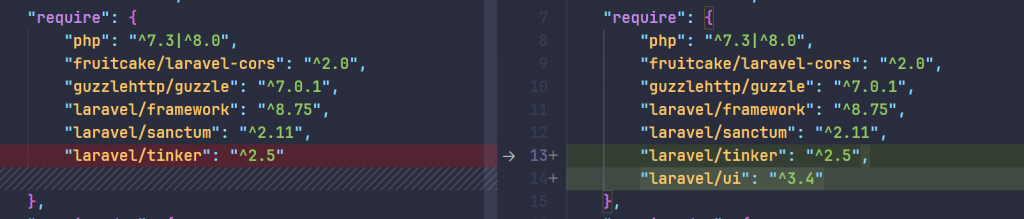
執行php artisan serve看一下畫面:
這時候可以看到還是一般的畫面。
接下來把welcome.blade.php裏面的東西全部換掉:
<!DOCTYPE html>
<html lang="en">

<head>
    <meta charset="UTF-8">
    <meta name="viewport" content="width=device-width, initial-scale=1.0">
    <meta http-equiv="X-UA-Compatible" content="ie=edge">
    <title>Document</title>
</head>

<body>
    <div id="app">
        <example-component></example-component>
    </div>
    <script src="../js/app.js"></script>
</body>

</html>
然後我們再執行一次npm run dev,就會發現我們的頁面被換成/resource/js/components/ExampleComponent.vue了。
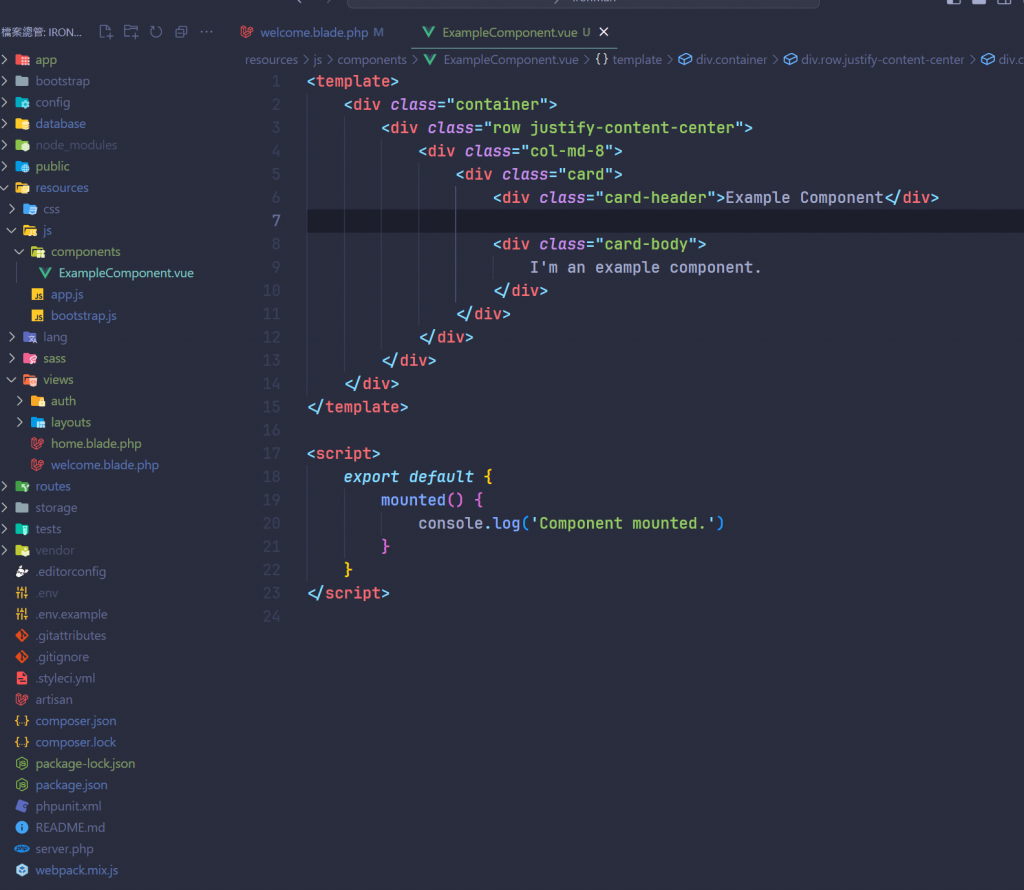
我們如果去追溯代碼的話,可以從welcome.blade.php的<script src="../js/app.js"></script>去找這個js檔案:
/**
 * First we will load all of this project's JavaScript dependencies which
 * includes Vue and other libraries. It is a great starting point when
 * building robust, powerful web applications using Vue and Laravel.
 */

require('./bootstrap');

window.Vue = require('vue').default;

/**
 * The following block of code may be used to automatically register your
 * Vue components. It will recursively scan this directory for the Vue
 * components and automatically register them with their "basename".
 *
 * Eg. ./components/ExampleComponent.vue -> <example-component></example-component>
 */

// const files = require.context('./', true, /\.vue$/i)
// files.keys().map(key => Vue.component(key.split('/').pop().split('.')[0], files(key).default))

Vue.component('example-component', require('./components/ExampleComponent.vue').default);

/**
 * Next, we will create a fresh Vue application instance and attach it to
 * the page. Then, you may begin adding components to this application
 * or customize the JavaScript scaffolding to fit your unique needs.
 */

const app = new Vue({
    el: '#app',
});
本來一開始的laravel專案的app.js裏面只有一句require('./bootstrap');,但是現在裏面增加了幾個内容:
它添加了了一個Vue的程式碼進來window.Vue = require('vue').default;,并且這個Vue注冊了一個ComponentVue.component('example-component', require('./components/ExampleComponent.vue').default);,然後再通過:
const app = new Vue({
    el: '#app',
});
去綁定div id=app。
然後我們再去觀察看webpack.mix.js文件:
mix.js('resources/js/app.js', 'public/js')
    .vue()
    .sass('resources/sass/app.scss', 'public/css');
原本的postcss被替換掉了,改成sass,并且多了一個vue的打包。
之後如果要增加頁面,可以透過在不同的blade模板綁定不同的Vue實體,或是統一一個入口,前端的路由交由vue-router去執行,在laravel的router(web.php)裏面去設置所有不認識的路由交給前端處理,這也是一種方式。
明天會教大家完全前後端分離要怎麽處理,今天先到這邊。
本篇終。


 iThome鐵人賽