哈囉事情是這樣的,這幾天作了幾個靜態網站,作了一些筆記,然後網路上有看到一些 CSS 教學覺得蠻有意思的,所以想來自己實作看看,哈哈!在最後面會放上參考網站及實作後的程式碼喲~
每天我都會將這篇文章裡的關鍵字、使用的語法、問題等做成清單,透過回想或許能幫助您加深記億喲![]()
參考影片 : https://www.youtube.com/watch?v=rdtTCVzTwSQ
div區塊<body>
<div class="loader"></div>
</body>
*{ } : 將預設的padding、margin移除,並調整為border-boxbody{ } : 要將內容物置中,所以需要 display: flex、justify-content: center、align-items: center;min-height:100vh是為了確保內容能確實置中。
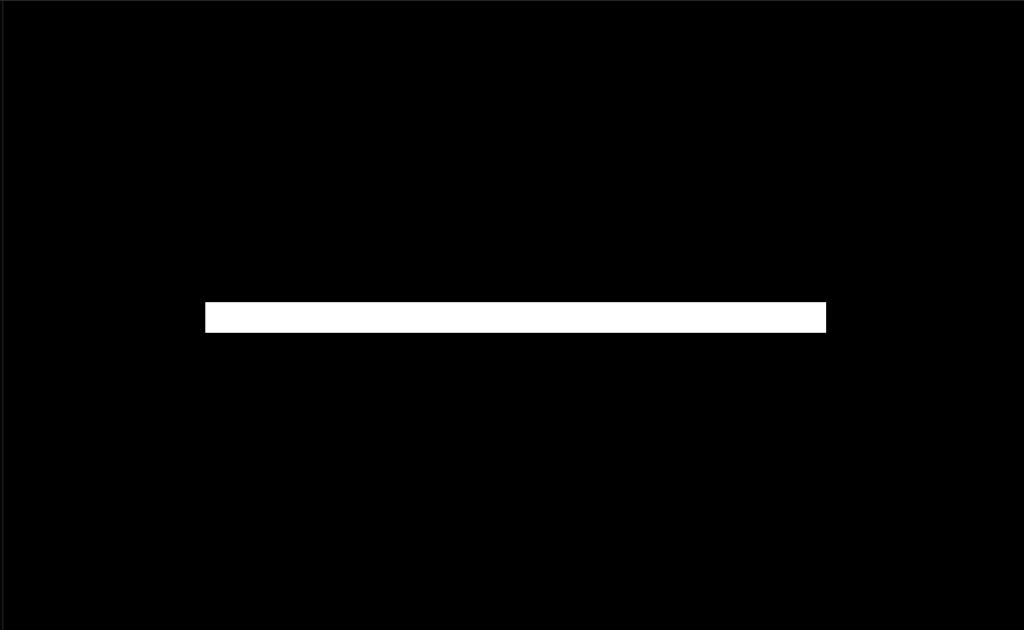
因為想讓進度條大一點,所以這邊有調整寬高。
* {
  margin: 0;
  padding: 0;
  box-sizing: border-box;
}
body {
  display: flex;
  justify-content: center;
  align-items: center;
  min-height: 100vh;
  background: #000;
}
.loader {
  position: relative;
  width: 600px;
  height: 30px;
  background: #fff;
}

.loader {
  position: relative;
  width: 600px;
  height: 30px;
  background: #fff;
  -webkit-box-reflect: below 1px linear-gradient(transparent, #0005);
}
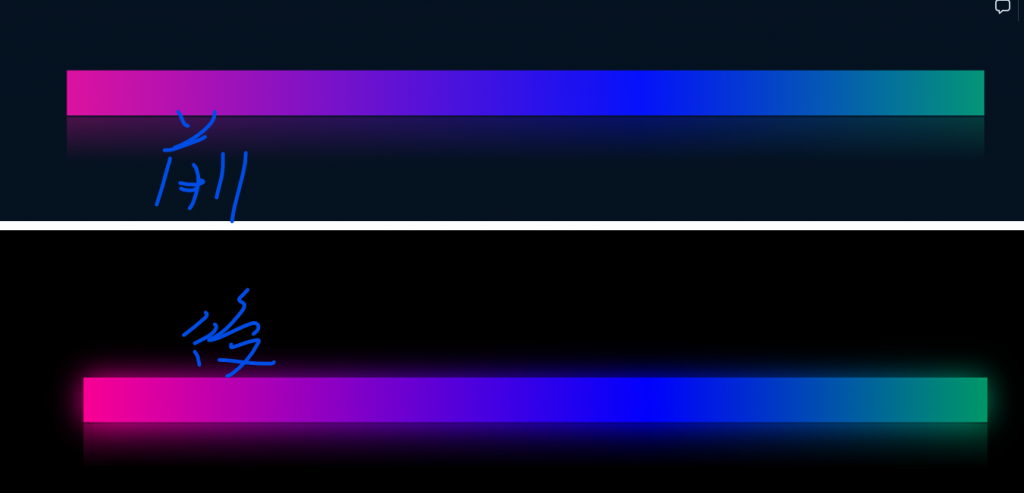
3.新增.loader::before偽元素,再透過positon:absolute、inset精準定位在.loader上面,background增添加由左至右依序排列的七彩顏色,background-size調整置想要的樣子。
.loader::before {
position: absolute;
content: "";
inset: 0;
background: linear-gradient(
90deg,
#fb0094,
#0000ff,
#00ff00,
#ffff00,
#fb0094,
#0000ff,
#00ff00,
#ffff00,
#fb0094
);
background-size: 500%;
background-size: 10%;的情況
4.新增.loader::after偽元素,與::before相同,只是還為它增添了模糊的效果。
.loader::after {
 position: absolute;
 content: "";
 inset: 0;
 background: linear-gradient(
   90deg,
   #fb0094,
   #0000ff,
   #00ff00,
   #ffff00,
   #fb0094,
   #0000ff,
   #00ff00,
   #ffff00,
   #fb0094
 );
 background-size: 500%;
 animation: animate 20s linear infinite;
 filter: blur(10px);

5.現在就差讓它動起來啦~所以我們要新增動畫效果~這代表著從起始位置0偏移500%到没有偏移的原始位置。
@keyframes animate {
  from {
    background-position: 500% 0;
  }
  to {
    background-position: 0 0;
  }
}
今天就到這邊結束囉~
明天會再來仔細講解今天的知識點喲~~![]()
