ItIron2023 react昨天我們看了一個基本的Tab component題目,在那個常見的UI組件上做了一點小小的測試,相信對你們來說並不是什麼難題,今天我們換個實務的場景,請你重構一份簡單的程式碼,這類的需求在開發時極為常見,我們馬上開始吧!
請你看一下這個codesandbox與下方的程式碼。
import React, { useState, useEffect } from "react";

function App() {
  const [data, setData] = useState(null);
  const [loading, setLoading] = useState(true);
  const [error, setError] = useState(null);
  const url = "https://jsonplaceholder.typicode.com/users/1";

  useEffect(() => {
    const fetchData = async () => {
      setLoading(true);
      try {
        const response = await fetch(url);
        const result = await response.json();
        setData(result);
      } catch (err) {
        setError(err);
      } finally {
        setLoading(false);
      }
    };
    fetchData();
  }, [url]);

  return (
    <div className="App">
      <h1>Creating a custom hook for data fetching</h1>
      {loading && <p>Loading...</p>}
      {error && <p>Error: {error.message}</p>}
      {data && (
        <div>
          <h2>User Info</h2>
          <p>Name: {data.name}</p>
          <p>Username: {data.username}</p>
          <p>Email: {data.email}</p>
          <p>Phone: {data.phone}</p>
          <p>Website: {data.website}</p>

          <h3>Address</h3>
          <p>Street: {data.address.street}</p>
          <p>Suite: {data.address.suite}</p>
          <p>City: {data.address.city}</p>
          <p>Zipcode: {data.address.zipcode}</p>

          <h3>Company</h3>
          <p>Name: {data.company.name}</p>
          <p>Catch Phrase: {data.company.catchPhrase}</p>
          <p>BS: {data.company.bs}</p>
        </div>
      )}
    </div>
  );
}

export default App;
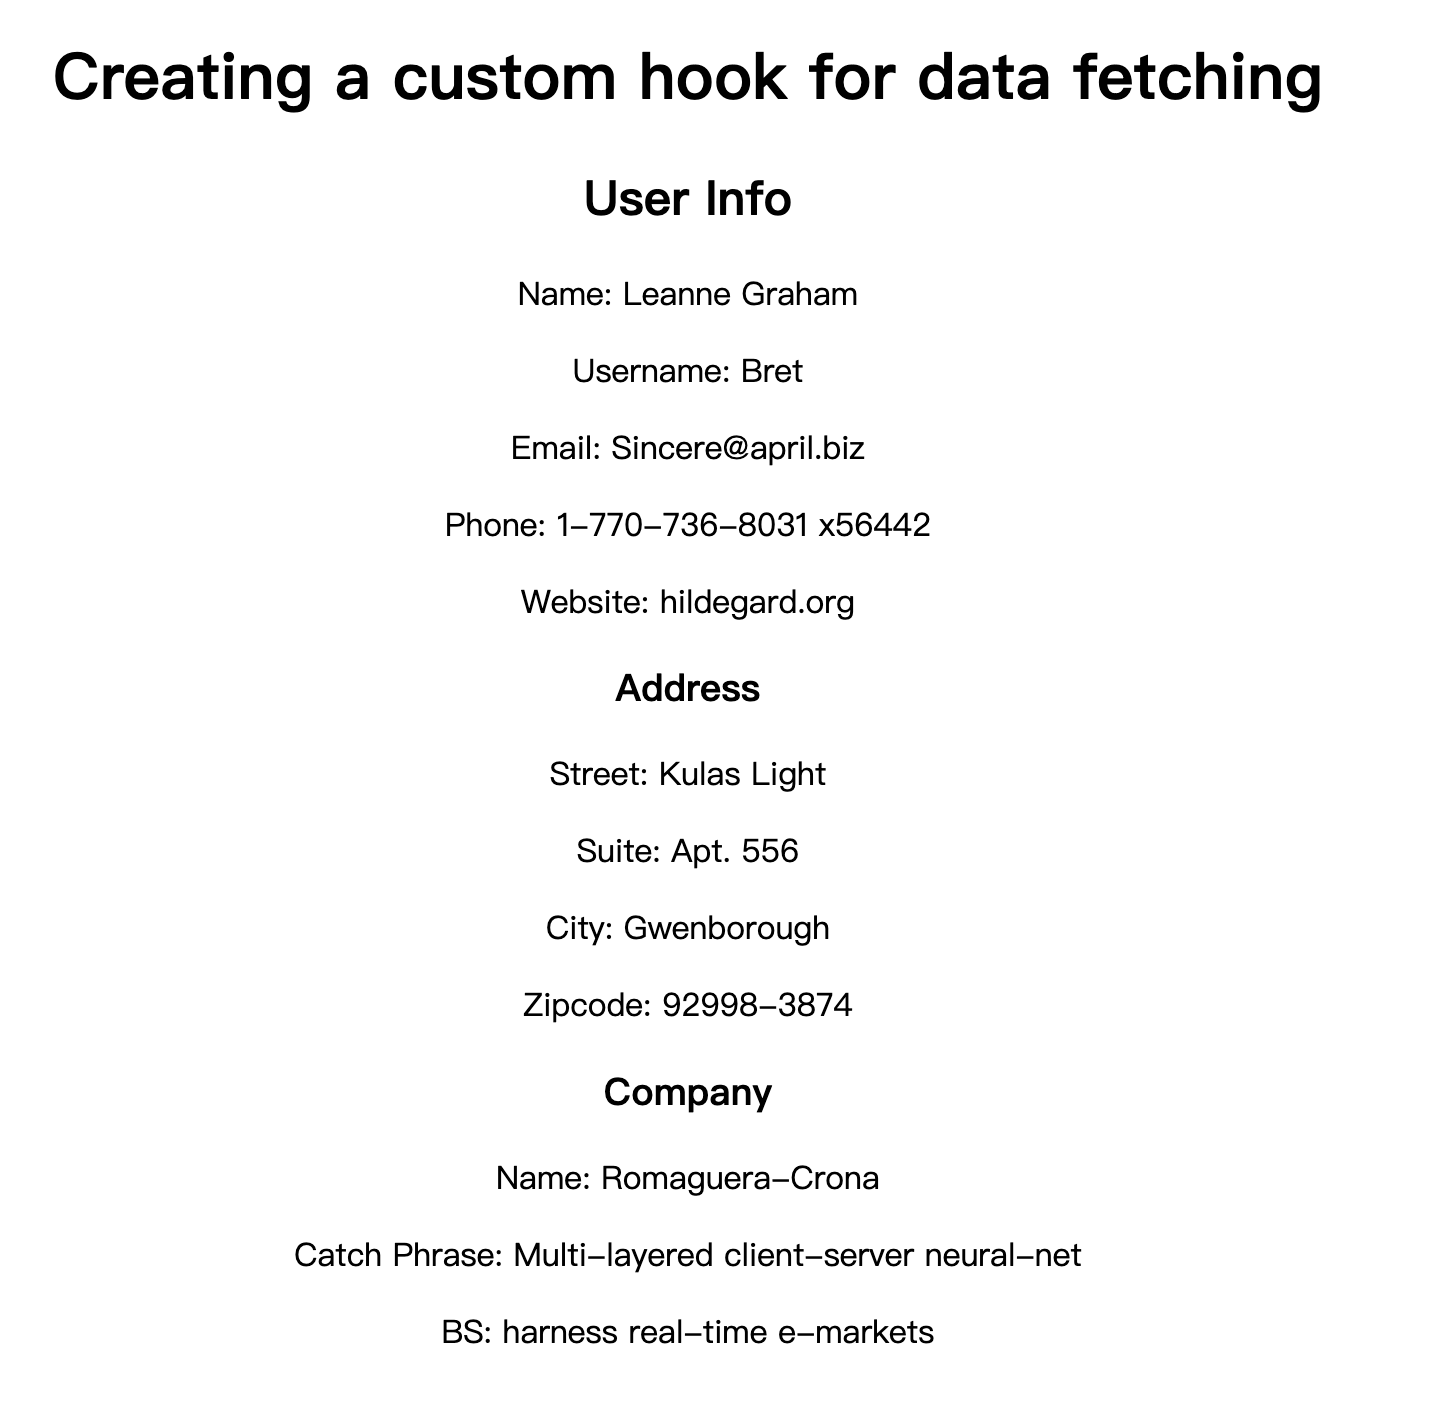
這是一個極為單純組件,我們在組件中發出fetch請求並根據狀態做條件渲染,程式碼本身並沒有任何的問題,畫面可以順利地呈現我們預期中的畫面,如下圖。

今天你要做的事情是另外建立一個useFetch的custom hook去封裝fetch的邏輯並達到一模一樣的效果,你所建立的custom hook須滿足以下的條件
今天這個題目坦白講遠比昨天的更簡單一些,但卻是更常在實務中碰到的問題,一般來說我們希望組件內的邏輯越單純越好,有些可以透過custom hook封裝的邏輯我們會希望另外處理,這麼一來也會提高一些維護性,同時讓你的程式碼可以被其他組件複用,因此這也經常是一個熱門的問題,我們馬上來看一下其中一個做法吧!
一般來說這類的custom hook都會另外用獨立的檔案管理,因此通常我會期待看到一個新的檔案叫useFetch.js,其中我會把與fecth相關的邏輯都移過來統一處理。
import { useState, useEffect } from 'react';

const useFetch = (url) => {
  const [data, setData] = useState(null);
  const [loading, setLoading] = useState(true);
  const [error, setError] = useState(null);

  useEffect(() => {
    const fetchData = async () => {
      setLoading(true);
      try {
        const response = await fetch(url);
        const result = await response.json();
        setData(result);
      } catch (err) {
        setError(err);
      } finally {
        setLoading(false);
      }
    };

    fetchData();
  }, [url]);

  return { data, loading, error };
};

export default useFetch;
你可以發現幾乎就是把之前在App組件的那一包整個搬過來而已,唯一你需要注意的是return的部分,這裡其實你要用陣列的形式回傳也是可以的,完全就看你怎麼設計。
剩下的部分就非常簡單了(雖然剛剛的部分我想也是簡單得不得了),你只要在App組件內引入該hook即可。
import useFetch from './useFetch';

function App() {
  const url = 'https://jsonplaceholder.typicode.com/users/1';
  const { data, loading, error } = useFetch(url);

  return (
    <div className="App">
      <h1>Fetch Data</h1>
      {loading && <p>Loading...</p>}
      {error && <p>Error: {error.message}</p>}
      {data && (
        <div>
          <h2>User Info</h2>
          <p>Name: {data.name}</p>
          <p>Username: {data.username}</p>
          <p>Email: {data.email}</p>
          <p>Phone: {data.phone}</p>
          <p>Website: {data.website}</p>

          <h3>Address</h3>
          <p>Street: {data.address.street}</p>
          <p>Suite: {data.address.suite}</p>
          <p>City: {data.address.city}</p>
          <p>Zipcode: {data.address.zipcode}</p>

          <h3>Company</h3>
          <p>Name: {data.company.name}</p>
          <p>Catch Phrase: {data.company.catchPhrase}</p>
          <p>BS: {data.company.bs}</p>
        </div>
      )}
    </div>
  );
}

export default App;
最終你會看到完全一樣的結果,mission accomplished!
我知道你要說什麼,今天的題目看起來確實挺污辱人智商的,只是把程式碼搬到另一個檔案罷了,不過一提到custom hook許多人就有點慌了,實際上它並不是這麼嚇人的東西,骨子裡還是用你熟悉的那hook,只是為了可讀性以及可複用性而將相關的邏輯封裝起來而已,希望透過今天的例子能讓你未來面對custom hook的情境時多了點自信,雖然往往實務或面試的問題會再更複雜一些,但基本的原理都是相同的!我們明天見囉!
本文章同步發布於個人部落格,有興趣的朋友也可以來逛逛~!
