今天要教大家怎麼製作一個簡單的 AR App,體驗 ARKit 的奧妙喔!
這裡先請各位建一個新的專案
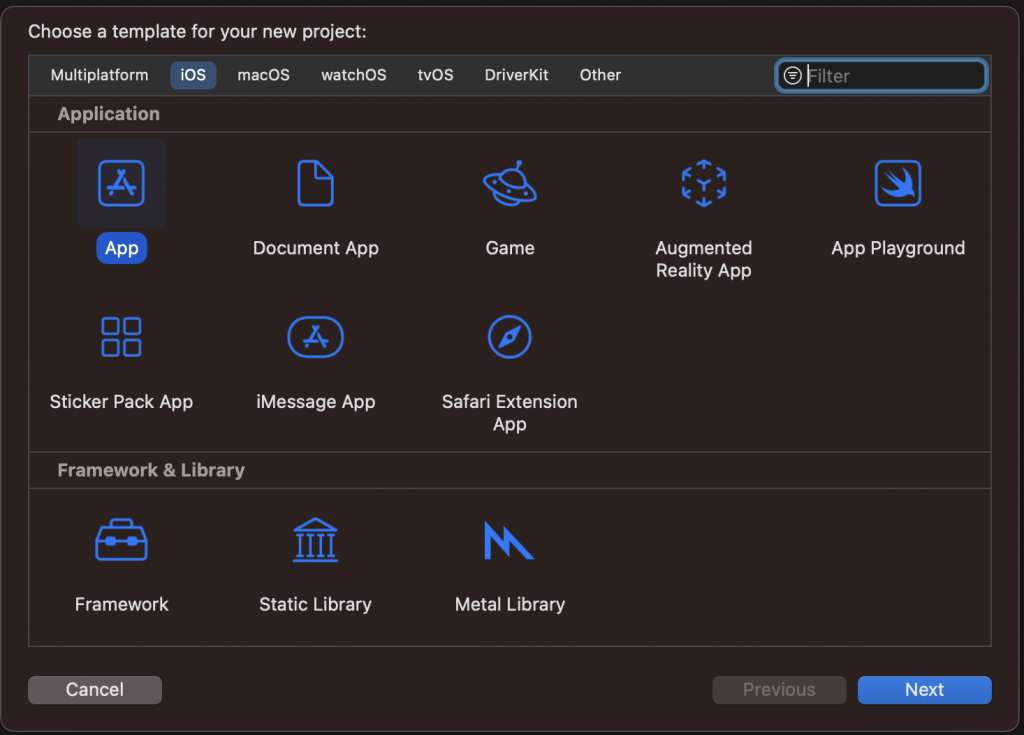
先拉一個名字叫 AR SceneKit View 的元件,這個元件是在 AR 顯示 3D 渲染場景的一個元件,另一個 SpriteKit View 是顯示 2D 元件用的,我們這邊先拉 AR SceneKit View 就好

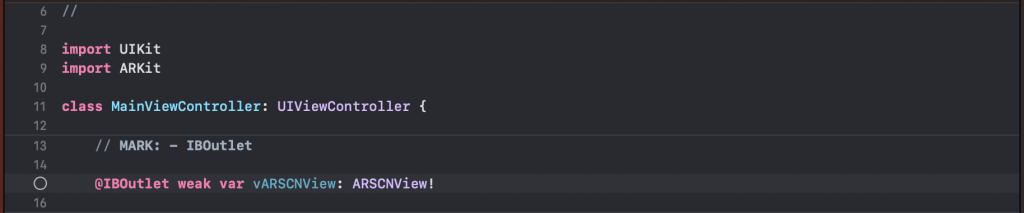
拉好元件和約束之後還要記得拉 IBOutlet 喔!(要先 import ARKit)
import ARKit

@IBOutlet weak var vARSCNView: ARSCNView!
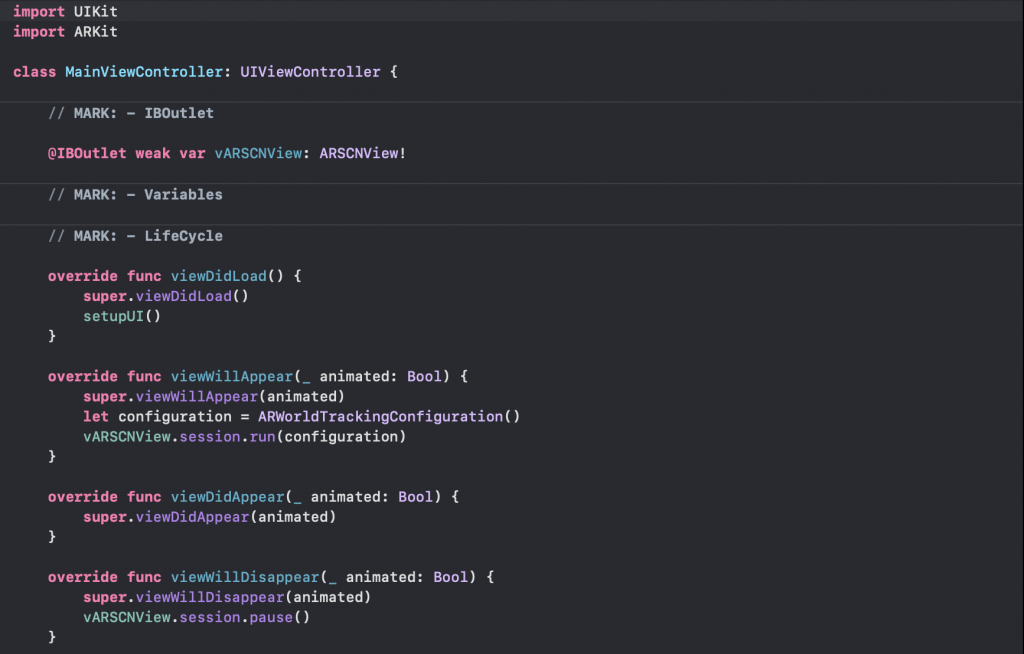
override func viewWillAppear(_ animated: Bool) {
    super.viewWillAppear(animated)
    let configuration = ARWorldTrackingConfiguration()
    vARSCNView.session.run(configuration)
}
ARWorldTrackingConfiguration() 這個 Config 的意思我們可以看官方文件說明:
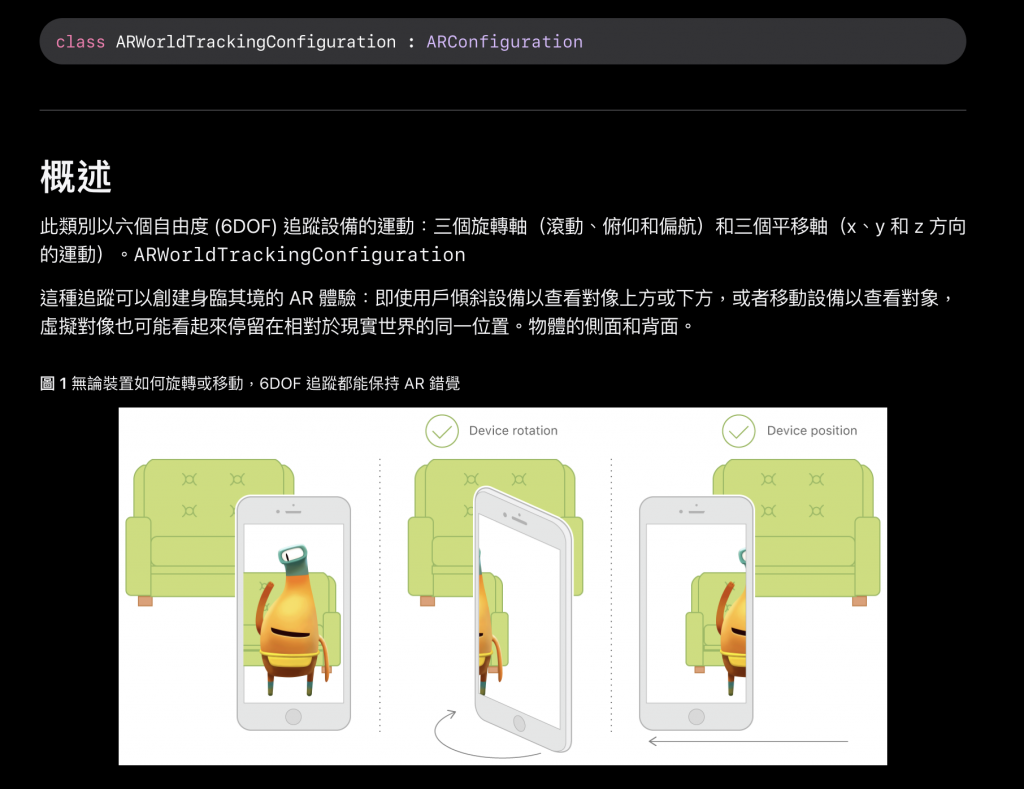
總而言之,ARWorldTrackingConfiguration 可以經由裝置的相機來偵測真實世界的地平面或物品。
而 AR 單元( Session)主要是管理動作追踨與相機影像處理內容。
我們在關閉此頁的時候還需要把 AR Session 進行停止追蹤的動作,因此我們還需要在 ViewController 裡面加上這段:
override func viewWillDisappear(_ animated: Bool) {
    super.viewWillDisappear(animated)
    vARSCNView.session.pause()
}
看起來會長這樣子!
我們需要在這隻專案的 Info.plist
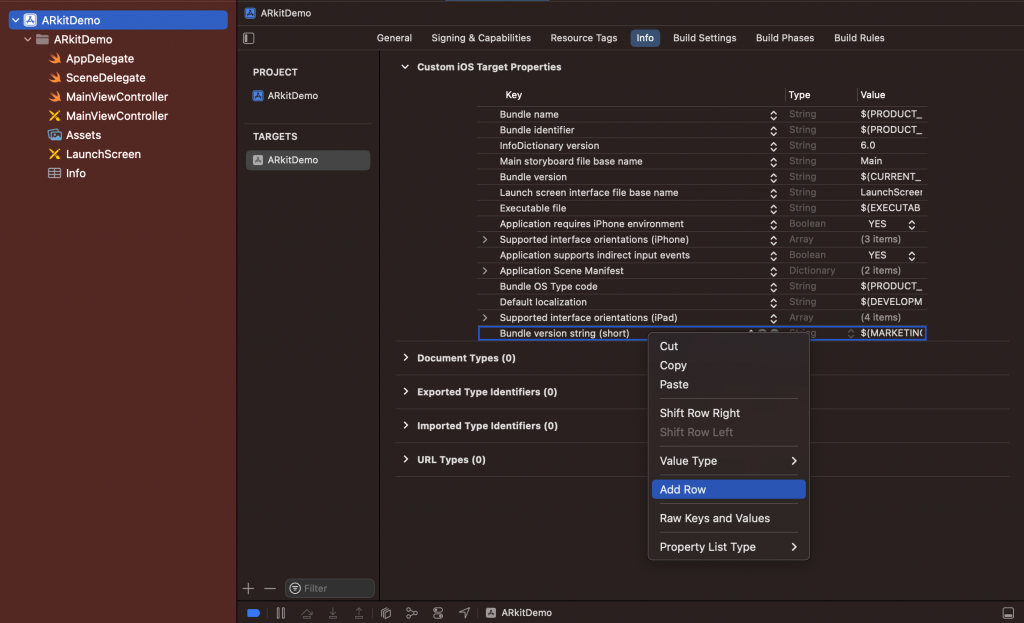
後面的 Value 是要請求權限的時候會顯示的 Message
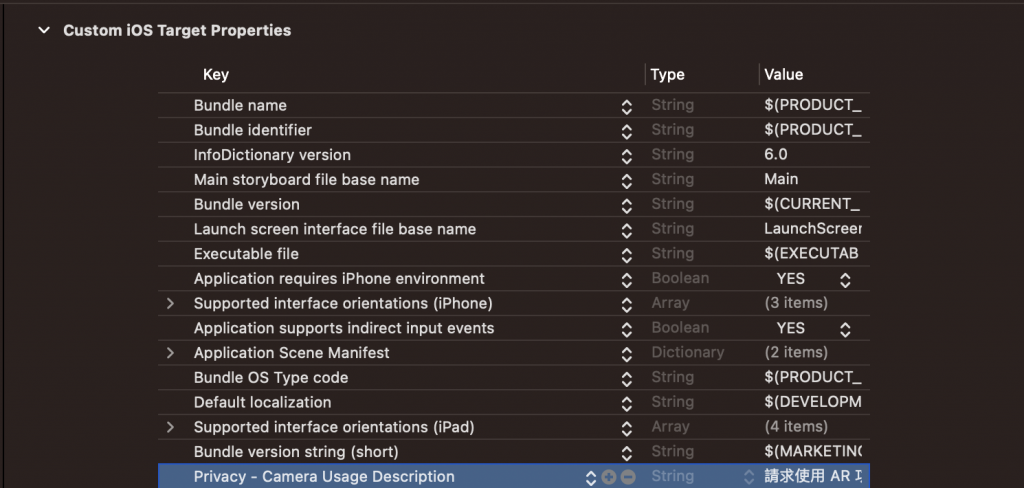
結果會是這樣子的

編譯完發現他就會取得相機的內容囉!
這邊我們會生成一個立方體,並新增在我們的擴增實境裡,我們可以寫一個 func 這樣子進行後續操作的時候比較方便叫到!
func addBox() {
    // Float 1 = 1公尺,產生一個 寬:0.1、高:0.1、長:0.1 的
    let box = SCNBox(width: 0.1, height: 0.1, length: 0.1, chamferRadius: 0)

    // 新增一個叫 boxNode 的節點,代表位置與一物件在3D空間的座標
    let boxNode = SCNNode()
    boxNode.geometry = box

    // 座標設定,這個位置和相機有關係,以正x軸:右邊、負x軸:左邊、正Y軸:上方、負Y軸:下方、正Z軸:往後、負Z軸:往前
    boxNode.position = SCNVector3(0, 0, -0.2)

    let scene = SCNScene()
    scene.rootNode.addChildNode(boxNode)
    vARSCNView.scene = scene
}
這樣子設定的話,我們的場景現在就會有了一個立方體,這個立方體會位在相機畫面的正中間,和相機的距離會有 0.2 公尺。
再把這個 func 加在 viewDidLoad 並進行編譯看看結果!
這樣子就大功告成啦!
明天將繼續教大家怎麼對這個 3D 物件進行互動喔!

