前面用 ASP.NET Core 開發時,直接偷懶用熟悉的 SqlServer 。但是真的要部屬到正式環境,我的貧窮思維告訴我只要使用一個月 5 美金的便宜主機就可以了。一個小小的部落格走 .NET 全家桶上 Azure ,可要花好幾倍的錢(雖然 150 的六倍也才不到一千)。
所以要把使用的資料庫從 SqlServer 換成免費的檔案式資料庫 Sqlite。反正 Digitalocean 5美金的主機已經是 SSD 了。放心地用吧。
安裝 NuGet 套件
Microsoft.EntityFrameworkCore.Design
Microsoft.EntityFrameworkCore.Sqlite
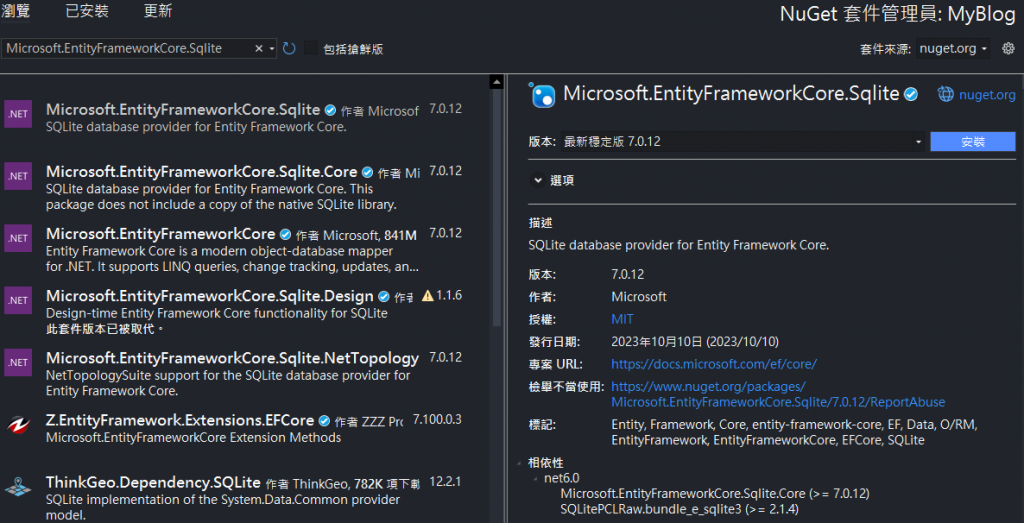
調整資料庫連線字串,在 appsettings.json 新增 SqliteConnection 為 Database\MyBlog.db, 我們先在專案目錄下新增Database 資料夾,而 MyBlog.db Sqlite 資料庫待會由 EF Tools 幫我們建立。
{
  "Logging": {
    "LogLevel": {
      "Default": "Information",
      "Microsoft.AspNetCore": "Warning"
    }
  },
  "ConnectionStrings": {
    "MyBlogConnection": "..."
    "SqliteConnection": "DataSource=Database\\MyBlog.db"
  },
  "AllowedHosts": "*"
}
在 Program.cs 的註冊的 DbContext ,設定需要調整為 UseSqlite,連線字串也變更為 SqliteConnection
builder.Services.AddDbContext<MyBlogContext>(options =>
    options.UseSqlite(builder.Configuration.GetConnectionString("SqliteConnection"))
);
因為我們之前都是用 EF Core 反向工程,用 SqlServer 的資料庫反向建立 MyBlogContext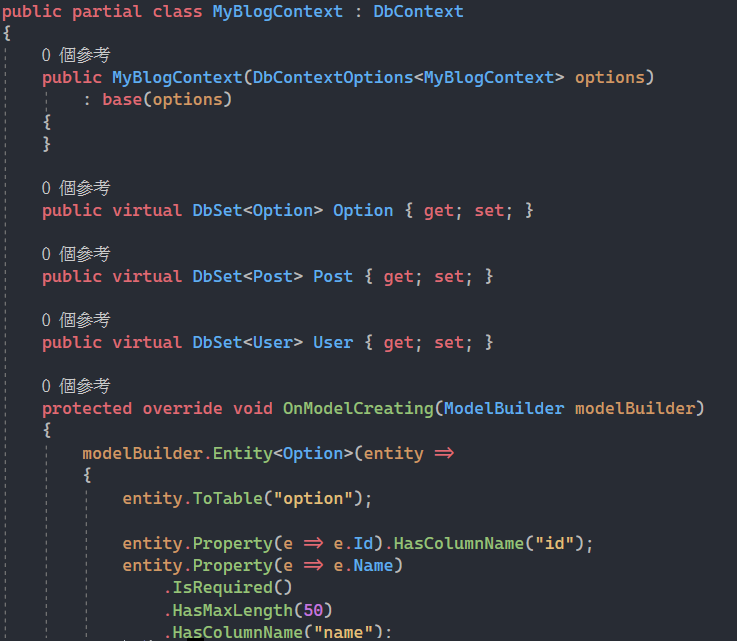
現在我們可以用建好的 MyBlogContext 使用 Code First 的方式,幫我們建立 MyBlog.db Sqlite 資料庫
在專案目錄下,使用終端機(命令提示字元 Console) 來執行 dotnet ef 工具
(右鍵或是 swift + 右鍵)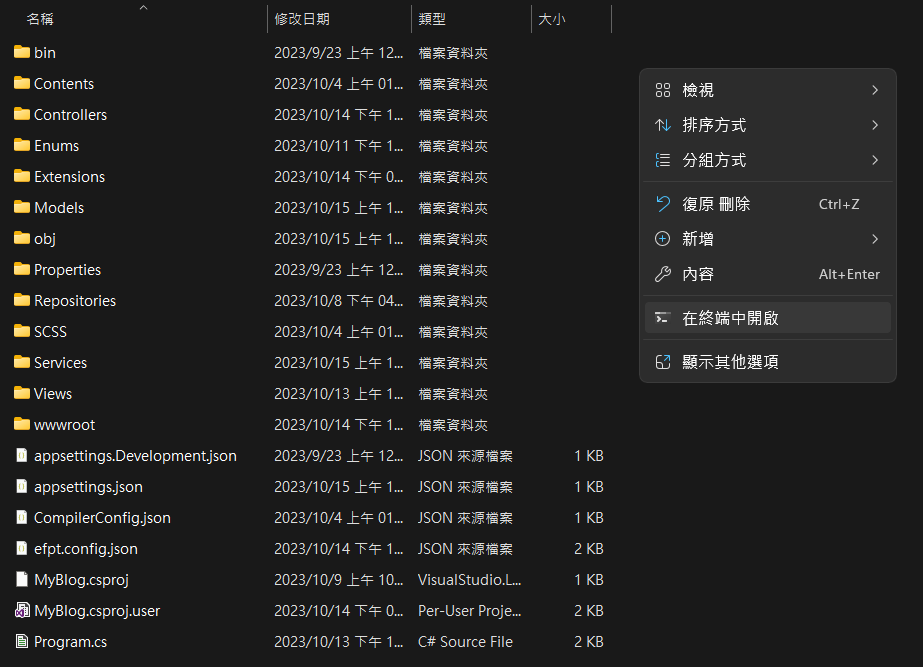
如果沒有事先安裝 dotnet ef 工具,會出現以下錯誤訊息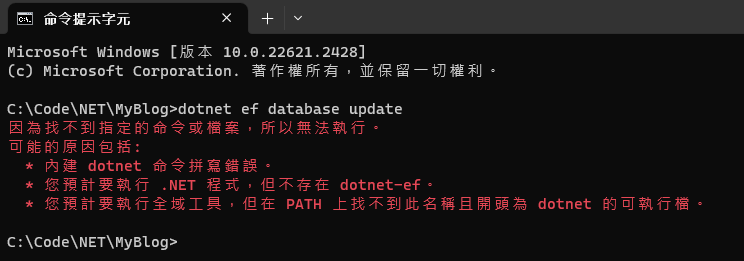
安裝 dotnet ef 工具的指令
dotnet tool install --global dotnet-ef

使用以下指令建置資料庫移轉的相關檔案
dotnet ef migrations add InitialCreate
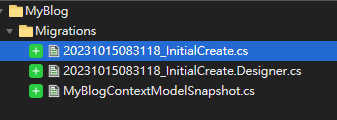
使用以下指令執行資料庫更新因為目前
dotnet ef database update
因為目前 Database 資料夾下面沒有 MyBlog.db 資料庫,上述指令會順便幫我們建立 Sqlite 資料庫
如果有安裝 Sqlite 檢視工具的話(例如:DB Browser for SQLite),可以打開 MyBlog.db 看到資料表結構已經建置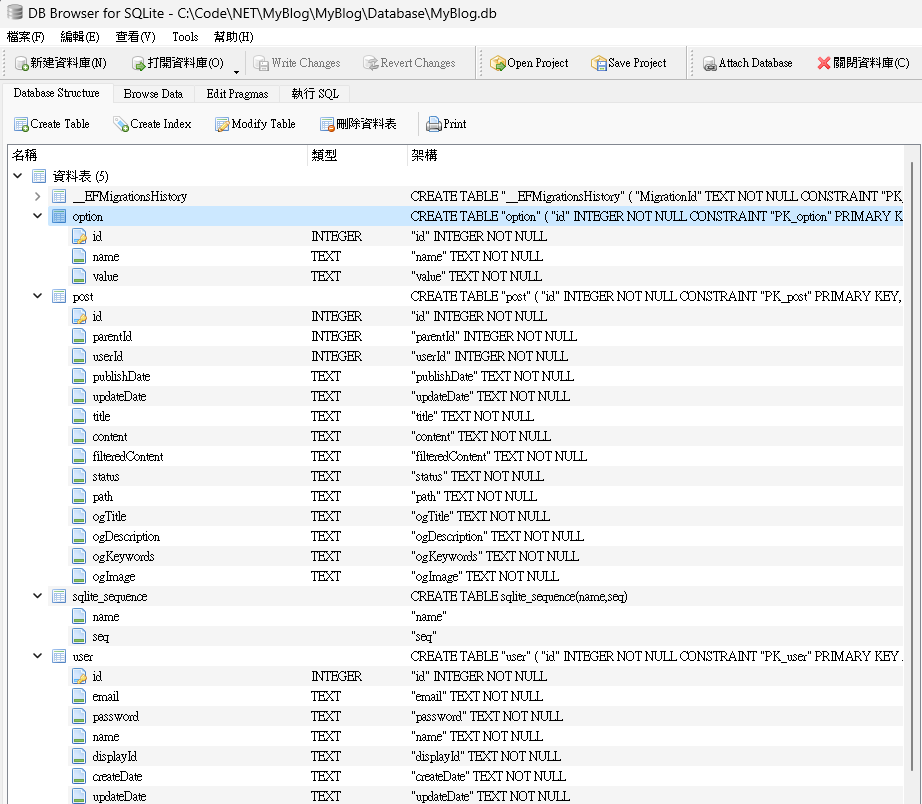
啟動的話就可以看到沒有資料的空網站 XDD
使用之前建立的 init/CreateUser 建立使用者帳號 和 init/Import 匯入資料,就可以開始使用了!
可以在 GitHub 看程式碼。
