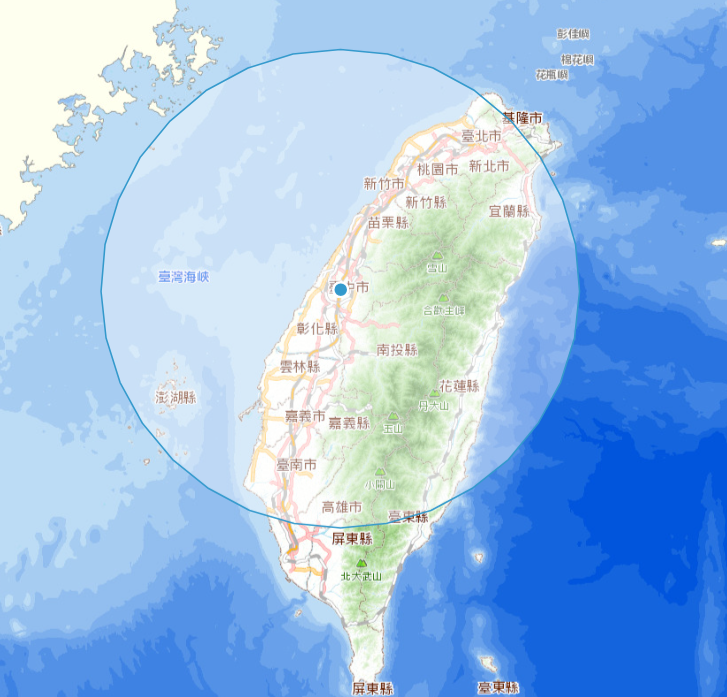
咱們是使用Geolocaion API,可以依照範例程式碼1-5來設定,要注意的是放到正式機的時候chrome限制要用https加密過後的才會正常運行,這個在local測試的時候不會顯示出來。
參考:https://openlayers.org/en/latest/examples/geolocation
下方程式碼,可以依照我的提示來設定,也可以把accuracyFeature移除,因為不是每個時候都需要顯示不確定性的大框框。
const map = new ol.Map({
  layers: [
    new ol.layer.Tile({
      source: new ol.source.XYZ({
        url: "https://wmts.nlsc.gov.tw/wmts/EMAP5/default/EPSG:3857/{z}/{y}/{x}.png",
        crossOrigin: "anonymous",
        minZoom: 6,
        maxZoom: 20,
      }),
    }),
  ],
  target: "map",
  view: new ol.View({
    projection: "EPSG:3857",
    center: ol.proj.fromLonLat([120.846642, 23.488793]),
    zoom: 7.5,
    maxZoom: 20,
    minZoom: 5,
    enableRotation: false,
  }),
  controls: [],
});

// 1.取用 geolocation api
const geolocation = new ol.Geolocation({
  // enableHighAccuracy must be set to true to have the heading value.
  trackingOptions: {
    enableHighAccuracy: true,
  },
  projection: "EPSG:3857",
  tracking: true, // 記得加上這個設定,這樣才會開始定位
});

// 2.精確度,也就是不確定的範圍框(大圈圈)
const accuracyFeature = new ol.Feature();
geolocation.on("change:accuracyGeometry", function () {
  accuracyFeature.setGeometry(geolocation.getAccuracyGeometry()); // 設定範圍框
});

// 3.定位點的位置與style,未來可以依照喜好自由設定顏色
const positionFeature = new ol.Feature();
positionFeature.setStyle(
  new ol.style.Style({
    image: new ol.style.Circle({
      radius: 6,
      fill: new ol.style.Fill({
        color: "#3399CC",
      }),
      stroke: new ol.style.Stroke({
        color: "#fff",
        width: 2,
      }),
    }),
  })
);

// 4.當geolocation有變動的時候,會隨時更新所在的位置
geolocation.on("change:position", function () {
  const coordinates = geolocation.getPosition();
  positionFeature.setGeometry(
    coordinates ? new ol.geom.Point(coordinates) : null
  );
});

// 5.建立vector layer
new ol.layer.Vector({
  map: map, // 用於臨時的layer使用,相當於map.addLayer()方法
  source: new ol.source.Vector({
    features: [accuracyFeature, positionFeature],
  }),
});

https://github.com/weijung0923/learning-openlayers-micromastery/tree/day18
