Day 24: GitLab CI/CD 基本概念與工作流程
Day 25: GitLab Runners 配置與使用
Day 26: 使用 GitLab CI/CD 進行原始碼掃描及套件掃描
Day 27: 使用 GitLab CI/CD 進行自動化測試
Day 28: 如何在 GitLab CI/CD 中實現持續部署 (CD)
Day 29: GitLab CI/CD 與 Kubernetes 的集成實踐
因為免費方案之硬體需求關係,此章節會以GCP作為雲端平台來操作。
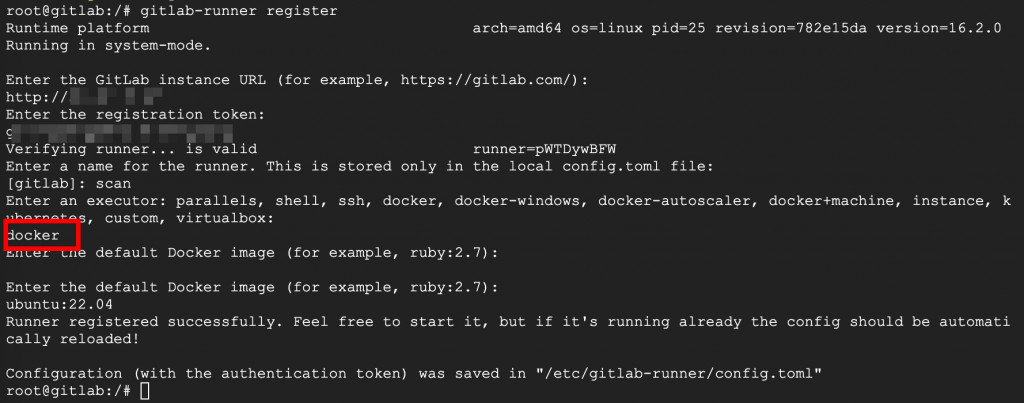
docker run -itd --net=host --privileged=true --name <換個名字> --restart always -v /srv/gitlab-runner/config:/etc/gitlab-runner -v /var/run/docker.sock:/var/run/docker.sock -v /usr/bin/docker:/usr/bin/docker gitlab/gitlab-runner:ubuntu-v16.2.0
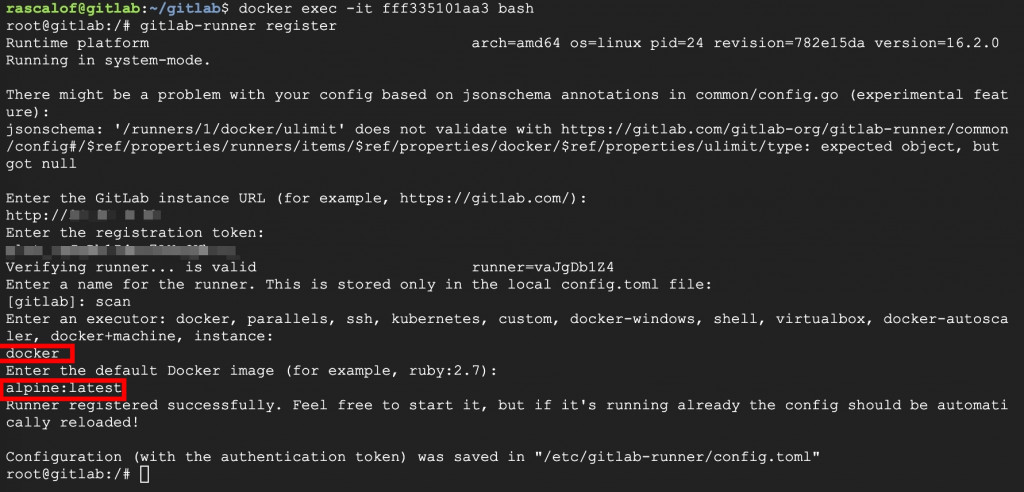
#進入容器
docker exec -it <容器ID> bash
#註冊
gitlab-runner register
docker-compose.yml
version: "3"

services:
  sonarqube:
    image: sonarqube:community
    depends_on:
      - db
    environment:
      SONAR_JDBC_URL: jdbc:postgresql://db:5432/sonar
      SONAR_JDBC_USERNAME: sonar
      SONAR_JDBC_PASSWORD: sonar
    volumes:
      - sonarqube_data:/opt/sonarqube/data
      - sonarqube_extensions:/opt/sonarqube/extensions
      - sonarqube_logs:/opt/sonarqube/logs
    ports:
      - "9000:9000"
  db:
    image: postgres:12
    environment:
      POSTGRES_USER: sonar
      POSTGRES_PASSWORD: sonar
    volumes:
      - postgresql:/var/lib/postgresql
      - postgresql_data:/var/lib/postgresql/data

volumes:
  sonarqube_data:
  sonarqube_extensions:
  sonarqube_logs:
  postgresql:
  postgresql_data:
第一次啟動通常會報錯
max virtual memory areas vm.max_map_count [65530] is too low, increase to at least [262144]
sudo vim /etc/sysctl.conf
#追加以下内容:
vm.max_map_count=262144
#保存退出
#套用
sudo sysctl -p
預設帳號密碼admin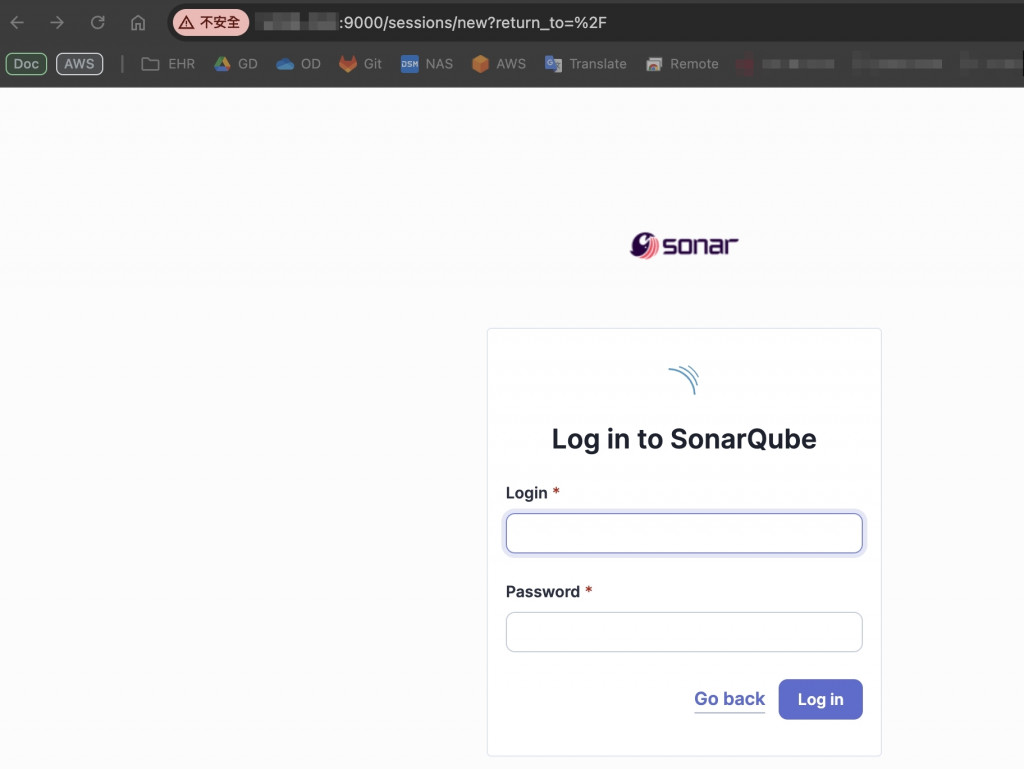
Create a local project > Use the global setting > with GitLab CI
這裡先建立一個名為「test」的專案,待會會用到
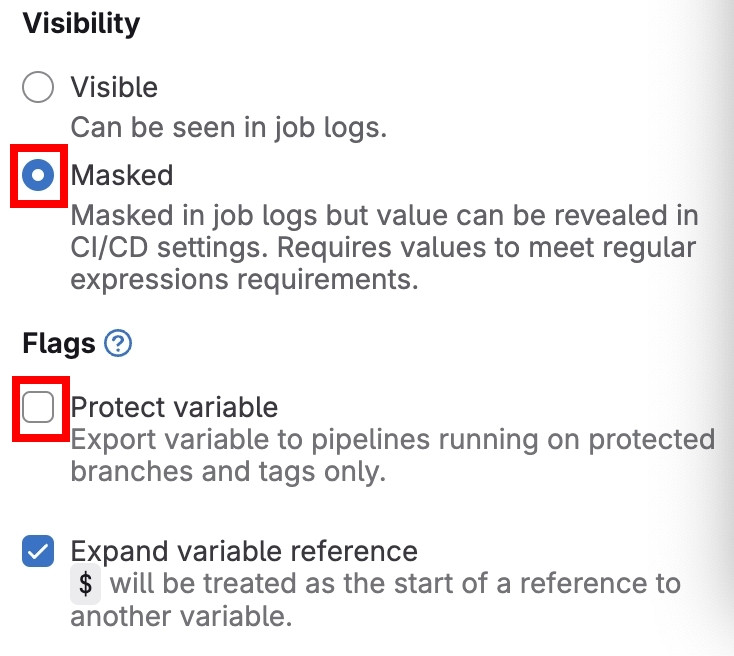
按照指示到gitlab的專案配置兩個環境變數
同時上傳參數文件(剛才的環境變數是官網建議步驟,底下這份是可以詳細設定)
sonar-project.properties
#剛才建立的專案名稱
sonar.projectKey=test
sonar.qualitygate.wait=true
sonar.language=
sonar.sources=.
# sonar.inclusions=**/*.go,**/*.py,**/*.js
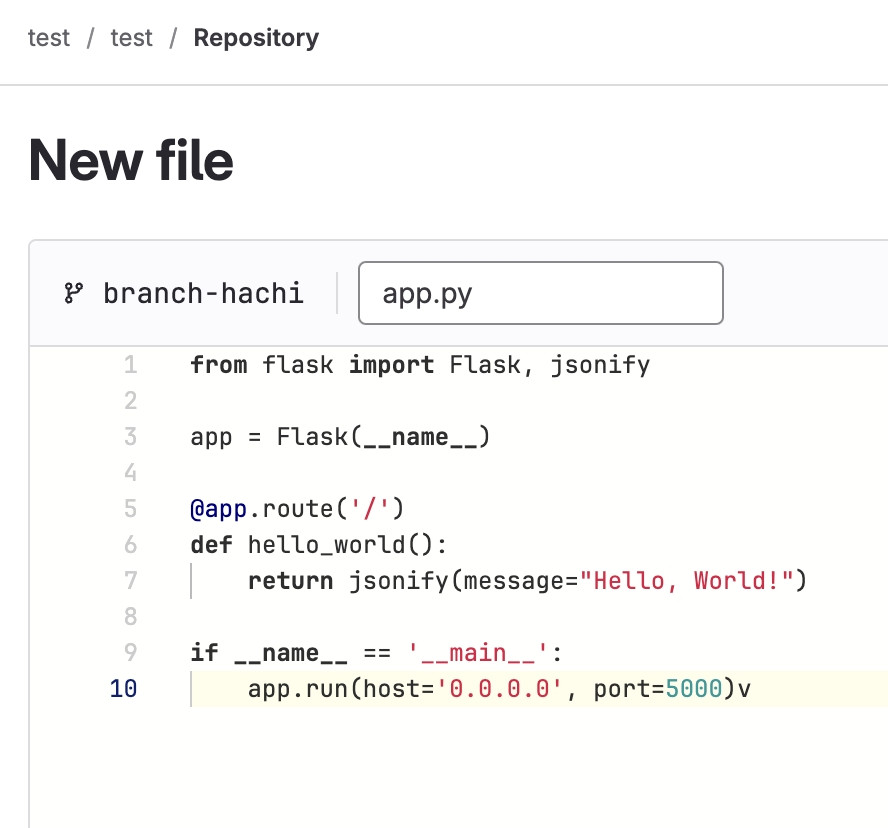
逃不了要寫code的命運,還好有chatgpt,謝謝chatgpt(可自行放入被掃描的檔案)
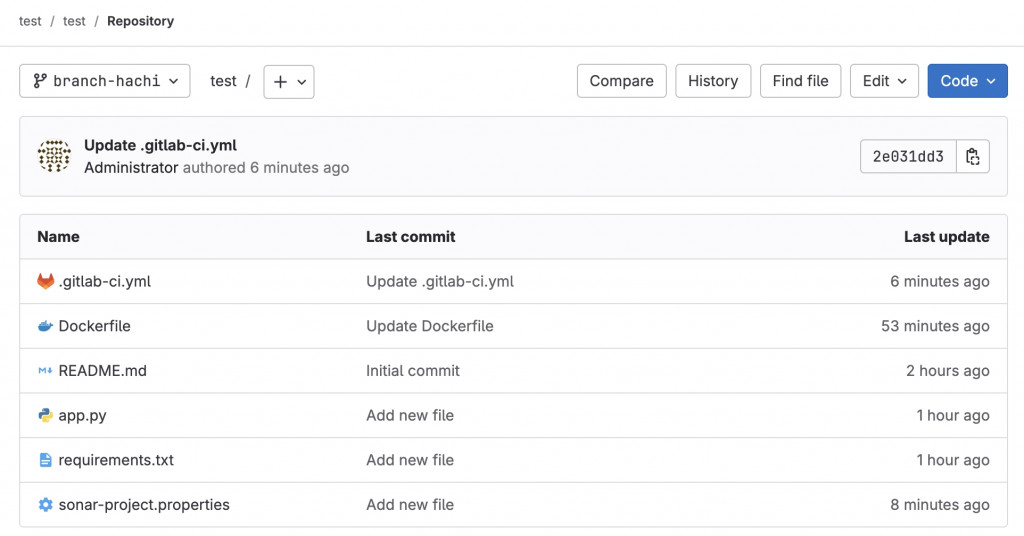
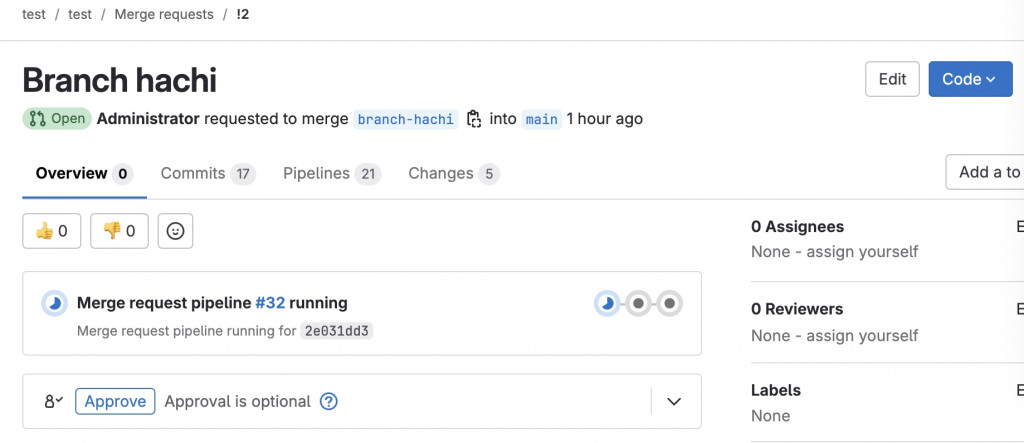
切到自己新增的branch(因為最後都是合併回main並觸發CI流程)
app.py
from flask import Flask, jsonify

app = Flask(__name__)

@app.route('/')
def hello_world():
    return jsonify(message="Hello, World!")

if __name__ == '__main__':
    app.run(host='0.0.0.0', port=5000)
requirements.txt
Flask==2.2.3
Dockerfile
# 使用官方 Python 映像作為基礎映像
FROM python:3.10-slim

# 設置工作目錄
WORKDIR /app

# 複製 requirements.txt 到容器
COPY requirements.txt .

# 安裝 Python 依賴
RUN pip install --no-cache-dir -r requirements.txt

# 複製 Flask 應用到容器
COPY app.py .

# 暴露容器內的 5000 端口
EXPOSE 5000

# 設置環境變量
ENV FLASK_APP=app.py

# 設置 Flask 以外部訪問
ENV FLASK_RUN_HOST=0.0.0.0

# 啟動 Flask 應用
CMD ["flask", "run"]
.gitlab-ci.yml
stages:
  - build
  - scan
  - scandependency

build:
  stage: build
  image: docker:20.10
  tags:
    - scan
  script:
    - echo "Building Docker image..."
  only:
    - merge_requests

scan:
  stage: scan
  tags:
      - scan
  rules:
    - if: $CI_PIPELINE_SOURCE == 'merge_request_event'
  image:
    name: sonarsource/sonar-scanner-cli:5.0
    entrypoint: [""]
  variables:
    GIT_DEPTH: 0
  cache:
    key: "${CI_JOB_NAME}"
    paths:
      - .sonar/cache
  script:
    - sonar-scanner
  allow_failure: true
  dependencies:
    - build

scandependency:
  stage: scandependency
  tags:
    - scan
  rules:
    - if: $CI_PIPELINE_SOURCE == 'merge_request_event'
  image:
    name: aquasec/trivy:latest
    entrypoint: [""]
  script:
    - trivy fs --scanners vuln --exit-code 0 --severity CRITICAL,HIGH . --format json --output trivy-report.json
  allow_failure: true
  artifacts:
    paths:
      - trivy-report.json
  dependencies:
    - scan
最後應該長這樣
啊哈,可是我們沒有要build它,只是拿來當被掃描的待宰羔羊
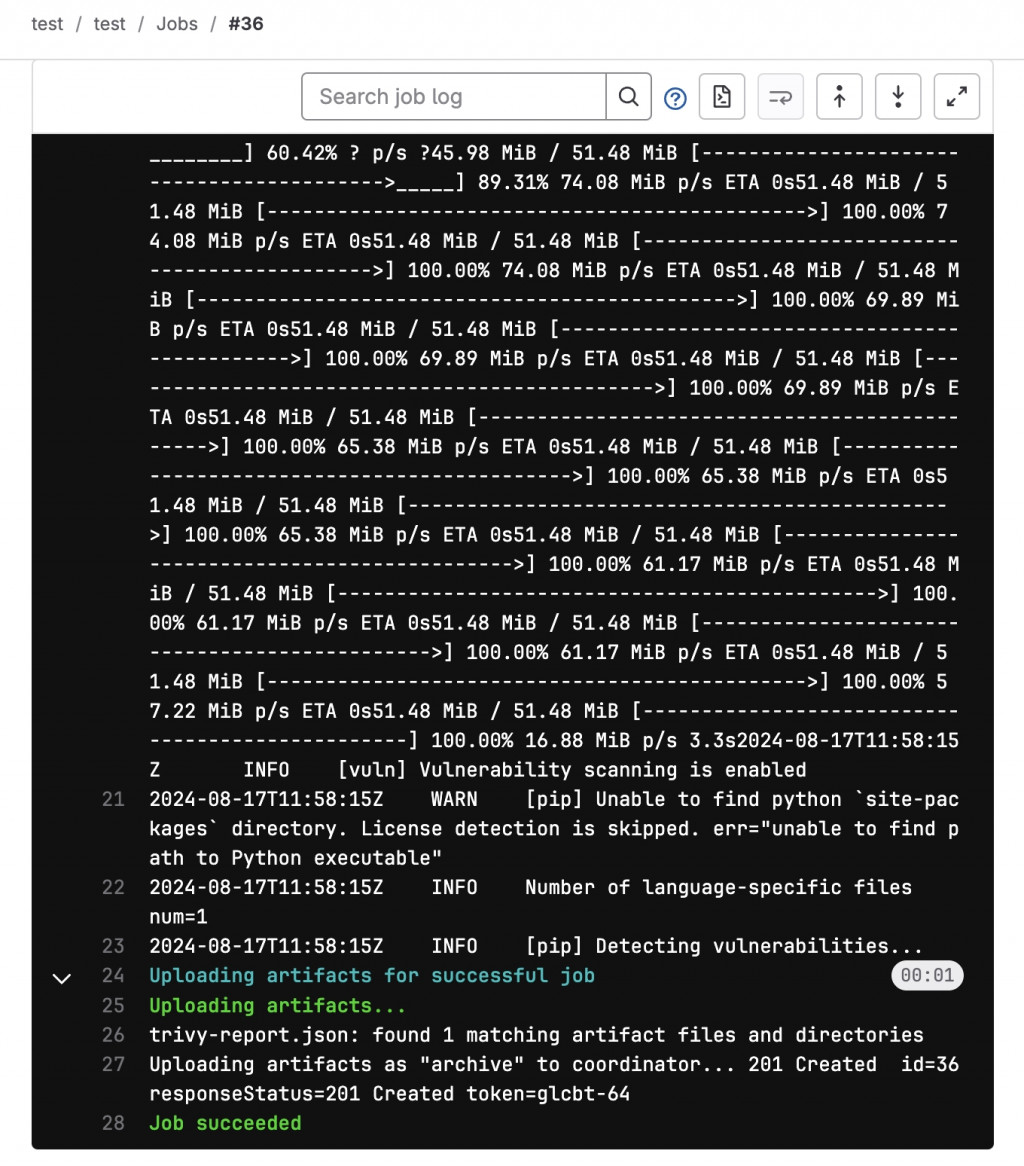
每個階段的掃描過程可以點進去看

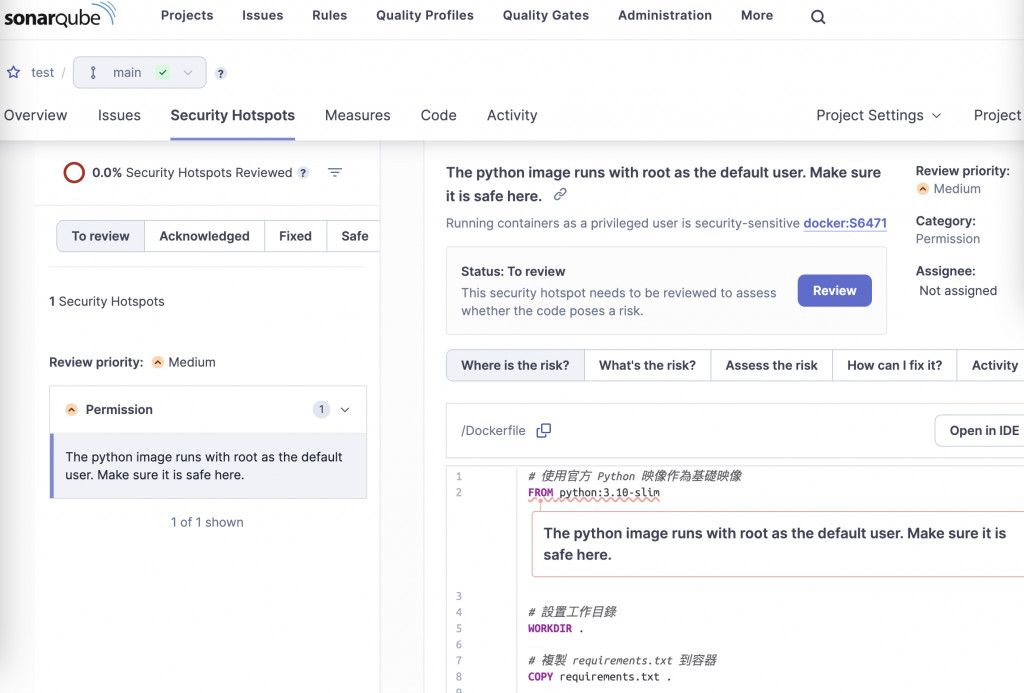
訪問SonarQube網站點擊進入test專案
專注在於優先修復Security中高風險以及Security Hotspots中高風險
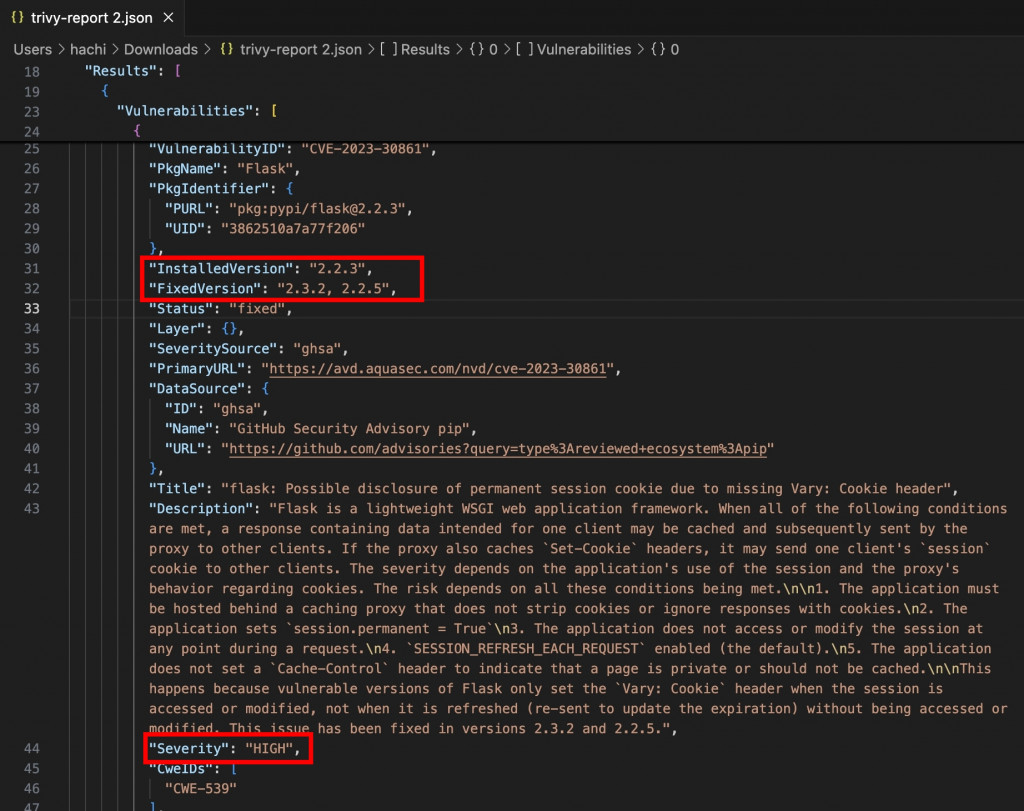
在掃描參數已經配置只列出CRITICAL及HIGH風險等級
內容可參考當前安裝版本,以及建議升級版本
至此就完成了將原始碼掃描及套件掃描結合到CI流程裡面了