在第3天和第4天,我簡要介紹了effect,例子是記錄各種signal的值。根據我的經驗,effect不僅僅是記錄signal的值。一些例子是,
signals
host element的CSS變數今天,我將根據我的個人經驗寫一些Effect的例子。
在下面的範例中,我根據HTML輸入欄位中的id檢索Star War角色。 該id用於呼叫Star War API來檢索角色,然後呼叫forkJoin來檢索該角色出現的影片。
// star-war.api.ts

export type Person = {
 name: string;
 height: string;
 mass: string;
 hair_color: string;
 skin_color: string;
 eye_color: string;
 gender: string;
 films: string[];
}

// Create a Person type to hold an instance of a Star War character.

import { catchError, map, of, mergeMap, forkJoin } from 'rxjs';
import { inject, runInInjectionContext, Injector } from '@angular/core';
import { HttpClient } from '@angular/common/http';

const URL = 'https://swapi.dev/api/people';

export function getPersonMovies(id: number, injector: Injector) {
 return runInInjectionContext(injector, () => {
   const http = inject(HttpClient);
   return http.get<Person>(`${URL}/${id}`).pipe(
     mergeMap((person) => {
       const urls = person?.films ?? [];
       const filmTitles$ = urls.map((url) => http.get<{ title: string }>(url).pipe(
         map(({ title }) => title),
         catchError((err) => {
           console.error(err);
           return of('');
         })
       ));

       return forkJoin([Promise.resolve(person), ...filmTitles$]);
     }),
     catchError((err) => {
       console.error(err);
       return of(undefined);
     }));
 });
}
定義getPersonMovies函數來擷取星際大戰角色以及該角色出現的影片。
稍後,我將在組件中導入該函數來檢索資料並將其顯示在HTML範本中。
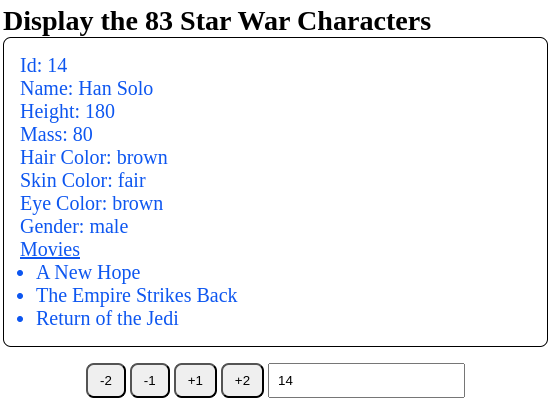
使用者可以點擊按鈕或在文字方塊中輸入值來修改id signal。
// character.component.ts
const initialId = 14;

@Component({
 selector: 'app-character',
 standalone: true,
 imports: [FormsModule],
 template: `
   <h3>Display the 83 Star War Characters</h3>
   <div class="border" #character>
     @if(person(); as person) {
       <p>Id: {{ id() }} </p>
       <p>Name: {{ person.name }}</p>
       <p>Height: {{ person.height }}</p>
       ... omitted other data for brevity...
     } @else {
       <p>No info</p>
     }

     <p style="text-decoration: underline">Movies</p>
     @for(film of films(); track film) {
       <ul style="padding-left: 1rem;">
         <li>{{ film }}</li>
       </ul>
     } @empty {
       <p>No movie</p>
     }
   </div>
   <div class="container">
     <button (click)="updateId(-2)">-2</button>
     <button (click)="updateId(-1)">-1</button>
     <button (click)="updateId(1)">+1</button>
     <button (click)="updateId(2)">+2</button>
     <input type="number" [(ngModel)]="searchId" name="searchId" id="searchId" />
   </div>
 `,
  changeDetection: ChangeDetectionStrategy.OnPush,
})
export class CharacterComponent {
 readonly min = 1;
 readonly max = 83;

 injector = inject(Injector);
 searchId = signal(initialId);
 id = signal(initialId);
 person = signal<undefined | Person>(undefined);
 films = signal<string[]>([]);

 updateId(delta: number) {
   this.id.update((value) => Math.min(this.max, Math.max(this.min, value + delta)));
 }

 constructor() {
  toObservable(this.searchId).subscribe((value) => this.id.set(value));

   effect((onCleanUp) => {
     const sub = getPersonMovies(this.id(), this.injector)
       .subscribe((result) => {
         if (result) {
           const [person, ...rest] = result;
           this.person.set(person);
           this.films.set(rest);
         } else {
           this.person.set(undefined);
           this.films.set([]);
         }
       });

      onCleanUp(() => sub.unsubscribe());
   });
 }
}
當程式碼更新id signal時,effect執行getPersonMovies函數來擷取資料並訂閱Observable以覆寫person和movie signals。
effect((onCleanUp) => {
     const sub = getPersonMovies(this.id(), this.injector)
       .subscribe(...subscribe logic…);

      // unsubscribe the subscription before destroying the effect
      onCleanUp(() => sub.unsubscribe());
 });
subscribe方法傳回一個subscription,必須清除該subscription以防止memory leaks。幸運的是,effect函數接受一個onCleanUp函數,可以在銷毀effect之前取消`subscription。
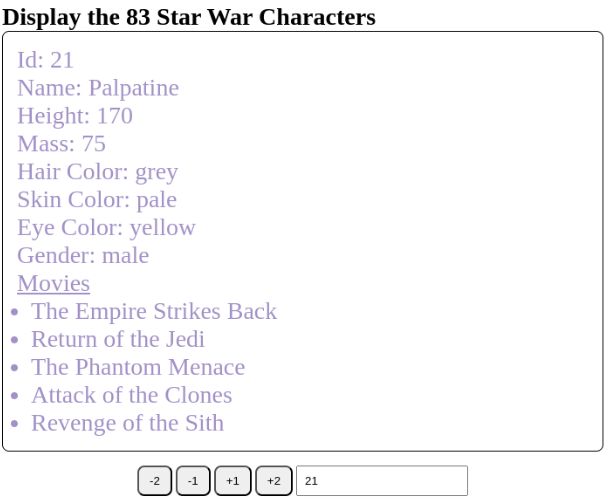
當我點擊按鈕來增加id signal時,它與searchId signal不同步。因此,我想在effect裡面同步它們的值。
設定searchId signal的最佳位置是在subscribe方法裡面,但我想示範untracked函數的用法。如果我在effect內呼叫this.searchId.set(this.id()),將會拋出錯誤訊息。當我在untracked函數中執行邏輯時,它不會被視為effect的依賴項。不會發生錯誤且文字方塊顯示相同的值。
untracked(() => {
   if (this.id() !== this.searchId()) {
      this.searchId.set(this.id());
   }
});
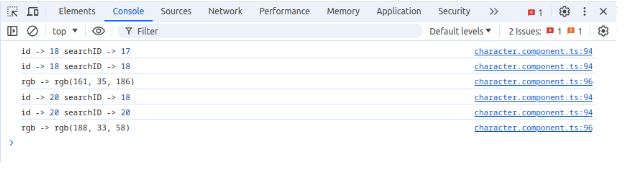
#logIDsEffect = effect(() => console.log('id ->', untracked(this.id), 'searchID ->', this.searchId()));
關於#logIDsEffect,我只想在searchId signal更新時查看日誌訊息。untracked(this.id)傳回值,它不是effect的依賴項 (dependency)。
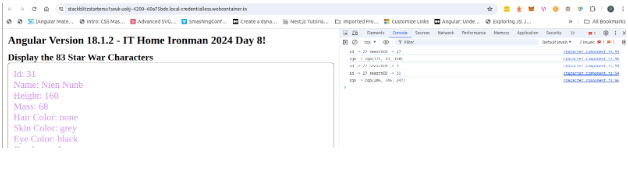
當我點擊按鈕時,控制台 (Dev Console) 顯示一條訊息。 當我在文字方塊中輸入值時,控制台 (Dev Console) 也會顯示日誌訊息。
// generate-rgb.ts

export function generateRGBCode(): string {
 const r = Math.floor(Math.random() * 256);
 const g = Math.floor(Math.random() * 256);
 const b = Math.floor(Math.random() * 256);

 return `rgb(${r}, ${g}, ${b})`;
}
generateRGBCode是一個產生隨機RGB值以更新CSS顏色屬性的函數。
import { ChangeDetectionStrategy, Component, computed, effect, ElementRef, inject, Injector, Renderer2, signal, untracked } from '@angular/core';
import { FormsModule } from '@angular/forms';
import { debounceTime, distinctUntilChanged, filter, map } from 'rxjs';
import { takeUntilDestroyed, toObservable } from '@angular/core/rxjs-interop';
import { getPersonMovies, Person } from './star-war.api';
import { generateRGBCode } from './generate-rgb';

const initialId = 14;

@Component({
 selector: 'app-character',
 standalone: true,
 imports: [FormsModule],
 template: `
   <h3>Display the 83 Star War Characters</h3>
   <div class="border">
      … dynamic data…
   </div>
 `,
 styles: `
   :host {
      --main-font-size: 1.25rem;
   }

   .border {
     color: var(--main-color);
     font-size: var(--main-font-size);
   }
 `,
 host: {
   '[style.--main-color]': 'rgb()'
 },
 changeDetection: ChangeDetectionStrategy.OnPush,
})
export class CharacterComponent {
 rgb = signal('brown');
 hostElement = inject(ElementRef).nativeElement;
 renderer = inject(Renderer2);
 fontSize = computed(() => this.id() % 2 === 0 ? '1.25rem' : '1.75rem');

  constructor() {
   effect((onCleanUp) => {
     const sub = getPersonMovies(this.id(), this.injector)
       .subscribe((result) => {
           this.rgb.set(generateRGBCode());
           this.rgb.set(generateRGBCode());
           this.rgb.set(generateRGBCode());
       });

     onCleanUp(() => sub.unsubscribe());
   });

   effect(() => {
     this.renderer.setProperty(this.hostElement, 'style', `--main-font-size: ${this.fontSize()}`);
   });
 }
}
這個組件在host element中定義了兩個CSS變數:--main-font-size和--main-color。 第一個變數指定border class的text color,而第二個變數指定border class的font size。
host: {
   '[style.--main-color]': 'rgb()'
},
當rgb signal改變值時,--main-color變數接收一個新值。
effect((onCleanUp) => {
 const sub = getPersonMovies(this.id(), this.injector)
   .subscribe((result) => {
       this.rgb.set(generateRGBCode());
       this.rgb.set(generateRGBCode());
       this.rgb.set(generateRGBCode());
   });

 onCleanUp(() => sub.unsubscribe());
});
經過反覆試驗,更新rgb signal的最佳位置是在subscribe方法。 我設定了三次rgb signal,因為我想了解Angular組件執行effect的頻率。
--main-font-size: 1.25rem;
hostElement = inject(ElementRef).nativeElement;
renderer = inject(Renderer2);
fontSize = computed(() => this.id() % 2 === 0 ? '1.25rem' : '1.75rem');
為了更新--main-font-size,我inject了ElementRef和Renderer2在effect裡面設定font size的值。當id signal為偶數時,字體大小為1.25rem,否則,字體大小為1.75rem。
effect(() => {
     this.renderer.setProperty(this.hostElement, 'style', `--main-font-size: ${untracked(this.fontSize)}`);
});
fonSize是computed signal,當id signal更新時它也會更新。 fontSize signal呼叫 untracked函數以防止signal讀取。
當組件被標記為髒並觸發change detection時執行`effect。
#rgbEffect = effect(() => console.log('rgb ->', this.rgb()));
#rgbEffect是一種在改變值時記錄rgb signal的effect。
effect((onCleanUp) => {
     const sub = getPersonMovies(this.id(), this.injector)
       .subscribe((result) => {
         this.rgb.set(generateRGBCode());
         this.rgb.set(generateRGBCode());
         this.rgb.set(generateRGBCode());
       });
});
subscribe方法將三個隨機RGB值分配給rgb signal,但控制台 (Dev Console)僅記錄一次。
這是因為#rgbEffect僅在change detection發現髒組件並更新視圖(view)時運行。因此,#rgbEffect記錄最新的RGB值並跳過中間值。
Effect追蹤build-in或computed signal,並運行函數中的邏輯。Effect可以在constructor內部或field initialization中建立。 如果effect在constructor之外,則需要injector。effect不依賴signal時,請使用untracked函數。 如果您想執行一些不應被視為依賴項的程式碼,請將其包裝在untracked的函數中。Effect在組件被標記為髒並在change detection發生時執行。我們可以連續更新一個signal,但effect會在組件重新渲染時執行一次。鐵人第10天就這樣結束了。