昨天最主要是學習swiper,因為聽說swiper的實戰應用率蠻高的,他也比bootstrap的輪播還方便。
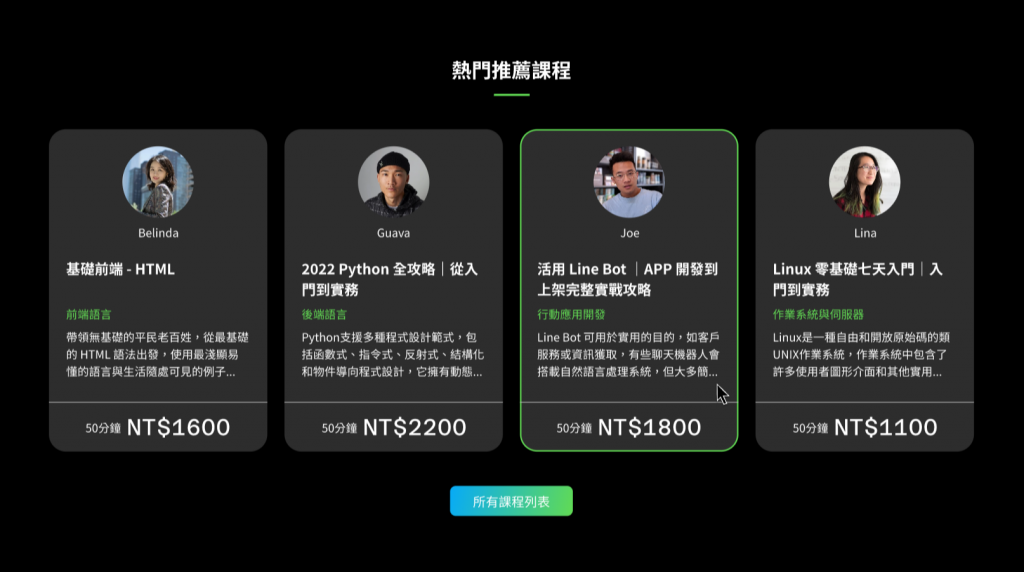
今天要做的比較簡單,就是套用卡片來客製化板型

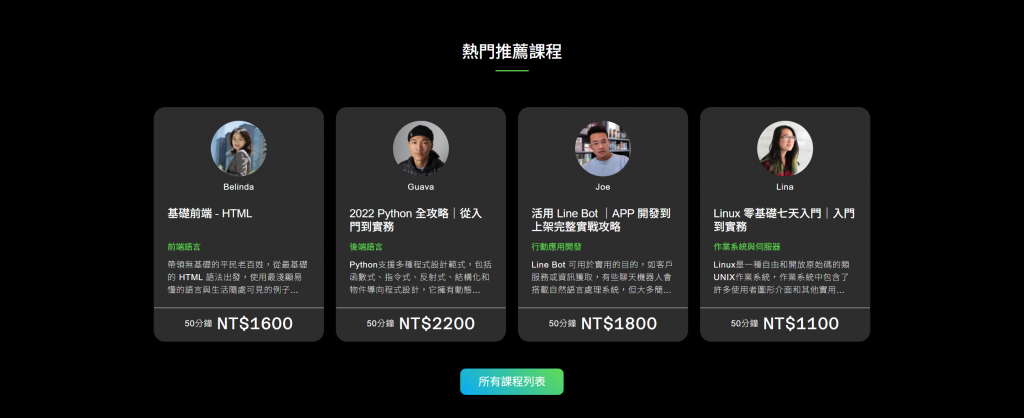
這次要達成的實作效果為四等分卡片區塊
以上直接附上程式碼
<div class="row g-4">
  <div
    class="col-lg-3 col-md-6 d-flex flex-column justify-content-center align-items-center"
  >
    <div class="card bg-secondary-dark rounded-4">
      <div class="card-body text-white p-6">
        <div
          class="teacher-info d-flex flex-column justify-content-center align-items-center"
        >
          <img
            src="../assets/images/teacher01.jpg"
            alt=""
            class="rounded-circle mb-2"
            width="100"
          />
          <span class="fs-3 mb-6">Belinda</span>
        </div>
        <h5 class="card-title fs-4" style="height: 58px">基礎前端 - HTML</h5>
        <h6 class="card-subtitle text-primary-green fs-3 mb-3 fw-normal">
          前端語言
        </h6>
        <p class="card-text fs-3 fw-lighter">
          帶領無基礎的平民老百姓,從最基礎的 HTML
          語法出發,使用最淺顯易懂的語言與生活隨處可見的例子...
        </p>
        <div
          class="card-footer d-flex justify-content-center align-items-center border-white"
          style="margin: 0 -24px -20px"
        >
          <span class="fs-3 me-2 fw-light">50分鐘</span>
          <h4 class="fs-6 fw-normal font-azeret-mono">NT$1600</h4>
        </div>
      </div>
    </div>
  </div>
  <div
    class="col-lg-3 col-md-6 d-flex flex-column justify-content-center align-items-center"
  >
    <div class="card bg-secondary-dark rounded-4">...</div>
  </div>
  <div
    class="col-lg-3 col-md-6 d-flex flex-column justify-content-center align-items-center"
  >
    <div class="card bg-secondary-dark rounded-4">...</div>
  </div>
  <div
    class="col-lg-3 col-md-6 d-flex flex-column justify-content-center align-items-center"
  >
    <div class="card bg-secondary-dark rounded-4">...</div>
  </div>
  <button type="button" class="btn class-btn rounded-3 mt-12 mx-auto px-8 py-2">
    <a href="#" class="text-white">所有課程列表</a>
  </button>
</div>
今天的區塊相對前幾天簡單了許多,依然是使用容器、格線系統與斷點就能輕鬆達成RWD效果,而卡片預設結構為
<div class="card" style="width: 18rem;">
  <img src="..." class="card-img-top" alt="...">
  <div class="card-body">
    <h5 class="card-title">Card title</h5>
    <p class="card-text">Some quick example text to build on the card title and make up the bulk of the card's content.</p>
    <a href="#" class="btn btn-primary">Go somewhere</a>
  </div>
  <div class="card-footer">
    Card footer
  </div>
</div>
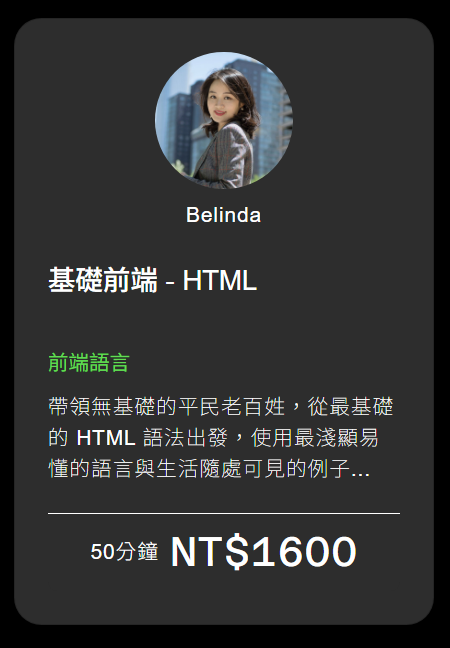
我們只需照著他的className去放入相對應的區塊,再自行調整段落之間的間距即可,值得注意的是,卡片本身左右有padding(15px),因此會出現一個小問題是卡片中的分隔線無法滿版。
而解決方法是找到該區塊(card-footer)並加入margin來加回原本的邊距,這麼一來便能達到滿版的效果。另外卡片與卡片之間的距離會建議用網格系統來改,因為自己設定斷點很麻煩而且容易跑版,但在.row加上g-6,不但能修正卡片padding,還能順便處理響應式排版
g-4 和 gap-4 都是用來設置網格(Grid)或容器中的間距的類別,但它們的用途和具體應用有所不同
<div class="row g-4">
  <div class="col">
    Column 1
  </div>
  <div class="col">
    Column 2
  </div>
</div>
在這個範例中,Column 1 和 Column 2 之間會有 1.5rem 的水平和垂直間距
<div class="d-flex gap-4">
  <div>Item 1</div>
  <div>Item 2</div>
</div>
在這個範例中,Item 1 和 Item 2 之間會有 1.5rem 的間距
主要區別
g-4:用於 Bootstrap Grid 系統中的 row 和 col 之間的間距
影響的是行和列的水平與垂直間距。
gap-4:用於 Flexbox 或 CSS Grid 布局,影響的是 子元素之間的間距
更靈活,可用於任意支持 gap 屬性的父容器


明天要去考保險證照+與一起上切版課的網友們見面,蠻好奇大家目前上班工作內容都在做甚麼,因為本人目前工作經驗甚至不到一年,會想多了解職場趨勢跟面試經驗,大概準備好再去投履歷,不然又會落得跟上間公司一樣的窘境。
