了解Service的工作機制 (●°u°●)
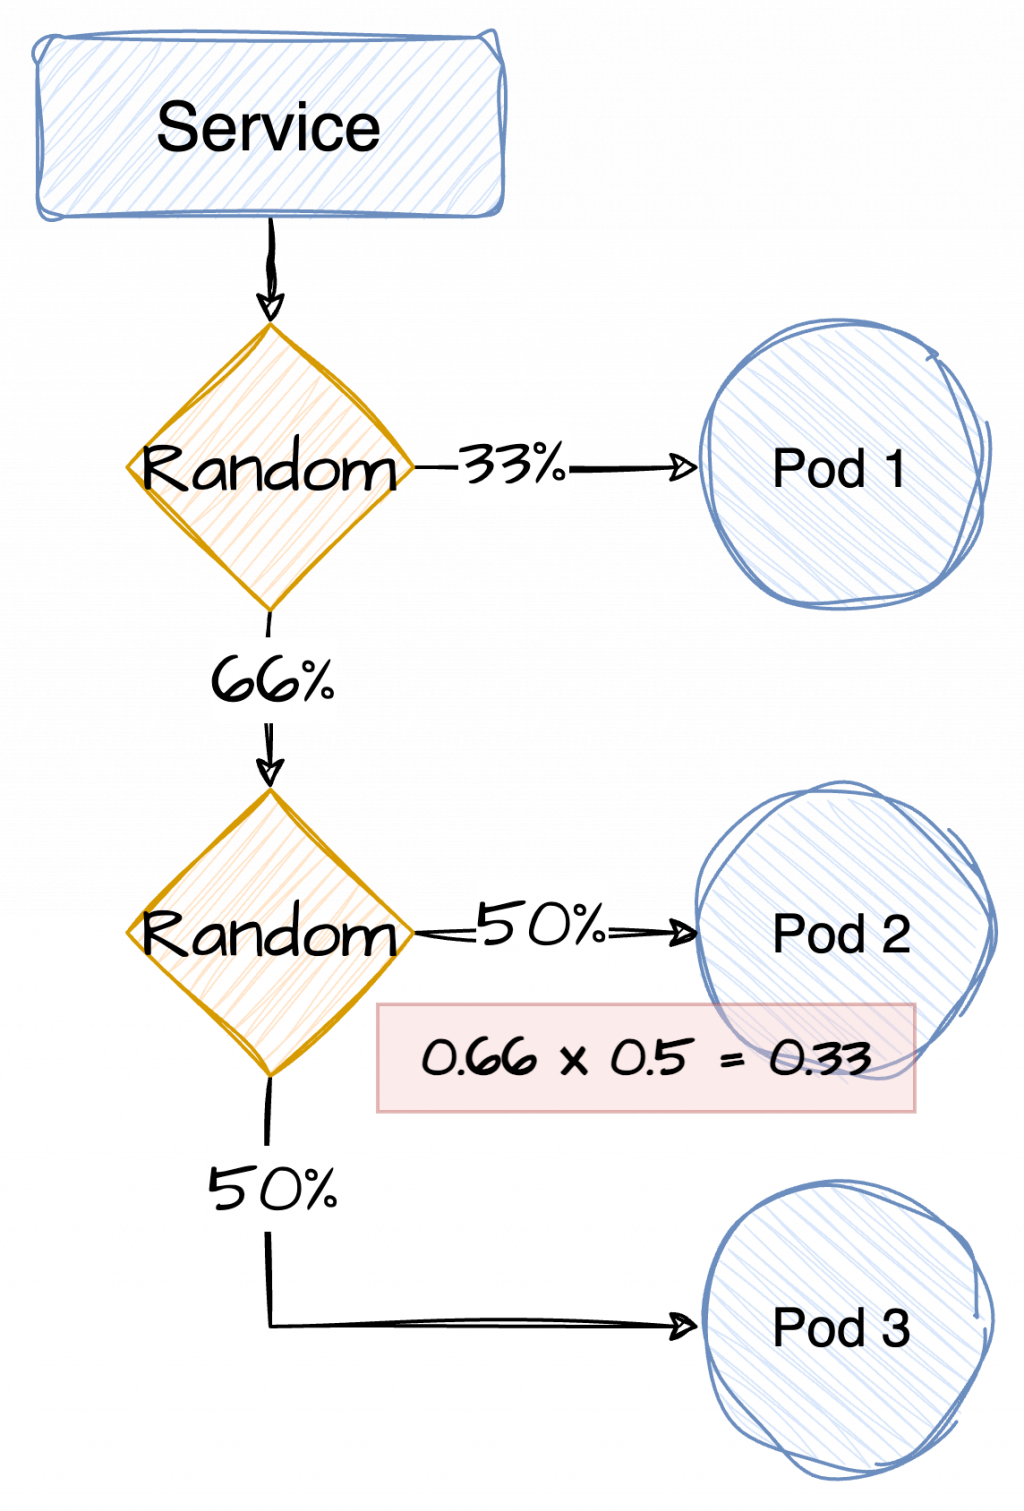
Service 會使用標籤去識別對應的 Pod,只要 Pod 包含符合設定的標籤,就會自動被加入 Service 的轉發目標中。Kubernetes 會為每個 Service 建立一個對應的 Endpoints ,並對應到 Service 轉發目標 Pod 的 IP 和 port。Service 會平均將流量分散到所屬的 Pod 上,分配方式採取 Round Robin *註1。先準備一個簡單的 pod yaml 檔
apiVersion: v1
kind: Pod
metadata:
  labels:
    app: nginx-pod
  name: nginx-pod
spec:
  containers:
  - image: nginx
    name: nginx-pod
  dnsPolicy: ClusterFirst
  restartPolicy: Always
如果懶得打字的話,可以用下面這行指令直接產生nginx-pod.yaml,再做調整:
kubectl run nginx-pod --image=nginx --dry-run=client -o yaml > nginx-pod.yaml
部署 pod
kubectl create -f nginx-pod.yaml
修改 yaml file 中的name: nginx-pod,部署出三個 nginx-pod
準備 Service yaml
apiVersion: v1
kind: Service
metadata:
  name: nginx-service
spec:
  type: NodePort
  ports:
    - port: 80
      targetPort: 80
      nodePort: 30080
  selector:
    app: nginx-pod
執行 create
kubectl create -f service.yaml
成功執行的話就會看到 service/nginx-service created 的訊息
來看看建立好的 Service
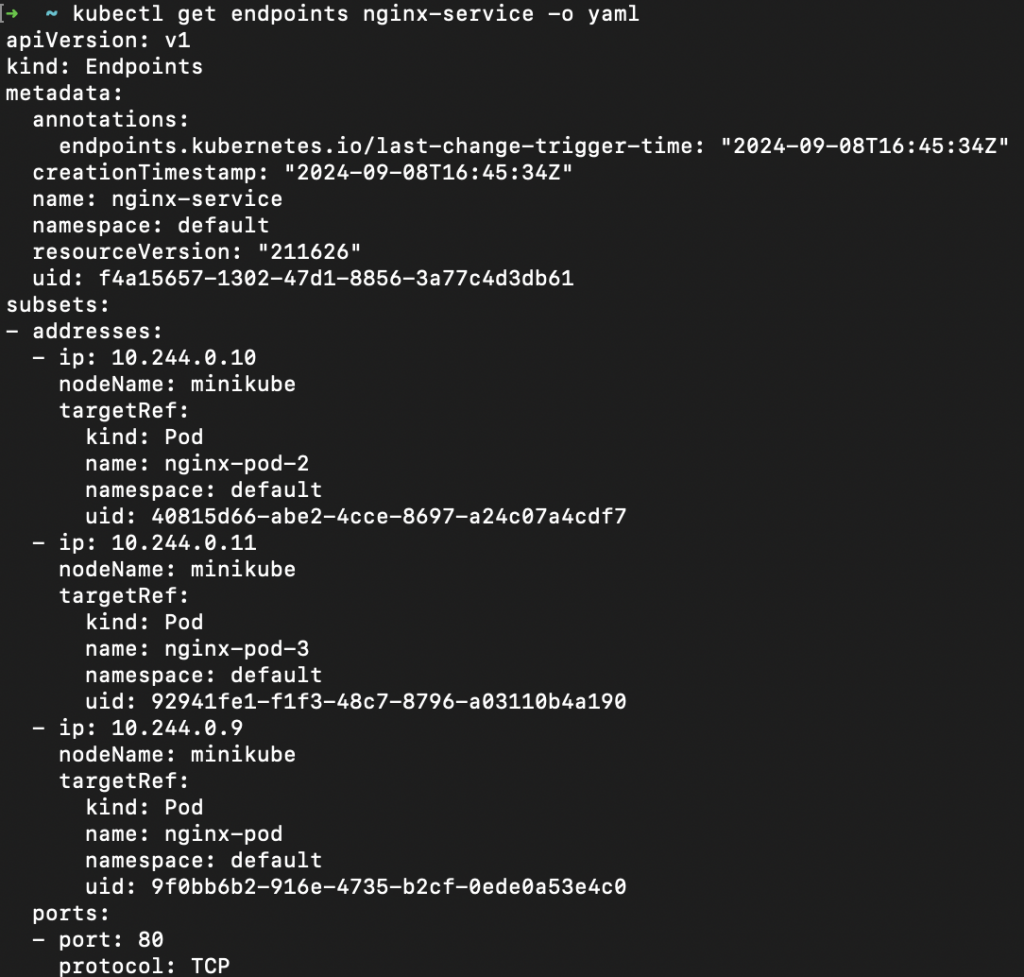
還記得一開頭提過,建立Service時會建立一個 Endpoint 去對應 Pod 嗎?
試著執行 get endpoints 指令:
# nginx-service 記得換成建立 service 時的名稱
# -o yaml: 將輸出格式顯示為 yaml
kubectl get endpoints nginx-service -o yaml
執行結果:
從 subsets 中可以看出剛才建立好的 nginx-pod、nginx-pod-2、nginx-pod-3 都順利的掛載上去了。
既然建立的是 NodePort 指令,那當然要試試看從外部連線到服務上,執行指令:
# 同上,nginx-service 請自行換成建立 service 時的名稱
minikube service nginx-service --url
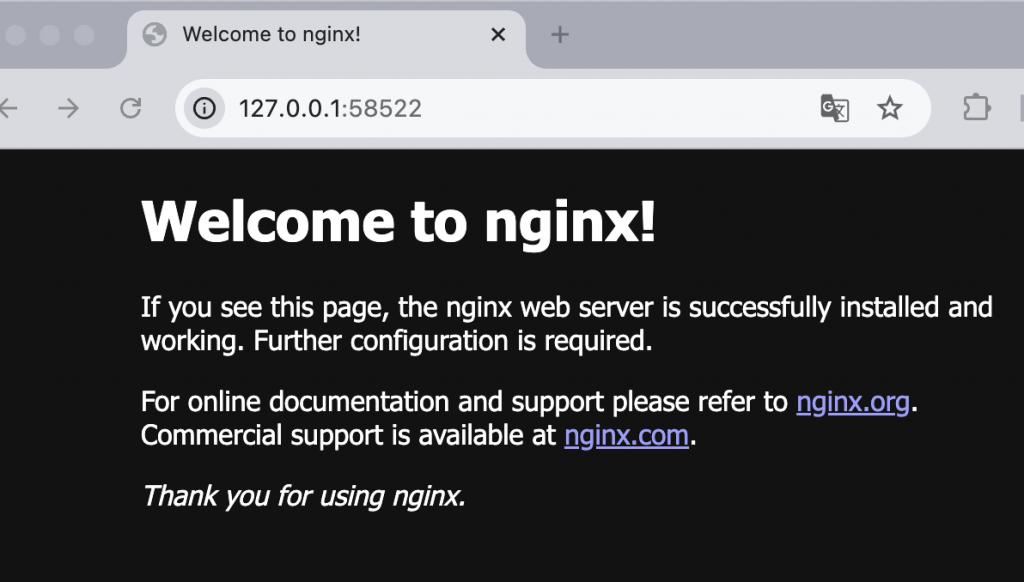
此時會得到一個url,丟上瀏覽器看看:

這樣就成功囉!
如果是使用 minikube,也可以透過 minikube 指令直接開啟服務:
minikube service nginx-service
也可以用指令來做!
就用之前建立過的 Pod 來示範。
執行 expose 指令:
kubectl expose pod demo-pod2 --name=<自行定義的 service 名稱> --type NodePort --port 80

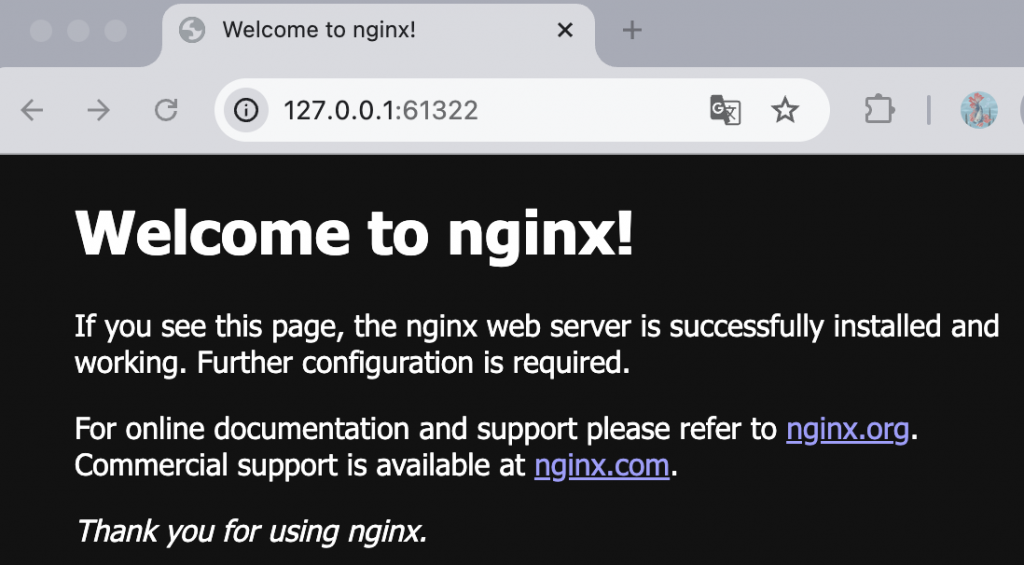
執行成功後同樣可以看到服務畫面:
結束後,別忘了關閉 minikube喔!
透過簡單的 Demo,實際操作將 Pod 上運行的應用程式變成對外服務的過程。
註1
Round Robin
依序循環,常見於負載均或需要將任務平均分配到資源的情境中。
以三個 Pod 為例,Round-Robin 會這樣分配流量:
