在前面的 blog_index_page 中,會呈現的 blog_page 和常見的內容網站並不一樣。
1 - 所有的內容都會顯示,但實際上有些文章可能還在 draft (草稿) 狀態,使用者不應該看到這個狀態的文章
2 - blog_page 的順序應該是最新的文章在上面,現在是最舊的文章在上面。
將 BlogIndexPage 改成這樣,
class BlogIndexPage(Page):
    intro = RichTextField(blank=True)

    def get_context(self, request):
        # Update context to include only published posts, ordered by reverse-chron
        # 將順序改成 reversed
        context = super().get_context(request)
        blogpages = self.get_children().live().order_by('-first_published_at')
        context['blogpages'] = blogpages
        return context

    content_panels = Page.content_panels + [
        FieldPanel('intro')
    ]
def get_context(self, request) 方法用於修改頁面的上下文。這個方法接收一個請求對象作為參數,並返回一個字典,這個字典中包含了渲染模板時所需的所有數據。
context = super().get_context(request):這行代碼調用父類的 get_context 方法,獲取一個包含默認上下文數據的字典。blogpages = self.get_children().live().order_by('-first_published_at'):這行代碼獲取當前頁面的所有子頁面(假設這些子頁面是博客帖子),並使用 .live() 方法篩選出已發布的帖子,然後使用 .order_by('-first_published_at') 將這些帖子按發布時間逆序排序(最新的帖子排在最前面)。context['blogpages'] = blogpages:這行代碼將排序後的帖子列表添加到上下文字典中,鍵名為 'blogpages'。這樣,在模板中就可以通過這個鍵來訪問這些帖子的列表了。接下來你需要增加的功能是能夠將圖片庫附加到你的 blog 文章中。雖然可以簡單地將圖片插入到豐富文本體欄位中,但在數據庫中將你的圖庫圖片設置為新的專用對象類型有幾個優勢。這樣,你可以完全控制模板上圖片的布局和樣式,而不必在欄位內以特定方式布局它們。這也使得你可以在 blog 文本之外獨立使用這些圖片。例如,在 blog 的索引頁面顯示縮略圖。
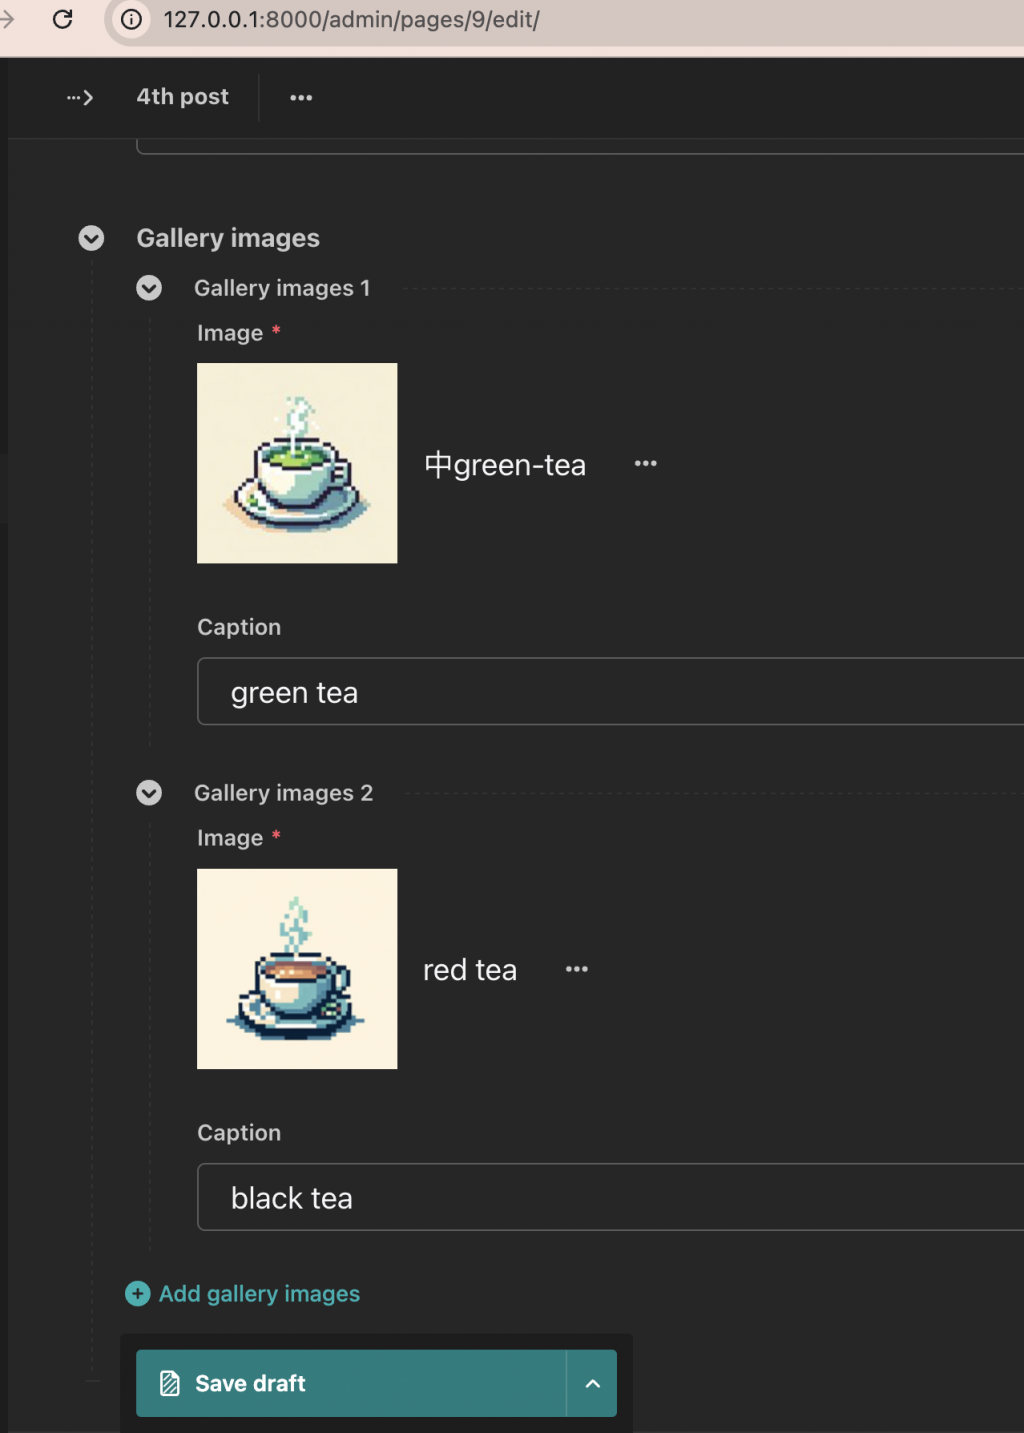
現在修改你的 BlogPage 模型,並在 blog/models.py 中添加一個新的 BlogPageGalleryImage 模型:
# New imports added for ParentalKey, Orderable, InlinePanel
# 要加上新的 import
from modelcluster.fields import ParentalKey

from wagtail.models import Page, Orderable
from wagtail.fields import RichTextField
from wagtail.admin.panels import FieldPanel, InlinePanel
from wagtail.search import index

# ... Keep the definition of BlogIndexPage, update the content_panels of BlogPage, and add a new BlogPageGalleryImage model:
# 其他的定義都要保留,並在 content_panels 加上 InlinePanel

class BlogPage(Page):
    date = models.DateField("Post date")
    intro = models.CharField(max_length=250)
    body = RichTextField(blank=True)

    search_fields = Page.search_fields + [
        index.SearchField('intro'),
        index.SearchField('body'),
    ]

    content_panels = Page.content_panels + [
        FieldPanel('date'),
        FieldPanel('intro'),
        FieldPanel('body'),

        # Add this:
        # 要加 gallery 的是這一行
        InlinePanel('gallery_images', label="Gallery images"),
    ]

class BlogPageGalleryImage(Orderable):
    page = ParentalKey(BlogPage, on_delete=models.CASCADE, related_name='gallery_images')
    image = models.ForeignKey(
        'wagtailimages.Image', on_delete=models.CASCADE, related_name='+'
    )
    caption = models.CharField(blank=True, max_length=250)

    panels = [
        FieldPanel('image'),
        FieldPanel('caption'),
    ]
python manage.py makemigrations
python manage.py migrate.
開始更改 templates, 改 blog/templates/blog/blog_page.html
<!-- Load the wagtailimages_tags: -->
{% load wagtailcore_tags wagtailimages_tags %}

{% block body_class %}template-blogpage{% endblock %}

{% block content %}
    <h1>{{ page.title }}</h1>
    <p class="meta">{{ page.date }}</p>

    <div class="intro">{{ page.intro }}</div>

    {{ page.body|richtext }}

    <!-- Add this: -->
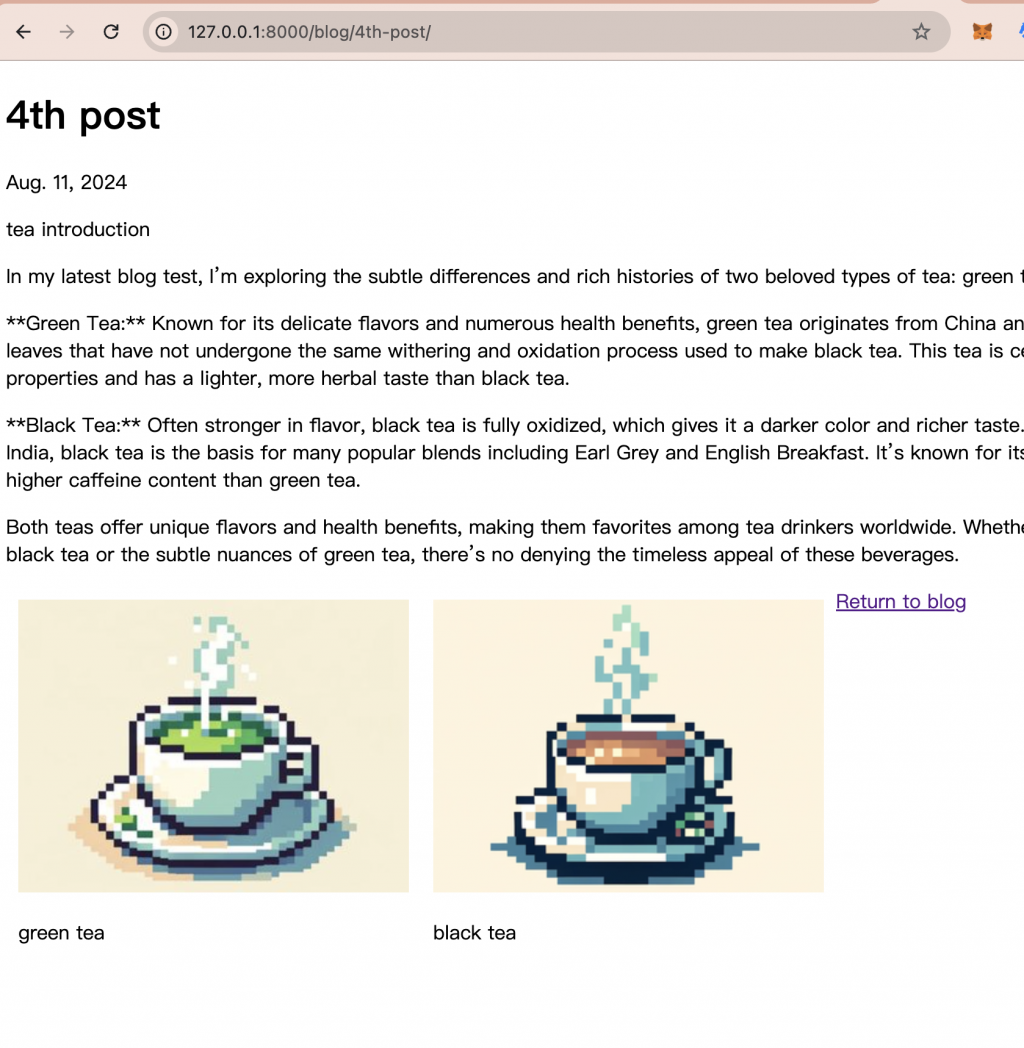
    {% for item in page.gallery_images.all %}
        <div style="float: inline-start; margin: 10px">
            {% image item.image fill-320x240 %}
            <p>{{ item.caption }}</p>
        </div>
    {% endfor %}

    <p><a href="{{ page.get_parent.url }}">Return to blog</a></p>

{% endblock %}
試著寫一篇 post,加上兩張圖片。

Published 後,在 blog 上發佈看看。

接下來,我們會進行作者的 model 建立,讓文章有 Author 這個柵位。
