接下來要使用 Node.js 的 http 模組來建立簡單的 HTTP 伺服器,並處理基本的請求與回應。
Node.js 的 http 模組是 HTTP 伺服器的重要核心。可以用它來處理客戶端的請求,並根據請求提供相對的回應。這能夠建立 API、網站或其他基於網路的應用程式。
首先需要引入 http 模組:
js
const http = require('http');
使用 http.createServer() 可以建立一個基本的 HTTP 伺服器,並通過 listen() 方法讓伺服器開始監聽特定的通訊埠。
js
const http = require('http');

const server = http.createServer((req, res) => {
  res.statusCode = 200;
  res.setHeader('Content-Type', 'text/plain');

  res.end('Hello, World!\n');
});

server.listen(3000, () => {
  console.log('Server running at http://localhost:3000/');
});
res.end() 用來結束回應並將數據返回給客戶端。
實際打入 Node.js ,執行結果會如下: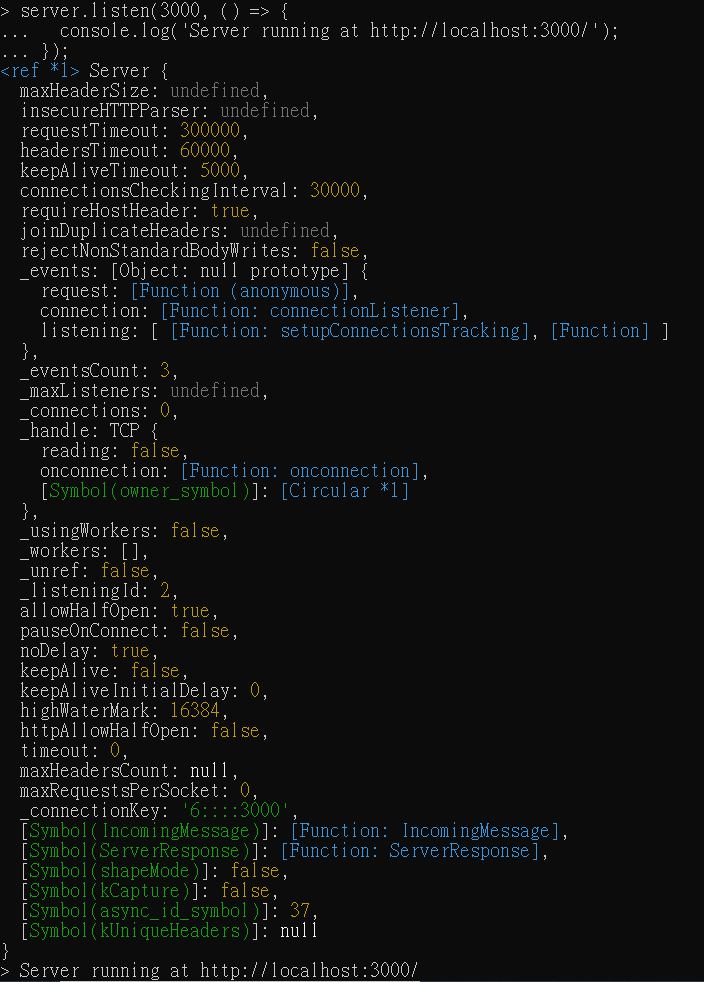
這樣就代表伺服器已經正確啟動了,可以打開瀏覽器搜尋網址,即可看到頁面顯示 "Hello, World!",查詢後結果如下: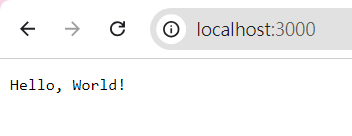
路由是根據請求的 URL 將客戶端請求分派到特定處理程序的過程。在 Web 開發中,路由決定了每個 URL 對應的處理邏輯。
伺服器可以根據請求的 URL 來做出不同的回應,這就是路由的基本概念。
js
const http = require('http');

const server = http.createServer((req, res) => {
  res.setHeader('Content-Type', 'text/plain');

  if (req.url === '/') {
    res.statusCode = 200;
    res.end('Welcome to the homepage!\n');
  } else if (req.url === '/about') {
    res.statusCode = 200;
    res.end('About us page\n');
  } else {
    res.statusCode = 404;
    res.end('Page not found\n');
  }
});

server.listen(3000, () => {
  console.log('Server running at http://localhost:3000/');
});
在這裡,我們根據請求的 req.url 來判斷客戶端請求的是哪個路徑,並提供對應的回應。
實際打入 Node.js ,執行結果會如下: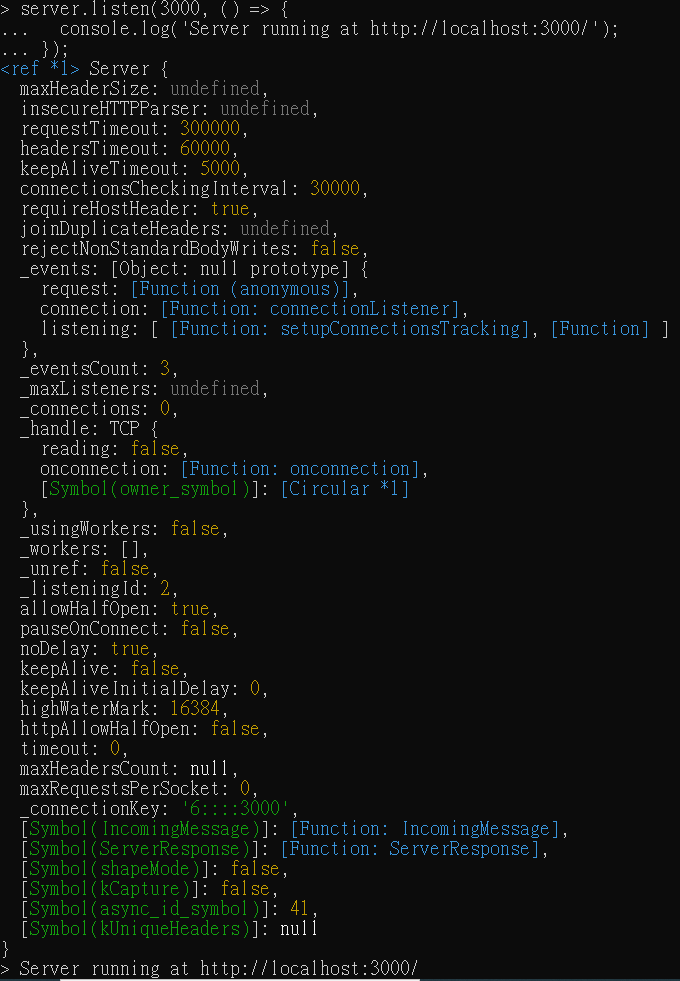
打開瀏覽器搜尋網址,查詢結果如下: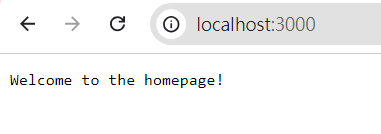
在 Node.js 中,可以通過 req.method 來區分不同的 HTTP 方法,最常見的是 GET 和 POST。
處理 GET 和 POST 請求的的範例:
js
const http = require('http');

const server = http.createServer((req, res) => {
  res.setHeader('Content-Type', 'text/plain');

  if (req.method === 'GET') {
    res.statusCode = 200;
    res.end('Received a GET request\n');
  } else if (req.method === 'POST') {
    let body = '';

    req.on('data', chunk => {
      body += chunk.toString();
    });

    req.on('end', () => {
      res.statusCode = 200;
      res.end(`Received a POST request with data: ${body}\n`);
    });
  } else {
    res.statusCode = 405;
    res.end('Method not allowed\n');
  }
});

server.listen(3000, () => {
  console.log('Server running at http://localhost:3000/');
});
在這個範例中,通過 req.method 來區分 GET 和 POST 請求,並對 POST 請求進行了資料接收與處理。
實際打入 Node.js ,執行結果會如下: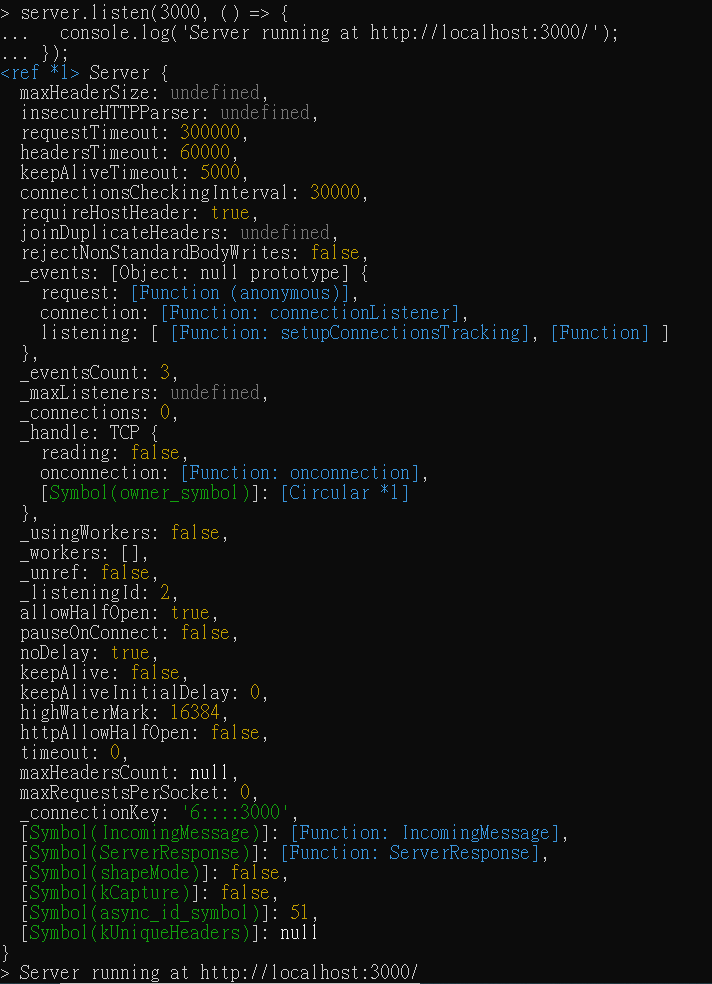
打開瀏覽器搜尋網址,查詢結果如下: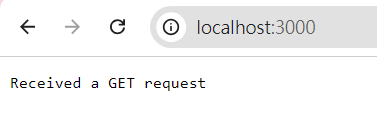
Node.js 伺服器不僅可以傳送純文字,還能夠傳送 JSON 資料,這在構建 API 時非常常見。
傳送 JSON 資料的範例:
js
const http = require('http');

const server = http.createServer((req, res) => {
  res.setHeader('Content-Type', 'application/json');

  const data = {
    message: 'Hello, World!',
    timestamp: new Date(),
  };

  res.statusCode = 200;
  res.end(JSON.stringify(data));
});

server.listen(3000, () => {
  console.log('Server running at http://localhost:3000/');
});
在這個地方將 JavaScript 物件轉換為 JSON 字串並傳送給客戶端。
實際打入 Node.js ,執行結果會如下:
打開瀏覽器搜尋網址,查詢結果如下: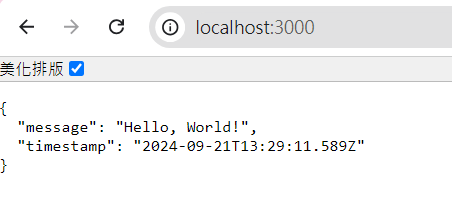
當伺服器運行時,難免會需要處理錯誤。可以在 Node.js 中監聽伺服器的錯誤事件,並在發生錯誤時採取相應的操作。
錯誤處理的範例:
js
server.on('error', (err) => {
  console.error('Server error:', err);
});
這段程式展示了如何處理伺服器運行過程中的錯誤,並印出錯誤訊息。
今天學習了如何使用 Node.js 的 http 模組來構建基本的 HTTP 伺服器,並處理請求和回應。還討論了如何根據不同的路由回應、處理 GET 和 POST 請求以及傳送 JSON 資料。有了這些基礎,相信之後能構建更強大的網頁應用程式。接下來會進一步深入 Node.js 的其他模組與應用程式開發技巧。


 iThome鐵人賽