前面花了兩篇解決了圖片顯示的問題,接下來來解決文章顯示的問題
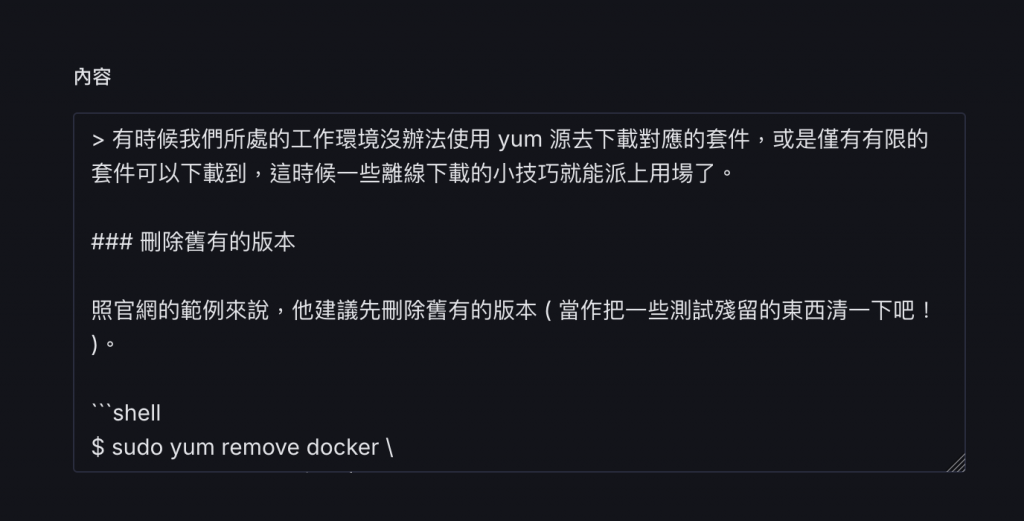
現在我們是用 Sanity 預設的 text 型別,並且在裡面存放 markdown 格式的內容,渲染到畫面的時候基本就是像現在這樣,不管是在 Sanity 裡面還是 Next 前端頁面都一樣,完全沒有排版。
import {defineType, defineField} from 'sanity'
import {getImageDimensions, getExtension} from '@sanity/asset-utils'

export default defineType({
  name: 'blogPost',
  title: 'Blog Post',
  type: 'document',
  // ...
  fields: [
    // ...
    defineField({
      name: 'content',
      title: '內容',
      type: 'text',
      validation: (rule) => rule.required(),
    }),
    // ...
  ],
})


一開始先來解決 Sanity 資料欄位問題,現在使用的是 text 型別,但 Markdown 這種被廣泛使用的撞格式有沒有那種專門的型別呢?
答案是有的,就是 sanity-plugin-markdown。
使用上也非常簡單,npm 下載套件後再引入 plugin 後就有markdown 這個型別可以使用了。
npm 下載套件:
npm install --save sanity-plugin-markdown
在 sanity.config.ts 中加入 plugin:
import {markdownSchema} from 'sanity-plugin-markdown'

export default defineConfig({
  // ...
	plugins: [
		structureTool(),
		visionTool(),
		markdownSchema() // 加入 plugin
	],
	// ...
})
最後在型別上改成 markdown,就完成了。
defineField({
  name: 'content',
  title: '內容',
  type: 'markdown',
  validation: (rule) => rule.required(),
}),

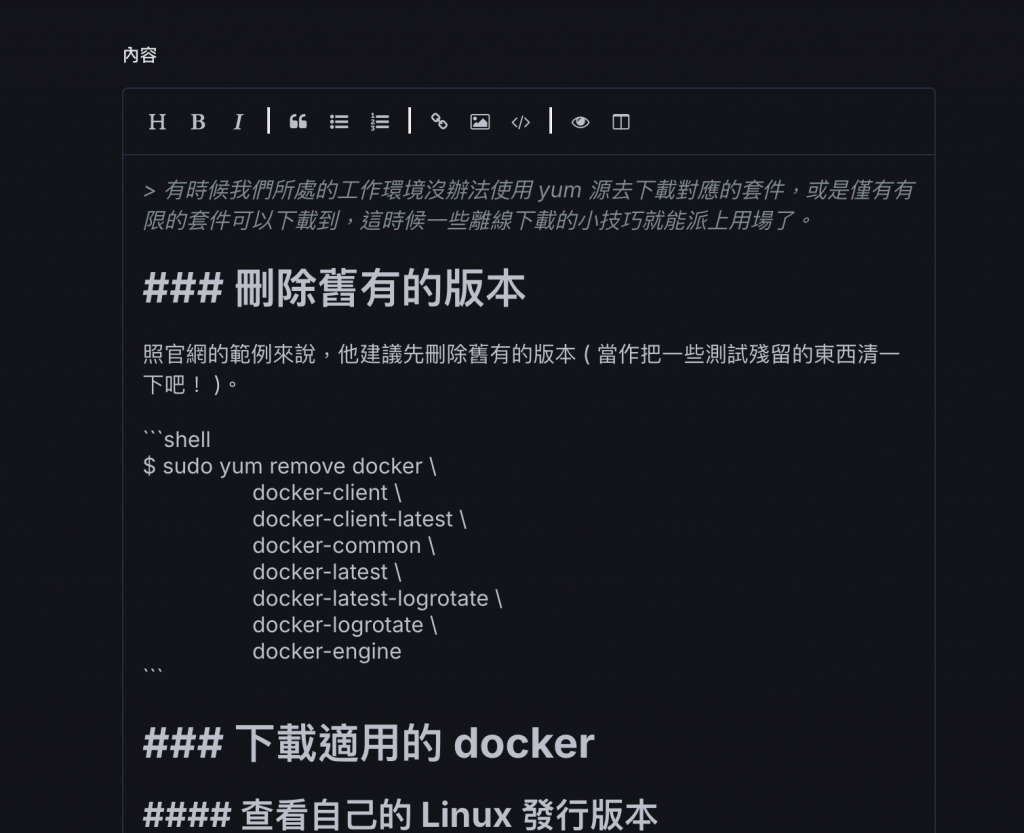
這樣一來在 Sanity 那端,就有基本的排版跟工具列可以用了。
在 Next.js 前端顯示 Markdown 內容選用的 react-markdown, remark-gfm, rehype-highlight, github-markdown-css。
功能分別是:
<code></code> 的內容,有一些基本樣式。這邊就不展開講 unified, remark, rehype 這些了,比較不是這裡的重點。
在 Next.js 建立一個叫 MarkdownBlock 的 Component:
// app/components/MarkdownBlock.tsx
import ReactMarkdown from "react-markdown";

import remarkGfm from "remark-gfm";
import rehypeHighlight from "rehype-highlight";
import "github-markdown-css/github-markdown-dark.css";

export default function MarkdownBlock({
  content,
}: Readonly<{ content: string }>) {
  return (
    <ReactMarkdown
      className="markdown-body"
      remarkPlugins={[remarkGfm]}
      rehypePlugins={[rehypeHighlight]}
    >
      {content}
    </ReactMarkdown>
  );
}
接著引入就可以直接使用了~~
// ...

export default async function Post({ params }: { params: { slug: string } }) {
  // ...

  return (
    <div className="post max-w-screen-md p-5">
	    {/* ...  */}
      <MarkdownBlock content={post.content} />
    </div>
  );
}

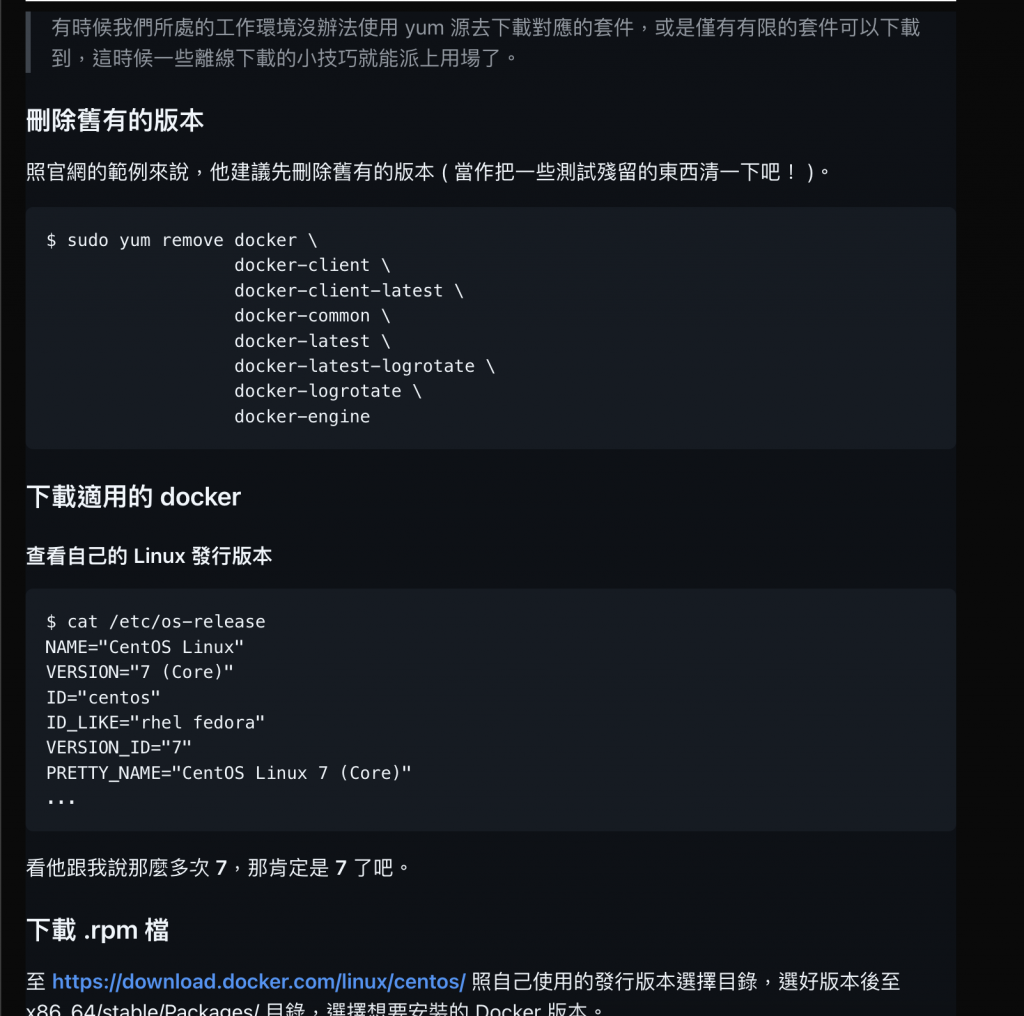
這樣內容就都出來了~
