今天,我們將試著在 Rust 中使用常見的軟體設計模式。設計模式是解決軟體設計中常見問題的可重用解決方案。雖然許多設計模式源自於物件導向程式設計,但我們可以看 Rust 的獨特環境 中適應和應用這些模式。
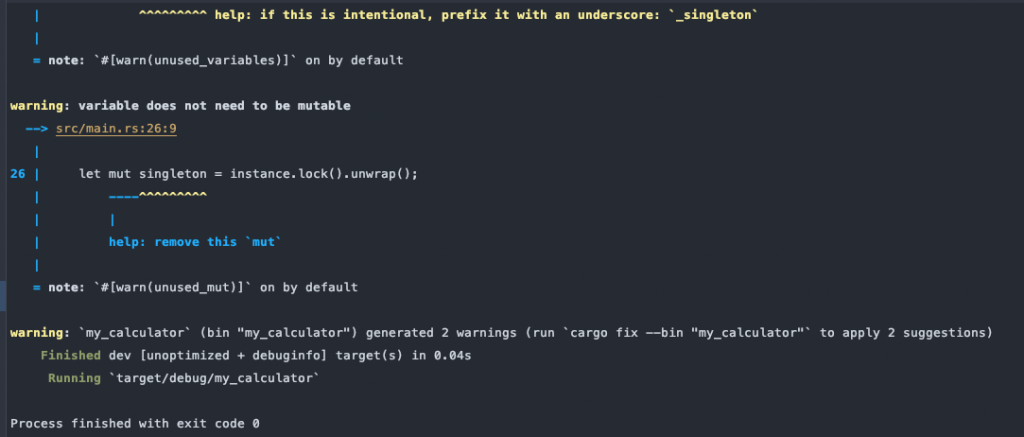
在 Rust 中,我們可以使用 lazy_static 宏來實現執行緒安全的單例模式。
use lazy_static::lazy_static;
use std::sync::Mutex;

lazy_static! {
    static ref INSTANCE: Mutex<SingletonStruct> = Mutex::new(SingletonStruct::new());
}

struct SingletonStruct {
    // 結構體欄位
}

impl SingletonStruct {
    fn new() -> Self {
        SingletonStruct {
            // 初始化欄位
        }
    }

    fn get_instance() -> &'static Mutex<Self> {
        &INSTANCE
    }
}

fn main() {
    let instance = SingletonStruct::get_instance();
    let mut singleton = instance.lock().unwrap();
    // 使用 singleton
}
Rust 使用特徵(trait)來實現工廠模式。
trait Animal {
fn make_sound(&self);
}
struct Dog;
struct Cat;
impl Animal for Dog {
fn make_sound(&self) {
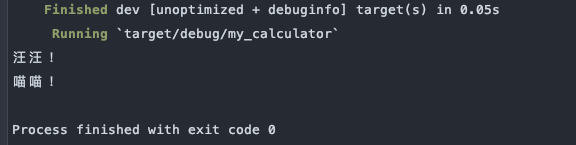
println!("汪汪!");
}
}
impl Animal for Cat {
fn make_sound(&self) {
println!("喵喵!");
}
}
enum AnimalType {
Dog,
Cat,
}
struct AnimalFactory;
impl AnimalFactory {
fn create_animal(animal_type: AnimalType) -> Box<dyn Animal> {
match animal_type {
AnimalType::Dog => Box::new(Dog),
AnimalType::Cat => Box::new(Cat),
}
}
}
fn main() {
let dog = AnimalFactory::create_animal(AnimalType::Dog);
dog.make_sound();
let cat = AnimalFactory::create_animal(AnimalType::Cat);
cat.make_sound();
}
在 Rust 中,我們可以使用特徵和閉包來實現觀察者模式。
use std::cell::RefCell;
trait Observer {
fn update(&self, message: &str);
}
struct Subject {
observers: RefCell<Vec<Box<dyn Observer>>>,
}
impl Subject {
fn new() -> Self {
Subject {
observers: RefCell::new(Vec::new()),
}
}
fn attach(&self, observer: Box<dyn Observer>) {
self.observers.borrow_mut().push(observer);
}
fn notify(&self, message: &str) {
for observer in self.observers.borrow().iter() {
observer.update(message);
}
}
}
struct ConcreteObserver {
name: String,
}
impl Observer for ConcreteObserver {
fn update(&self, message: &str) {
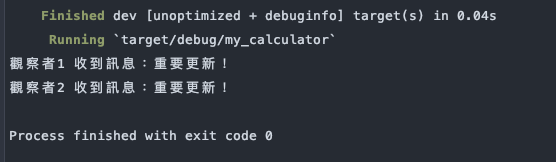
println!("{} 收到訊息:{}", self.name, message);
}
}
fn main() {
let subject = Subject::new();
let observer1 = Box::new(ConcreteObserver { name: "觀察者1".to_string() });
let observer2 = Box::new(ConcreteObserver { name: "觀察者2".to_string() });
subject.attach(observer1);
subject.attach(observer2);
subject.notify("重要更新!");
}
Rust 的特徵非常適合實現策略模式。
trait SortStrategy {
fn sort(&self, data: &mut [i32]);
}
struct BubbleSort;
struct QuickSort;
impl SortStrategy for BubbleSort {
fn sort(&self, data: &mut [i32]) {
// 實作氣泡排序
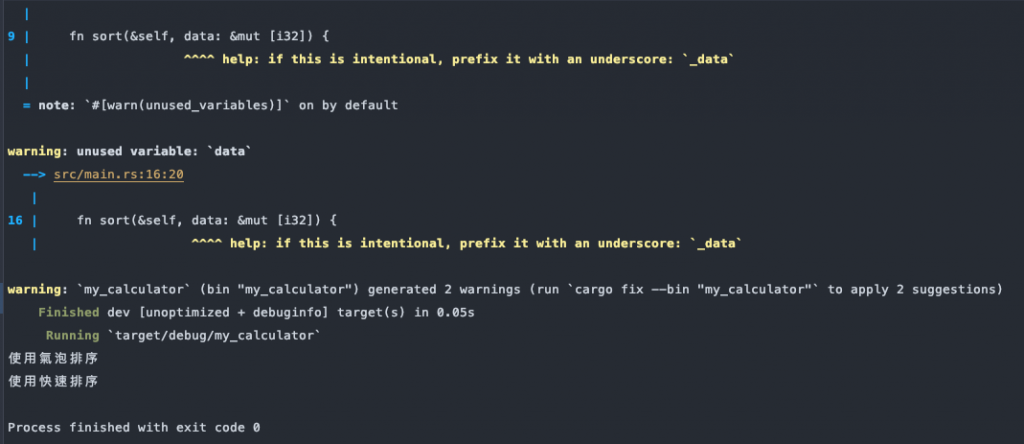
println!("使用氣泡排序");
}
}
impl SortStrategy for QuickSort {
fn sort(&self, data: &mut [i32]) {
// 實作快速排序
println!("使用快速排序");
}
}
struct Sorter {
strategy: Box<dyn SortStrategy>,
}
impl Sorter {
fn new(strategy: Box<dyn SortStrategy>) -> Self {
Sorter { strategy }
}
fn sort(&self, data: &mut [i32]) {
self.strategy.sort(data);
}
}
fn main() {
let mut data = vec![3, 1, 4, 1, 5, 9, 2, 6, 5, 3, 5];
let bubble_sorter = Sorter::new(Box::new(BubbleSort));
bubble_sorter.sort(&mut data);
let quick_sorter = Sorter::new(Box::new(QuickSort));
quick_sorter.sort(&mut data);
}
Rust 的方法鏈接特性使得實現建造者模式變得很輕鬆。
#[derive(Default)]
struct Computer {
    cpu: String,
    ram: u32,
    storage: u32,
}

struct ComputerBuilder {
    computer: Computer,
}

impl ComputerBuilder {
    fn new() -> Self {
        ComputerBuilder {
            computer: Computer::default(),
        }
    }

    fn cpu(mut self, cpu: String) -> Self {
        self.computer.cpu = cpu;
        self
    }

    fn ram(mut self, ram: u32) -> Self {
        self.computer.ram = ram;
        self
    }

    fn storage(mut self, storage: u32) -> Self {
        self.computer.storage = storage;
        self
    }

    fn build(self) -> Computer {
        self.computer
    }
}

fn main() {
    let computer = ComputerBuilder::new()
        .cpu("Intel i7".to_string())
        .ram(16)
        .storage(512)
        .build();

    println!("CPU: {}, RAM: {}GB, Storage: {}GB", computer.cpu, computer.ram, computer.storage);
}
這些例子示範了如何在 Rust 中應用一些常見的設計模式。Rust 的特性如特徵、閉包和強大的型別系統,在使用設計模式時,重要的是要考慮 Rust 的所有權系統和借用規則,以確保程式碼不僅符合模式的意圖,而且也是安全和高效。