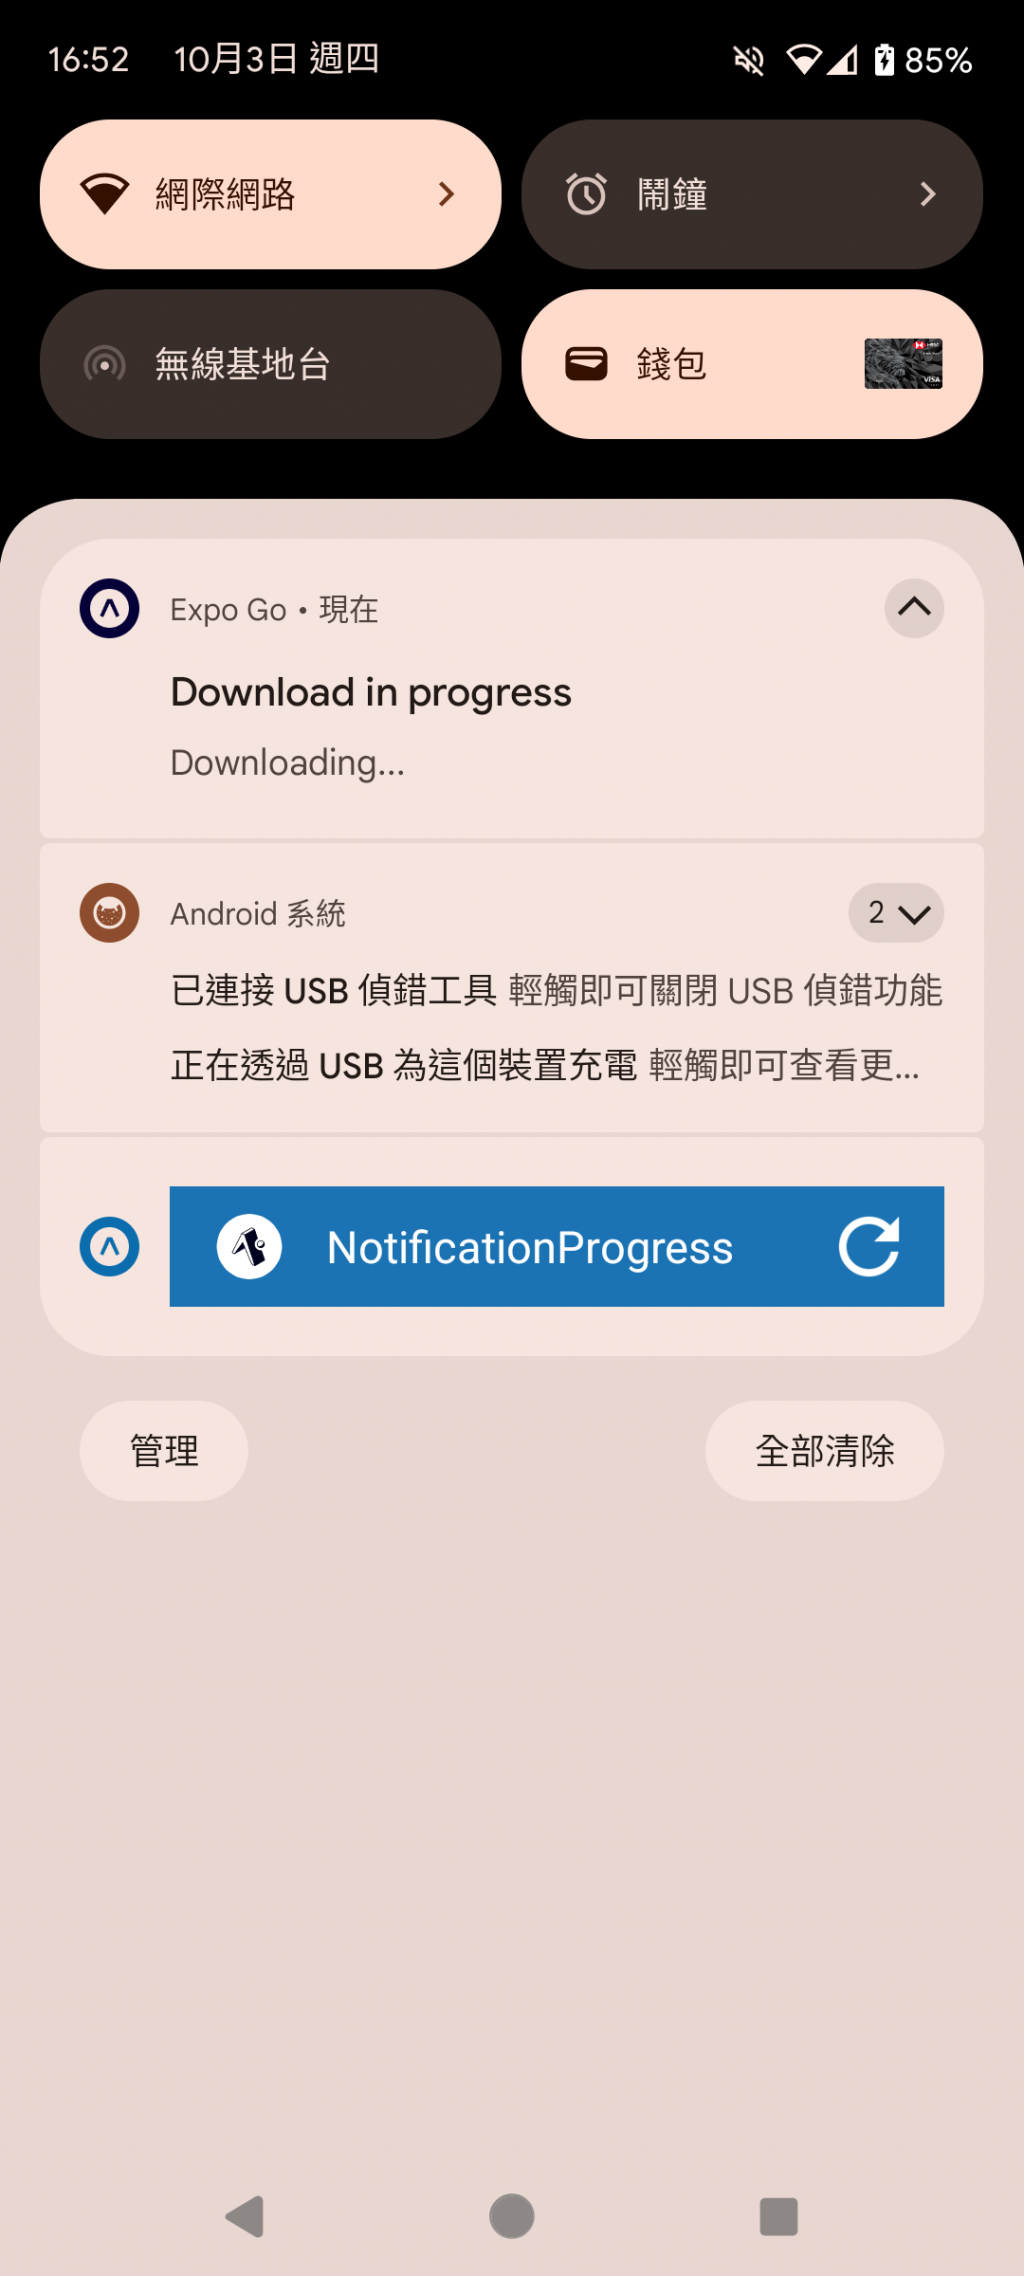
詢問 AI,都說 React Expo API 跟 bare work flow (建立 android module,以使用 Android 原生元件來處理通知的相關實作)都能實作通知視窗的動態進度條。
抱著半信半疑的心態,先來嘗試 React Expo API 的實作。
import React, { useState, useEffect, useRef } from 'react';
import { Text, View, Button, Platform } from 'react-native';
import * as Notifications from 'expo-notifications';
import Constants from 'expo-constants';
import * as Device from 'expo-device';

export default function App() {
  // ... (previous state and useEffect code remains the same)

  return (
    <View
      style={{
        flex: 1,
        alignItems: 'center',
        justifyContent: 'space-around',
      }}>
      {/* ... (previous return content remains the same) */}
      <Button
        title="Press to schedule a notification with progress bar"
        onPress={async () => {
          await scheduleProgressNotification();
        }}
      />
    </View>
  );
}

async function scheduleProgressNotification() {
  const notificationId = await Notifications.scheduleNotificationAsync({
    content: {
      title: "Download in progress",
      body: 'Downloading...',
      data: { data: 'goes here' },
      android: {
        priority: Notifications.AndroidNotificationPriority.HIGH,
        progress: {
          max: 100,
          current: 0,
        },
      },
    },
    trigger: null,
  });

  // Simulate progress updates
  for (let i = 0; i <= 100; i += 10) {
    await new Promise(resolve => setTimeout(resolve, 1000)); // Wait 1 second
    await Notifications.scheduleNotificationAsync({
      content: {
        title: "Download in progress",
        body: `Downloading... ${i}%`,
        data: { data: 'goes here' },
        android: {
          priority: Notifications.AndroidNotificationPriority.HIGH,
          progress: {
            max: 100,
            current: i,
          },
        },
      },
      identifier: notificationId,
    });
  }

  // Final notification when download is complete
  await Notifications.scheduleNotificationAsync({
    content: {
      title: "Download complete",
      body: 'Your download has finished.',
      data: { data: 'goes here' },
    },
    identifier: notificationId,
  });
}

// ... (registerForPushNotificationsAsync function remains the same)
另外,需要在 app.json 檔案加入
{
  "expo": {
    "android": {
      "useNextNotificationsApi": true
    }
  }
}
再加一顆按鈕來觸發通知。
<View
        ......
        <Button
            title="Press to schedule a notification with progress bar"
            onPress={async () => {
              await simulateProgressNotification();
            }}
        />
      </View>
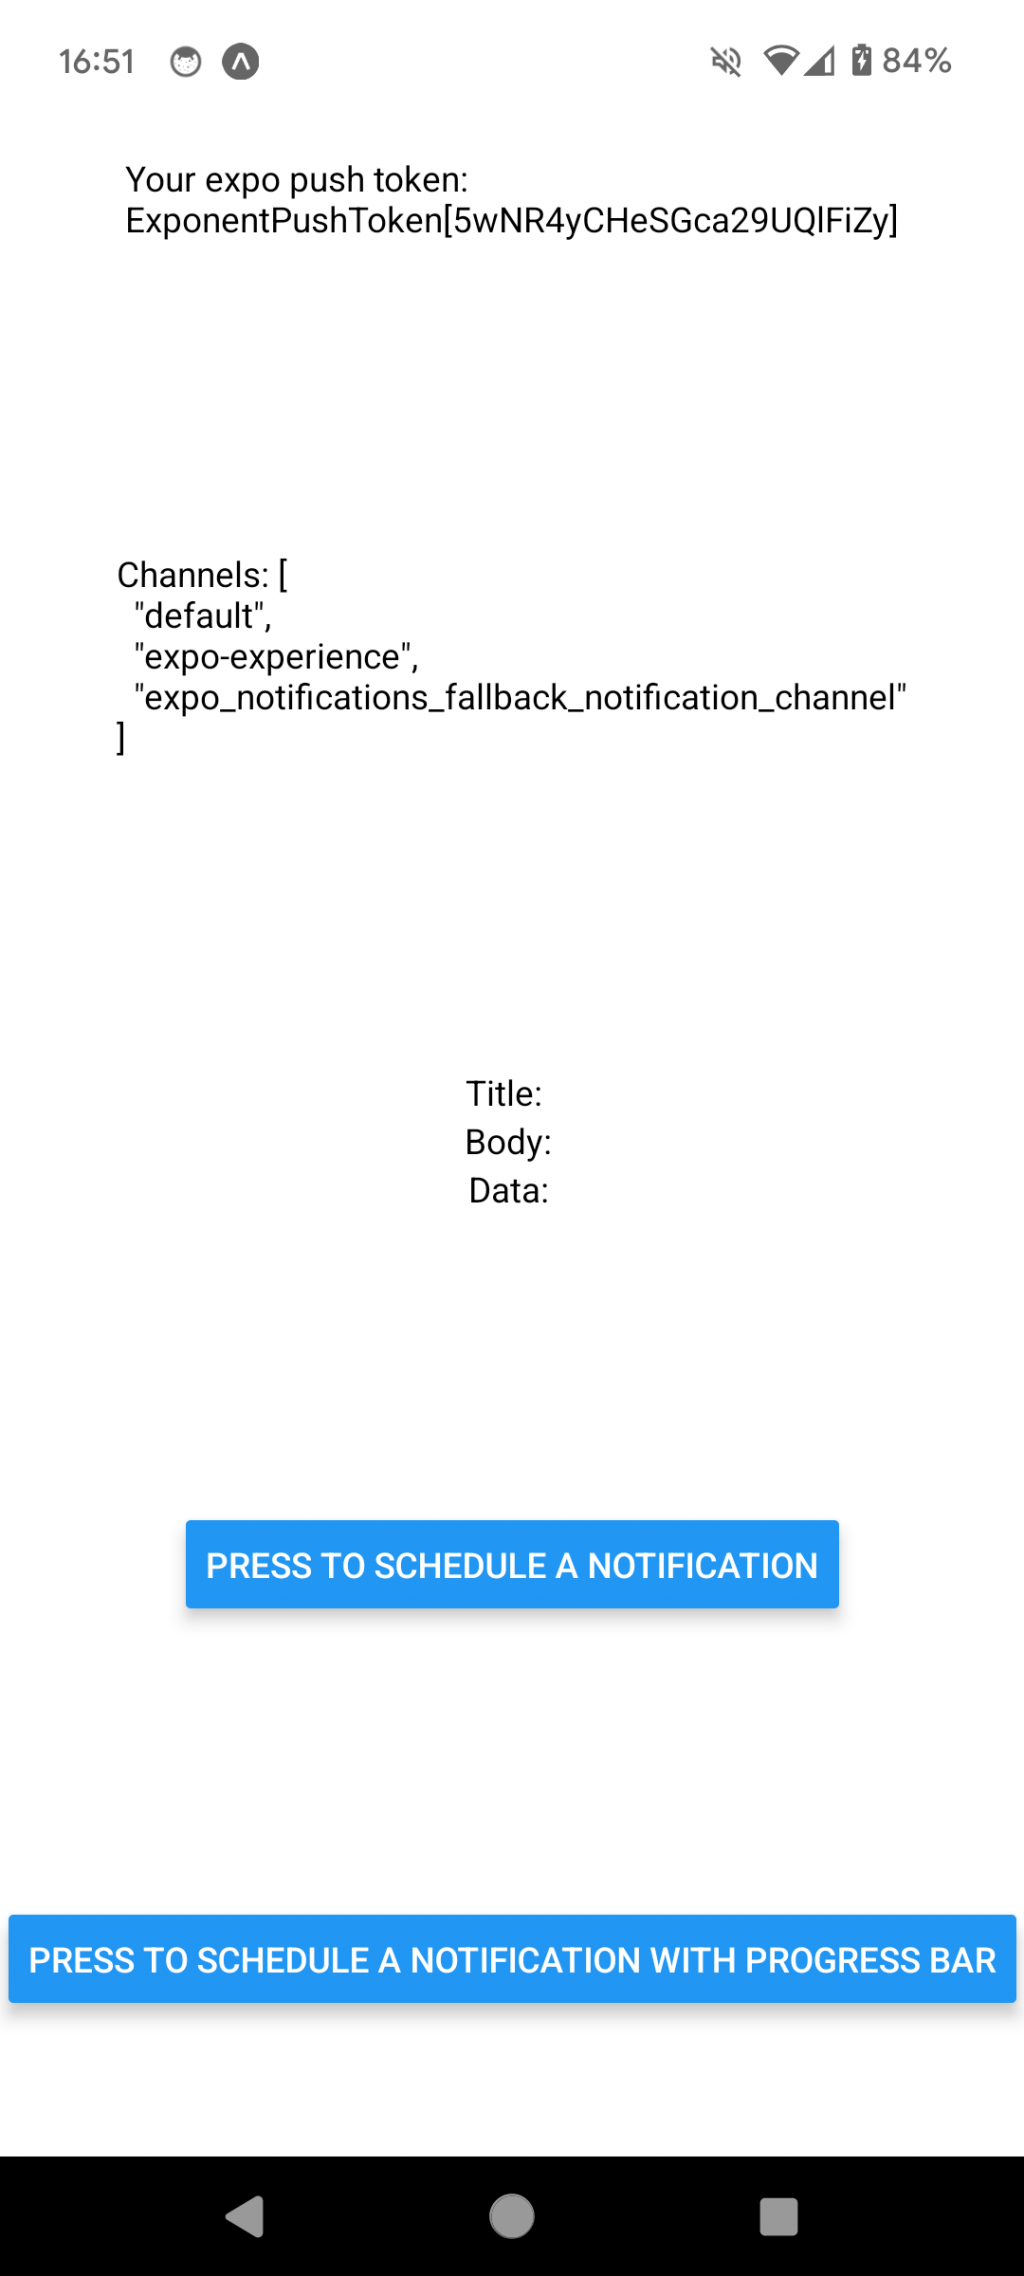
運行應用程式後,我們按下自訂的第二顆按鈕 Press to schedule a notification with progress bar。
畫面上有顯示自訂的文字,但沒有動態改變的進度數值。
實體手機的 Expo Go 出現以下錯誤訊息。
Possible unhandled promise rejection (id: 0)
TypeError: Encountered an 'undefined' notification trigger.
If you want to trigger the notification immediately, pass in an explicit 'null' value
那先來把 trigger 的值設為 null。
App.js 修改後如下
import React, { useState, useEffect, useRef } from 'react';
import { Text, View, Button } from 'react-native';
import * as Notifications from 'expo-notifications';

export default function App() {
  const [expoPushToken, setExpoPushToken] = useState('');
  const [notification, setNotification] = useState(false);
  const notificationListener = useRef();
  const responseListener = useRef();

  useEffect(() => {
    registerForPushNotificationsAsync().then(token => setExpoPushToken(token));

    notificationListener.current = Notifications.addNotificationReceivedListener(notification => {
      setNotification(notification);
    });

    responseListener.current = Notifications.addNotificationResponseReceivedListener(response => {
      console.log(response);
    });

    return () => {
      Notifications.removeNotificationSubscription(notificationListener.current);
      Notifications.removeNotificationSubscription(responseListener.current);
    };
  }, []);

  return (
    <View style={{ flex: 1, alignItems: 'center', justifyContent: 'space-around' }}>
      <Text>Your expo push token: {expoPushToken}</Text>
      <View style={{ alignItems: 'center', justifyContent: 'center' }}>
        <Text>Title: {notification && notification.request.content.title} </Text>
        <Text>Body: {notification && notification.request.content.body}</Text>
        <Text>Data: {notification && JSON.stringify(notification.request.content.data)}</Text>
      </View>
      <Button
        title="Start Progress Notification"
        onPress={async () => {
          await simulateProgressNotification();
        }}
      />
    </View>
  );
}

async function simulateProgressNotification() {
  const identifier = await Notifications.scheduleNotificationAsync({
    content: {
      title: "Download Started",
      body: 'Starting download...',
    },
    trigger: null,  // null trigger for immediate notification
  });

  for (let i = 20; i <= 100; i += 20) {
    await new Promise(resolve => setTimeout(resolve, 1000));
    await Notifications.scheduleNotificationAsync({
      content: {
        title: "Download in Progress",
        body: `Downloaded ${i}%`,
      },
      trigger: null,
      identifier: identifier,
    });
  }

  await Notifications.scheduleNotificationAsync({
    content: {
      title: "Download Complete",
      body: 'Your download has finished.',
    },
    trigger: null,
    identifier: identifier,
  });
}

async function registerForPushNotificationsAsync() {
  let token;

  if (Device.isDevice) {
    const { status: existingStatus } = await Notifications.getPermissionsAsync();
    let finalStatus = existingStatus;
    if (existingStatus !== 'granted') {
      const { status } = await Notifications.requestPermissionsAsync();
      finalStatus = status;
    }
    if (finalStatus !== 'granted') {
      alert('Failed to get push token for push notification!');
      return;
    }
    token = (await Notifications.getExpoPushTokenAsync()).data;
  } else {
    alert('Must use physical device for Push Notifications');
  }

  if (Platform.OS === 'android') {
    Notifications.setNotificationChannelAsync('default', {
      name: 'default',
      importance: Notifications.AndroidImportance.MAX,
      vibrationPattern: [0, 250, 250, 250],
      lightColor: '#FF231F7C',
    });
  }

  return token;
}
