昨天實驗失敗,今天決定從零啟一個新專案來實際入門一下 Rspack 這個工具,順便玩一玩它的生態系。
參考文件環境建議使用 Node.js 高於 v16 的 LTS 版本,我自己用的是 v20.17.0。這裡可以選擇要只用 bundler 部份的 Rspack,或是連上層 dev server 都有的 Rsbuild。
想知道工具關係可以參考文件說明及這張圖:

這裡我選擇 Rsbuild 來測試,可直接用 CLI 工具快速建一個新專案:
$ pnpm create rsbuild@latest

◆  Create Rsbuild Project
│
◇  Project name or path
│  hello-rsbuild
│
◇  Select framework
│  React
│
◇  Select language
│  TypeScript
│
◇  Select additional tools (Use <space> to select, <enter> to continue)
│  Add Biome for code linting and formatting, Add ESLint for code linting, Add Prettier for code formatting
│
◇  Next steps ──────╮
│                   │
│  cd hello-rsbuild │
│  pnpm i           │
│  pnpm run dev     │
│                   │
├───────────────────╯
│
└  Done.
💡 或懶得從頭建立環境也可以考慮用 rspack-examples 這個 codebase 來找到適合的模板,以下為學習用途試著純手工一個一個加上去藉此熟悉一下基礎建設怎麼做。
建立好專案後用 VS Code 開啟專案,並做一些初始化後嘗試 run 起來:
$ pnpm i
$ pnpm run dev
成功的話會自動開啟網頁看到像下面的圖:

其實官方文件算是蠻好懂的,這裡簡單用幾個基礎建設體驗一下:
從文件上看起來 Rspack 底層預設支援最新版的 Lightning CSS 來提昇打包效率,但也提供彈性兼容過往的 PostCSS、各種 Webpack plugin 等。
開箱即用的預設支援,不需要加設定,預設會自動識別 [name].module.css 與各種 CSS 預處理器副檔名如 [name].module.scss 為 CSS Modules。
這裡用 Sass,其他版本可以參考文件:
$ pnpm add @rsbuild/plugin-sass -D
調整設定檔案 rsbuild.config.ts 加上 Sass 的 plugin 讓 bundler 可以識別:
// rsbuild.config.ts
import { defineConfig } from '@rsbuild/core';
import { pluginReact } from '@rsbuild/plugin-react';
import { pluginSass } from '@rsbuild/plugin-sass';

export default defineConfig({
  plugins: [pluginReact(), pluginSass()],
});
實際測試一下,把原本 src 底下的 App.css 改成 App.module.scss,並調整 .content 內容為巢狀:
// src/App.module.scss
body {
  margin: 0;
  color: yellow;
  font-family: Inter, Avenir, Helvetica, Arial, sans-serif;
  background-image: linear-gradient(to bottom, #020917, #101725);
}

.content {
  display: flex;
  min-height: 100vh;
  line-height: 1.1;
  text-align: center;
  flex-direction: column;
  justify-content: center;

  h1 {
    font-size: 3.6rem;
    font-weight: 700;
  }

  p {
    font-size: 1.2rem;
    font-weight: 400;
    opacity: 0.5;
  }
}
原本的 src/App.tsx 也調整一下:
// src/App.tsx
import STYLES from './App.module.scss';

const App = () => {
  return (
    <div className={STYLES.content}>
      <h1>Rsbuild with React</h1>
      <p>Start building amazing things with Rsbuild.</p>
    </div>
  );
};
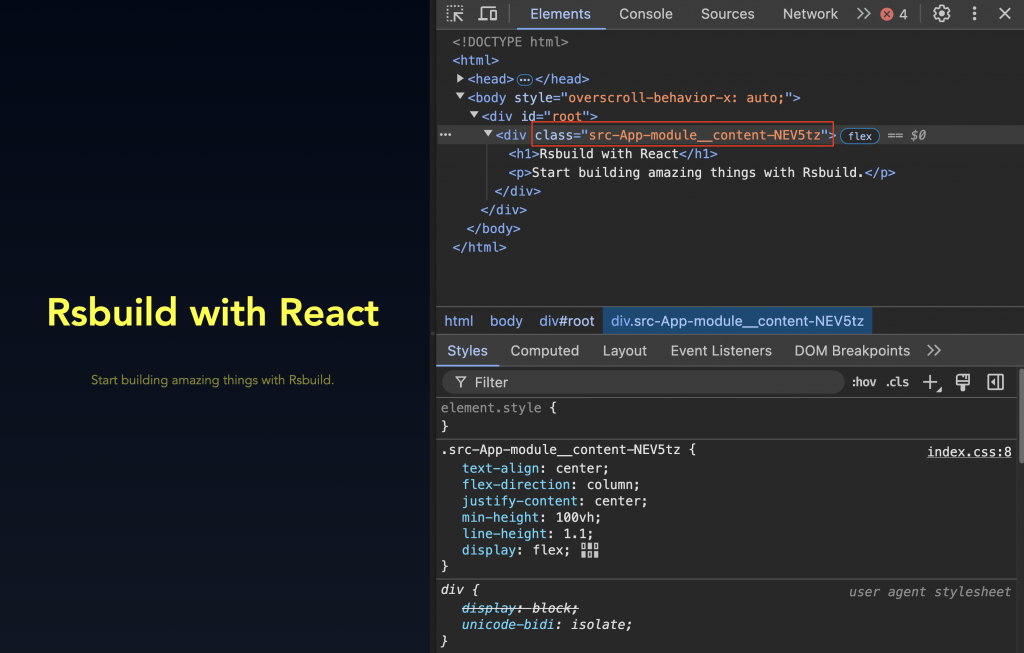
存檔後可以看到畫面字體有變成黃色,且可以看到有帶上 CSS Module 的 hash:

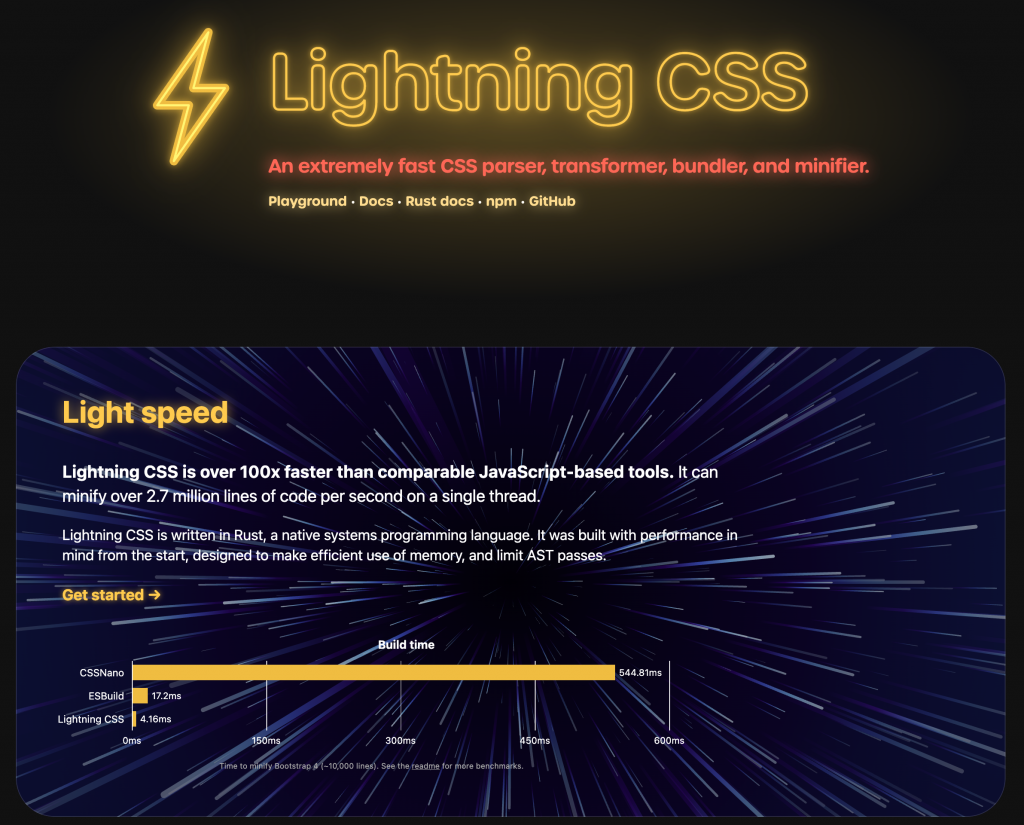
文件也有提到 Rspack 底層預設會用 Lightning CSS 的 loader 來轉譯與打包現代 CSS 程式 ,其實之前在看 Vite 時也一直看到有在實驗性支援 Lightning CSS,趁這個機會了解一下。

簡單說的話 Lightning CSS 是一套用 Rust 編寫的 CSS 綜合工具,可以拿來做 CSS 的解析 (parser)、轉譯 (transformer)、壓縮 (minifier)、打包 (bundler)。
在解析與轉譯的方面,它會去讀取專案中的 browserslist 幫忙把專案中比較現代的 CSS 語法,在打包時轉譯成想要支持的瀏覽器可以看懂的語法,並自動補上各款瀏覽器需要的前綴像是 -webkit-、-moz- 等,就像以前 PostCSS 的 autoprefixer 在做的事。如此可以讓你在開發時放心使用各種現代的 CSS 語法。

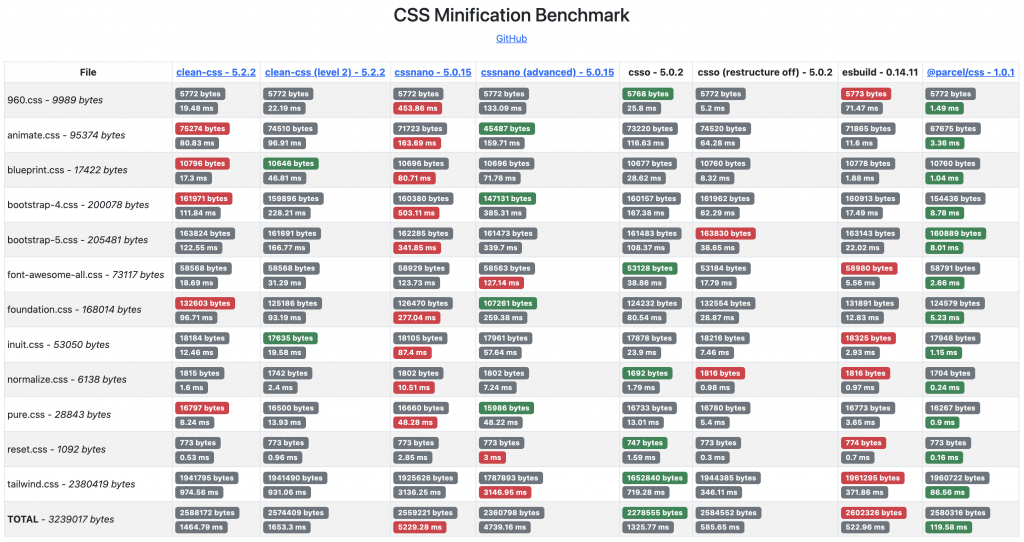
在做為壓縮與最小化方面,可以看到這個效能比較表,最右邊的 @parcel/css - 1.0.1 是 Lightning CSS,可以看到勝過 CSSNano 與 esbuild。話說也是看到這張表才發現原來 Lightning CSS 的核心團隊跟 Parcel 是同一組人。
另外回到正題,如果在使用 Rspack 時發現 Lightning CSS 太新在舊專案沒辦法兼容,也可以參考文件這段方式關掉:
// rsbuild.config.ts
import { pluginCssMinimizer } from '@rsbuild/plugin-css-minimizer';

export default {
  plugins: [pluginCssMinimizer()],
  tools: {
    lightningcssLoader: false,
  },
};
剛剛啟專案時有選要啟用 TypeScript,所以相關設定都做好了。但比較需要另外設定的,文件上有提到啟 server 時 Rspack 底層的 SWC 並沒有幫忙做型別檢查,關於這點來實驗下。
新增一個型別檔案在 src 底下:
// src/types.ts
interface Author {
  name: string;
  email: string;
  url: string;
}

export type { Author };
調整 App.tsx:
// src/App.tsx
import STYLES from './App.module.scss';
import type { Author } from './types';

const App = () => {
  const author: Author = {
    name: 'codefarmer',
    email: 'codefarmer.tw@gmail.com',
    // url: 'https://codefarmer.tw',
  };

  return (
    <div className={STYLES.content}>
      <h1>Rsbuild with React</h1>
      <p>Start building amazing things with Rsbuild.</p>
      <p>Author: {author.name}</p>
    </div>
  );
};
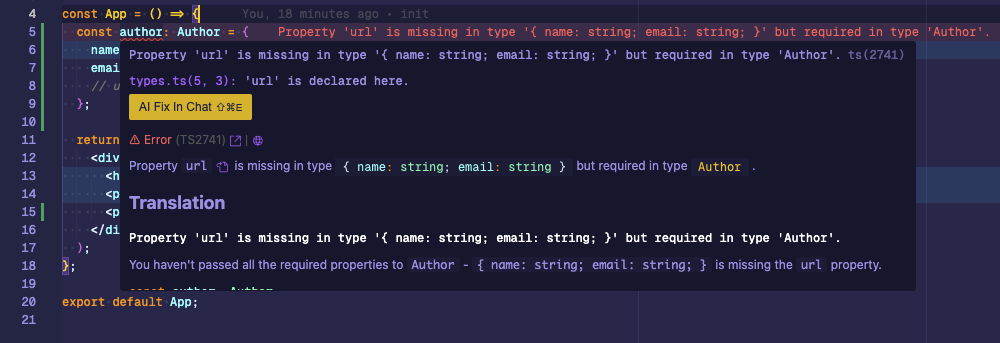
當上面試著把 url 這個屬性註解掉時,會看到 IDE 會提示有型別錯誤:

但此時 terminal 上是沒有任何報錯的,所以為了安全起見要用 @rsbuild/plugin-type-check 加一下設定:
$ pnpm add @rsbuild/plugin-type-check -D
一樣調整 rsbuild.config.ts 設定檔,跟上面的 Sass 一樣也是加入 plugin:
// rsbuild.config.ts
import { pluginTypeCheck } from '@rsbuild/plugin-type-check';

export default defineConfig({
  plugins: [pluginReact(), pluginSass(), pluginTypeCheck()],
});
加上後能正確看到型別檢查的報錯就成功了:
start   Compiling...
ready   Compiled in 2.52 s (web)
Type Error in ./src/App.tsx:5:9
TS2741: Property 'url' is missing in type '{ name: string; email: string; }' but required in type 'Author'.
    3 |
    4 | const App = () => {
  > 5 |   const author: Author = {
      |         ^^^^^^
    6 |     name: 'codefarmer',
    7 |     email: 'codefarmer.tw@gmail.com',
    8 |     // url: 'https://codefarmer.tw',
今天示範的程式碼也放在 GitHub 上,有興趣的讀者可以參考看看。
今天嘗試用一個比較入門的 Rspack 專案體驗一下,實際做一些基礎建設後覺得官方文件寫得算蠻清楚好懂的,而且在設定上也很親切,入手來說沒什麼太難理解的設定,至少比起 Webpack 文件來說好讀很多,況且文件也有支援簡體中文版,所以這裡就不全部列出來了。
而體感來說雖然模組依賴還沒長太大,但初始化去做冷啟動的 dev server 跟 Vite 的體驗蠻接近的快,推薦有小型 side project 可以嘗試新工具玩玩看。
明天將繼續來嘗試做打包並試著用用看 Rsdoctor 來做分析,我們明天見!
文章同步發表於個人部落格
