要實作切換樣式前,我們先分別利用 Angular CLI 定義淺色與深色兩種樣式檔案。
// light-theme
$light-theme: mat.define-theme(
  (
    color: (
      theme-type: light,
      primary: $_primary,
      tertiary: $_tertiary,
    ),
  )
);

body.light-theme {
  @include mat.all-component-themes($light-theme);
}
// dark-theme
$dark-theme: mat.define-theme(
  (
    color: (
      theme-type: dark,
      primary: $_primary,
      tertiary: $_tertiary,
    ),
  )
);

body.dark-theme {
  @include mat.all-component-themes($dark-theme);
}
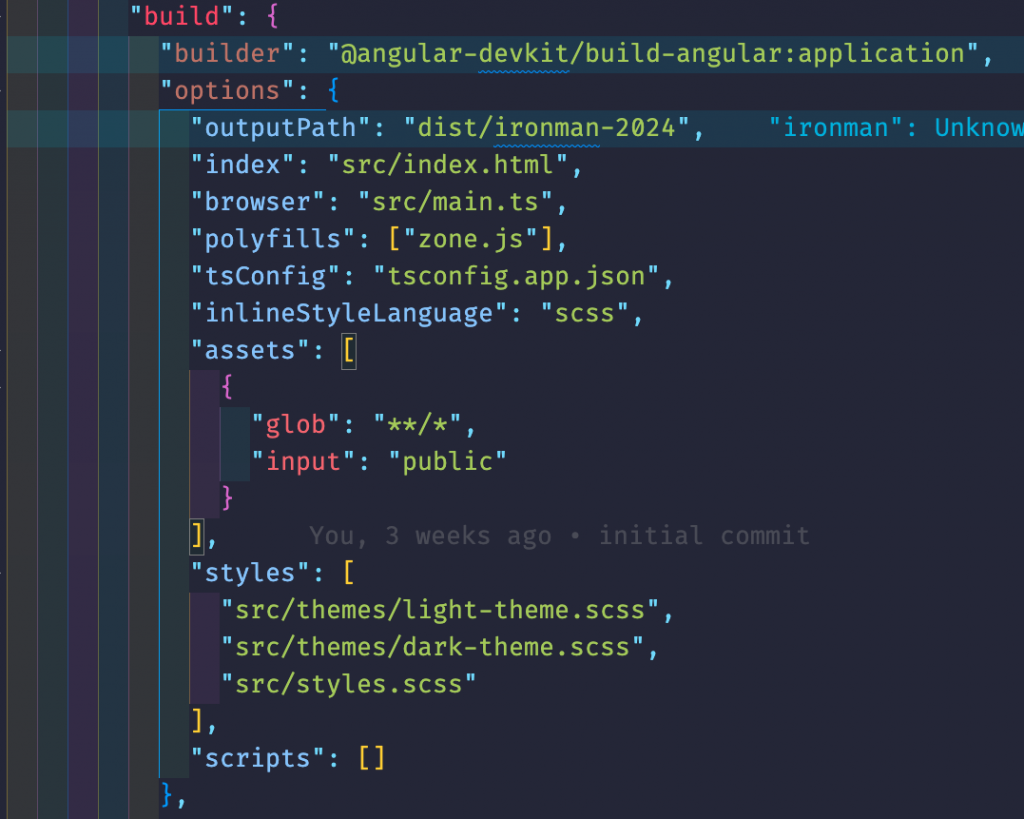
如上面程式,我們分別在淺色與深色樣式檔案的最後面,針對 body 加入不同樣式類別名稱的設定,以便用來切換時指定對應的樣式。接著,在 angular.json 檔案中把這兩個樣式檔案加入到 style 定義內。
另外,因為我們沒有載入 Material 預設樣式,所以還需要在 style.scss 檔案載入核心樣式,否則如彈跳視窗會無法正常顯示。
@use "@angular/material" as mat;

@include mat.core();
如此一來,就可以在 AppComponent 中,利用 Renderer2 服務來針對 body 標籤設定 class 屬性。
export class AppComponent implements OnInit {
  ...

  private readonly renderer = inject(Renderer2);

  private readonly themes = signal('light-theme');

  ngOnInit(): void {
    this.renderer.addClass(document.body, this.themes());
  }

  protected onToggleTheme(): void {
    const fromTheme = this.themes();
    const toTheme = fromTheme === 'light-theme' ? 'dark-theme' : 'light-theme';
    this.renderer.removeClass(document.body, fromTheme);
    this.renderer.addClass(document.body, toTheme);
    this.themes.set(toTheme);
  }

  ...
}

這幾天簡單地描述 Material 相關的樣式設定。接下來,我們來利用 Material 的工具自訂元件。