今天的實戰教學將聚焦於 iOS 的另一個強大框架:SpriteKit,這是一個專為 2D 遊戲開發設計的框架。我們將透過它開發一款經典的打磚塊遊戲 (Brick Breaker Game),並深入學習如何運用物理引擎、碰撞檢測,及處理遊戲中的動畫與效果。
SpriteKit 提供了豐富的功能,能輕鬆構建物理世界、處理物體之間的互動並搭配視覺效果,讓它非常適合用來開發像打磚塊這類需要精確物理計算及流暢動作的遊戲。
在這款遊戲中,我們將:


首先,在 Xcode 中創建一個新的專案,選擇「遊戲」模板並指定 SpriteKit 作為遊戲引擎,語言設置為 Swift。
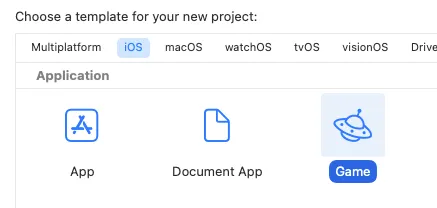

專案建立後,你將看到一些預設的 sample code,這些是 SpriteKit 的簡單範例。
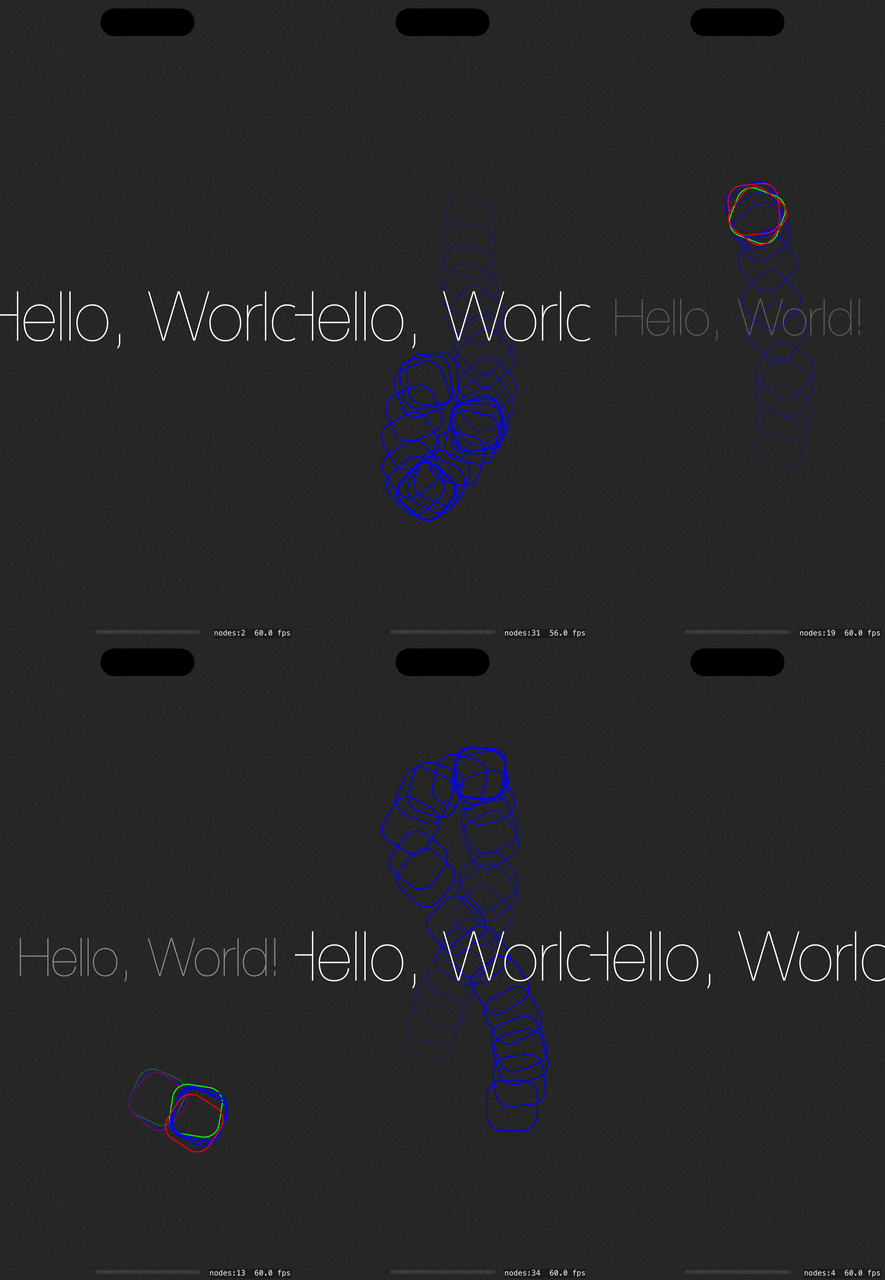
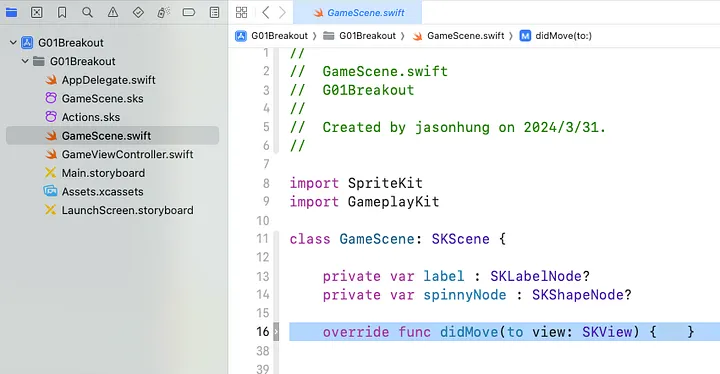
但我們將從零開始創建自己的遊戲場景與物件。首先,找到 GameScene.swift 檔案,並在 didMove(to:) 方法中刪除原本的程式碼。
遊戲中的核心物件有三個:球、球拍 和 磚塊。為了方便管理,我們先創建一個名為 PhysicsCategory 的 struct,用來定義這些物件的物理類別。
import Foundation

struct PhysicsCategory {
    static let None: UInt32 = 0
    static let Ball: UInt32 = 0b1
    static let Brick: UInt32 = 0b10
    static let Paddle: UInt32 = 0b100
}
磚塊是靜態物件,當球碰撞到磚塊時會破裂並消失。
import SpriteKit

class Brick: SKSpriteNode {
    init(color: UIColor, size: CGSize) {
        super.init(texture: nil, color: color, size: size)
        self.physicsBody = SKPhysicsBody(rectangleOf: size)
        self.physicsBody?.isDynamic = false
        self.physicsBody?.categoryBitMask = PhysicsCategory.Brick
        self.physicsBody?.contactTestBitMask = PhysicsCategory.Ball
    }

    required init?(coder aDecoder: NSCoder) {
        fatalError("init(coder:) has not been implemented")
    }
}
這個物件將由玩家操控,並透過觸控事件來移動。
import SpriteKit

class Paddle: SKSpriteNode {
    init(color: UIColor, size: CGSize) {
        super.init(texture: nil, color: color, size: size)
        self.physicsBody = SKPhysicsBody(rectangleOf: size)
        self.physicsBody?.isDynamic = false
        self.physicsBody?.categoryBitMask = PhysicsCategory.Paddle
        self.physicsBody?.contactTestBitMask = PhysicsCategory.Ball
    }

    required init?(coder aDecoder: NSCoder) {
        fatalError("init(coder:) has not been implemented")
    }
}
球則會在 GameScene.swift 程式中產生,小球將透過 SpriteKit 的物理引擎來控制其彈跳。我們會為它賦予物理屬性,例如質量、反彈系數等。
接下來,我們需要在 GameScene.swift 中設置場景的基本屬性與物理引擎。SpriteKit 內建的物理引擎能處理物體之間的碰撞與反彈,我們只需進行簡單配置。
class GameScene: SKScene, SKPhysicsContactDelegate {

    var paddle: Paddle!
    var ball: SKShapeNode!
    var bricks = [[Brick]]()
    var gameStarted = false
    let impulseMagnitude: CGFloat = 7.0 // 設置推力大小

    override func didMove(to view: SKView) {
        physicsWorld.contactDelegate = self

        // 建立球拍、磚塊及球的程式將寫在這裡

    }
}
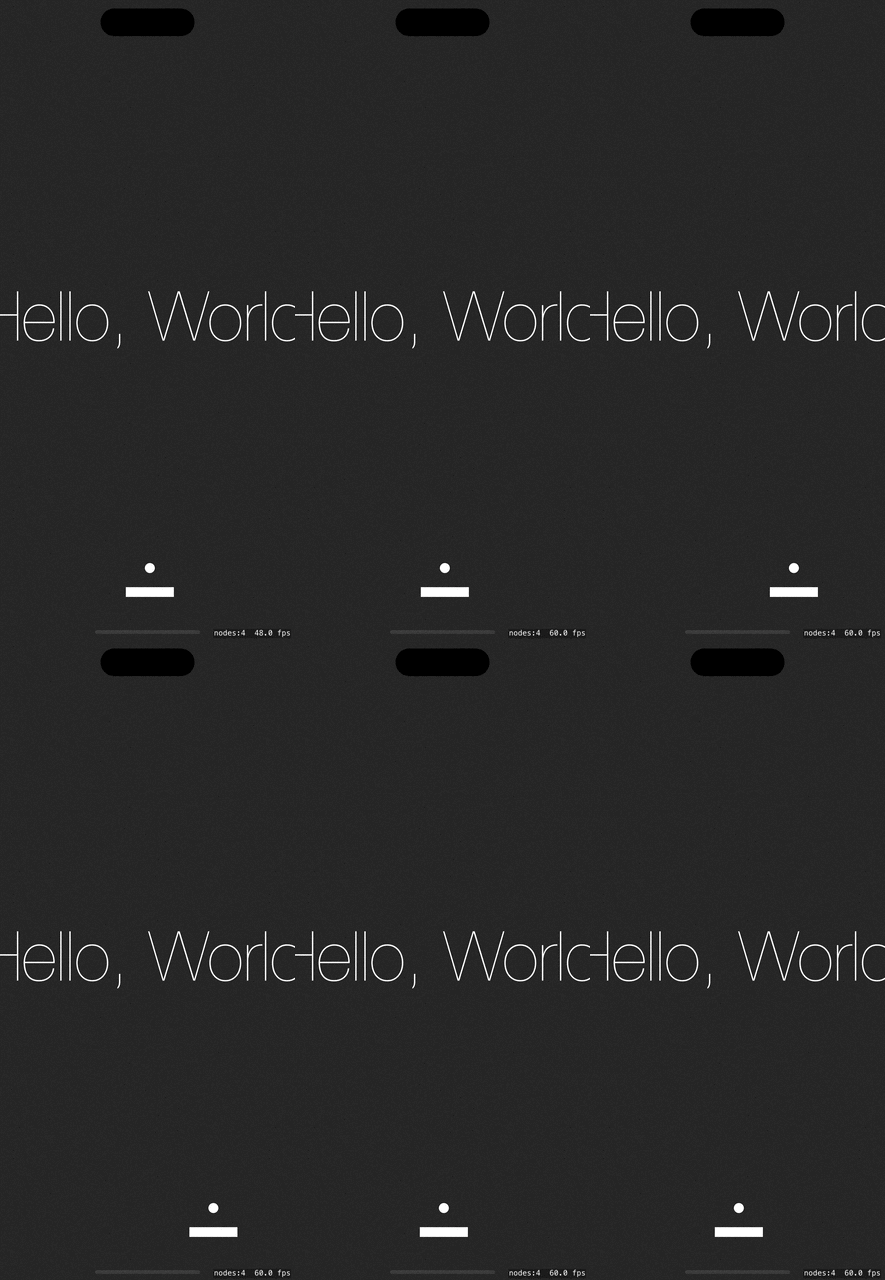
把球拍加到 GameScene 去,在 didMove 裡建立一個 paddle, 用 addChild 加入,處理 touchesMoved 事件,當我們手指左右移動時,球拍跟著移動
    override func didMove(to view: SKView) {
        physicsWorld.contactDelegate = self

        // Create paddle
        paddle = Paddle(color: .white, size: CGSize(width: 100, height: 20))
        paddle.position = CGPoint(x: frame.midX, y: frame.minY + 100)
        addChild(paddle)
    }

    override func touchesMoved(_ touches: Set<UITouch>, with event: UIEvent?) {
        guard let touch = touches.first else { return }
        let touchLocation = touch.location(in: self)
        paddle.position.x = touchLocation.x
    }
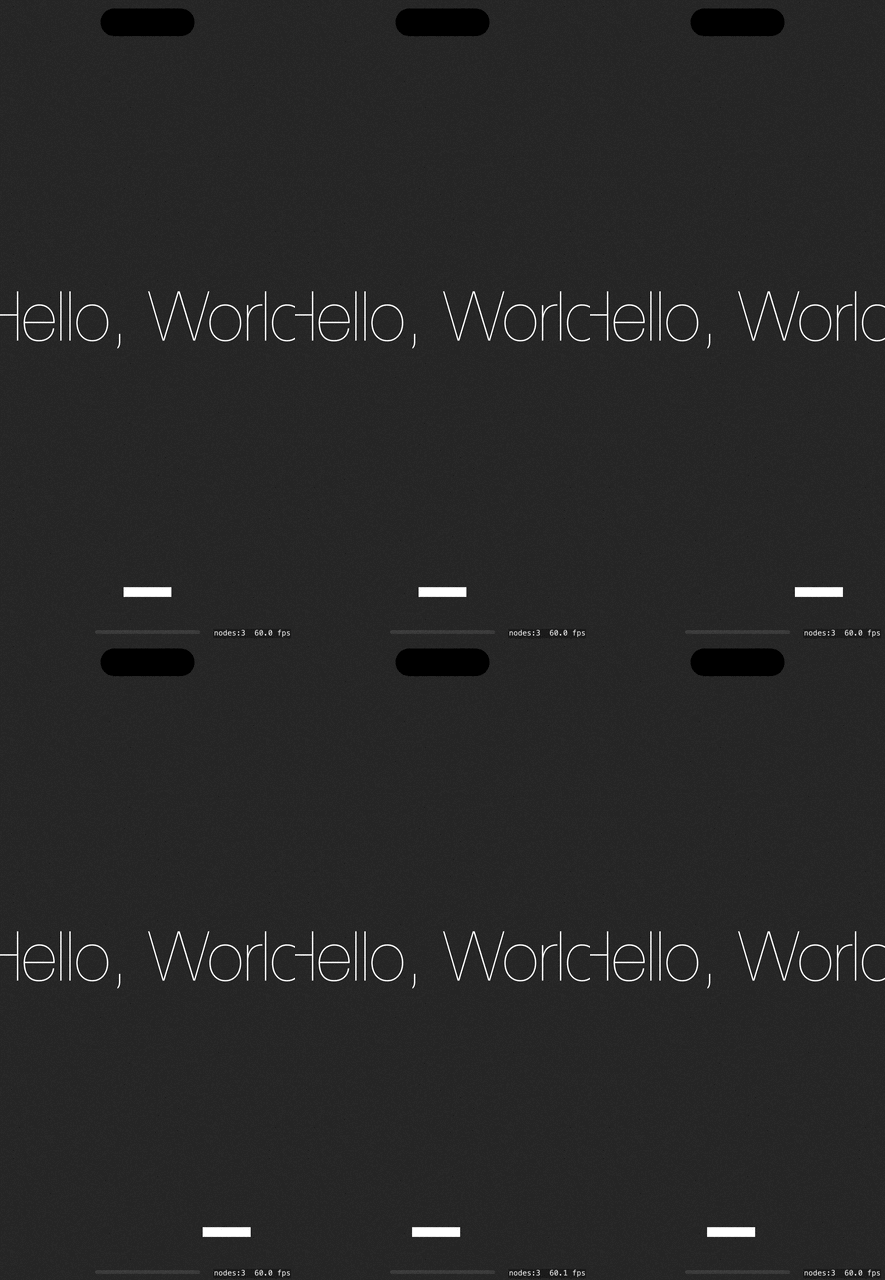
再來我們建立球, 位置放先放在球拍上方處,然後設定一些物理屬性。
  override func didMove(to view: SKView) {
        ...
        // Create ball
        ball = SKShapeNode(circleOfRadius: 10)
        ball.fillColor = .white
        ball.position = CGPoint(x: frame.midX, y: paddle.frame.minY + 50)
        ball.physicsBody = SKPhysicsBody(circleOfRadius: 10)
        ball.physicsBody?.isDynamic = true
        ball.physicsBody?.affectedByGravity = false
        ball.physicsBody?.categoryBitMask = PhysicsCategory.Ball
        ball.physicsBody?.contactTestBitMask = PhysicsCategory.Brick | PhysicsCategory.Paddle
        ball.physicsBody?.linearDamping = 0 // 線性阻尼設置為0,球就不會受到外部阻力的影響,速度將保持不變
        ball.physicsBody?.restitution = 1.0 // 彈性設置為1,碰撞後速度不減慢
        addChild(ball)
  }
球一開始還沒彈出去時,讓他跟球拍一樣,待在球拍上方,跟著手勢可以左右移動
override func touchesMoved(_ touches: Set<UITouch>, with event: UIEvent?) {
        ...
        ball.position.x = touchLocation.x
  }
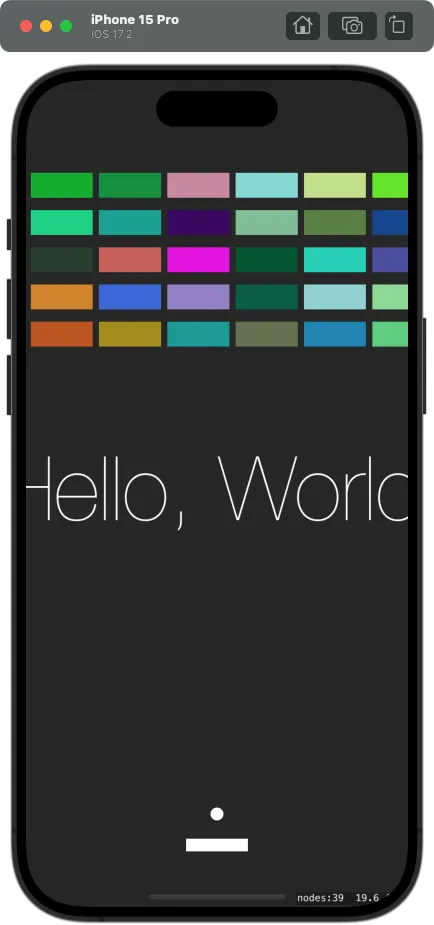
在上方加一些磚塊,先加個 5 列磚頭吧。
override func didMove(to view: SKView) {
        ...
        // Create bricks
        let brickSize = CGSize(width: 100, height: 40)
        let numRows = 5
        let rowsSpace = 1.5
        let numCols = Int(frame.width) / Int(brickSize.width)
        let colsSpace = 1.1

        for row in 0..<numRows {
            var rowBricks = [Brick]()
            for col in 0..<numCols {
                let brick = Brick(color: UIColor.random(), size: brickSize)
                brick.physicsBody?.categoryBitMask = PhysicsCategory.Brick
                brick.position = CGPoint(x: (CGFloat(col) * brickSize.width * colsSpace) + brickSize.width / 2 - 300.0,
                                         y: frame.maxY - (CGFloat(row) * brickSize.height*rowsSpace) - (brickSize.height / 2) - 150.0)
                addChild(brick)
                rowBricks.append(brick)
            }
            bricks.append(rowBricks)
        }
}
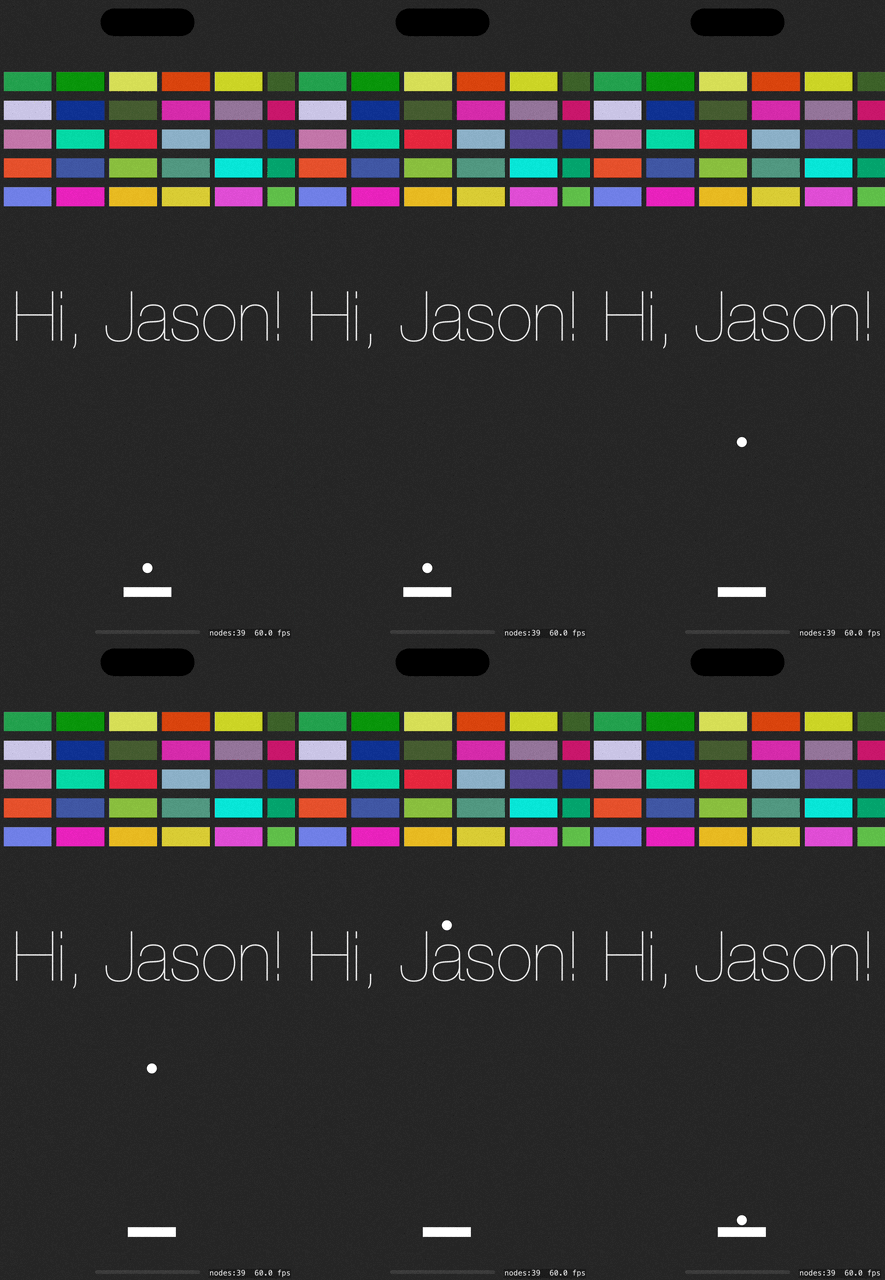
再來建立一個往上的向量來推球,CGVector(dx: 0, dy: 5.0),用 applyImpulse 方法可以將把這個推力加到球上,球會根據推力的大小和方向,改變物體的線速度和角速度。這個推力是瞬間性的,意味著它會立即改變物體的運動狀態,但不會持續影響物體的運動。
    override func touchesEnded(_ touches: Set<UITouch>, with event: UIEvent?) {
        if !gameStarted {
            gameStarted = true
            // 當遊戲還沒開始時,創造一個向量來推動球
            let vector = CGVector(dx: 0, dy: 5.0)
            ball.physicsBody?.applyImpulse(vector)
        }
    }
因為剛在建立球有指定
阻尼效應 linearDamping = 0
彈性 restitution = 1
所以球會在滾動及碰撞後的速度會維持不變。
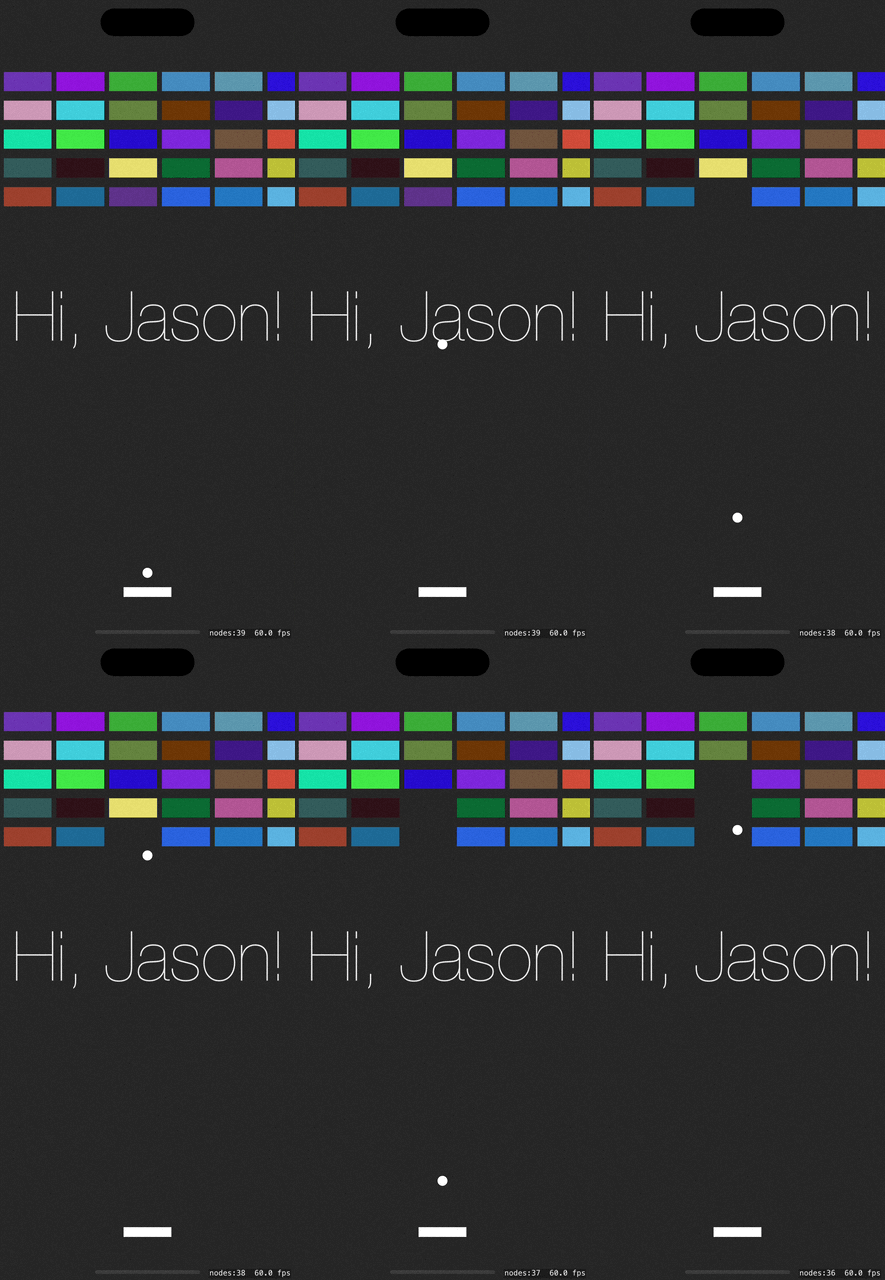
當球碰到磚塊或球拍時,我們需要處理碰撞邏輯。這裡我們使用 SKPhysicsContactDelegate 來偵測球與其他物件的碰撞,並根據結果更新遊戲狀態,先加入 SKPhysicsContactDelegate 並且把代理指向自己。
class GameScene: SKScene, SKPhysicsContactDelegate {
    override func didMove(to view: SKView) {
        physicsWorld.contactDelegate = self // 將場景設置為碰撞代理
    }

    func didBegin(_ contact: SKPhysicsContact) {
        // 當兩個物體開始碰撞時調用這個方法
        // 在這裡處理碰撞事件的相應邏輯
    }

    func didEnd(_ contact: SKPhysicsContact) {
        // 當兩個物體碰撞結束時調用這個方法
        // 在這裡處理碰撞結束事件的相應邏輯
    }
}
SKPhysicsContactDelegate 是 SpriteKit 框架提供的一個協議(protocol),用於處理物理碰撞事件的代理(delegate)。當兩個物體在 SpriteKit 中發生碰撞時,系統會通過這個協議來通知。通常遊戲場景(SKScene)會採用 SKPhysicsContactDelegate 協議,並實現協議中的方法來處理碰撞事件。
SKPhysicsContactDelegate 協議中最常見的方法是 didBegin(:),這個方法在兩個物體開始碰撞時被調用,還有 didEnd(:) 方法,當兩個物體碰撞結束時會被調用。
練習 SpriteKit 是一個極具挑戰性又充滿樂趣的過程,在這篇文章中,我們學會了如何使用 SpriteKit 實作一款簡單的打磚塊遊戲,並探討了如何設置物理引擎、處理物體之間的碰撞以及遊戲中的互動邏輯。SpriteKit 內建的強大功能讓我們能夠高效地開發具備物理效果的遊戲。希望透過今天的實戰,你能更加熟悉這個框架,並能夠應用在你自己的遊戲開發專案中。
