解釋:元件就是 Vue 裡的「小積木」,我們可以把一段畫面和邏輯封裝成獨立檔案,再拼進主畫面。
小結:先學會建立一個 .vue 檔,然後在 App.vue 裡引入並使用。
解釋:父元件把資料傳進子元件 → 子元件拿來顯示或使用。
小結:Props 就像太空船帶補給品給小星球。
解釋:子元件把訊息「回報」給父元件,通常用來觸發父元件的行為或更新狀態。
小結:Emit 就像小星球發出無線電訊號給母艦。
在 src/components/ 底下新建一個檔案:HelloWorld.vue
<template>
  <div class="hello">
    <h2>{{ title }}</h2>
    <button @click="sayHello">點我打招呼</button>
  </div>
</template>

<script>
export default {
  name: "HelloWorld",
  data() {
    return {
      title: "🚀 我是第一個元件!"
    }
  },
  methods: {
    sayHello() {
      alert("Hello from component!")
    }
  }
}
</script>

<style scoped>
.hello {
  padding: 16px;
  border: 2px dashed #4f46e5;
  border-radius: 12px;
}
</style>
這樣我們就做好了一個元件,接下來要把它放進主畫面。
打開 src/App.vue,引入剛剛建立的 HelloWorld.vue:
<template>
  <main>
    <h1>這是 App.vue 的主畫面</h1>
    <!-- 使用子元件 -->
    <HelloWorld />
  </main>
</template>

<script>
import HelloWorld from './components/HelloWorld.vue'

export default {
  name: "App",
  components: {
    HelloWorld
  }
}
</script>
結果:執行 npm run dev,你就會看到 HelloWorld 出現在頁面裡啦 !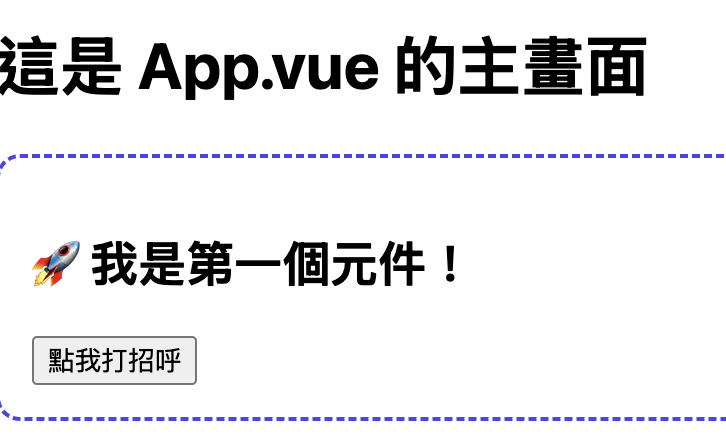
HelloWorld.vue<template>
<div>
<h2>{{ title }}</h2>
<p>來自父元件的訊息:{{ msg }}</p>
</div>
</template>
<script>
export default {
name: "HelloWorld",
props: {
msg: String
},
data() {
return {
title: "🚀 Props 範例"
}
}
}
</script>
App.vue<template>
<main>
<h1>這是 App.vue</h1>
<!-- 傳遞 msg 給子元件 -->
<HelloWorld msg="你好,我是父元件送來的訊息 ✉️" />
</main>
</template>
<script>
import HelloWorld from './components/HelloWorld.vue'
export default {
name: "App",
components: { HelloWorld },
data() {
return {
childMsg: ""
}
},
methods: {
receiveMsg(msg) {
this.childMsg = msg
}
}
}
</script>
結果:子元件會顯示「來自父元件的訊息:你好,我是父元件送來的訊息 ✉️」。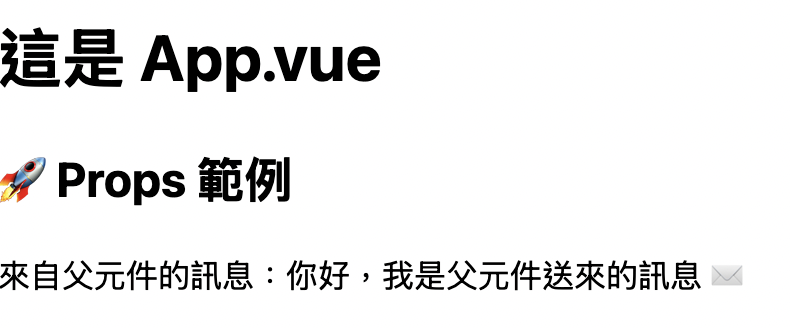
HelloWorld.vue<template>
<div>
<button @click="$emit('sendMsg', '這是子元件傳來的訊息 🚀')">
子元件按鈕
</button>
</div>
</template>
<script>
export default {
name: "HelloWorld",
emits: ["sendMsg"]
}
</script>
App.vue<template>
<main>
<h1>這是 App.vue</h1>
<HelloWorld @sendMsg="receiveMsg" />
<p>子元件回報:{{ childMsg }}</p>
</main>
</template>
<script>
import HelloWorld from './components/HelloWorld.vue'
export default {
name: "App",
components: { HelloWorld },
data() {
return {
childMsg: ""
}
},
methods: {
receiveMsg(msg) {
this.childMsg = msg
}
}
}
</script>
結果:當子元件按下按鈕,父元件就會更新畫面,顯示「子元件回報:這是子元件傳來的訊息 🚀」。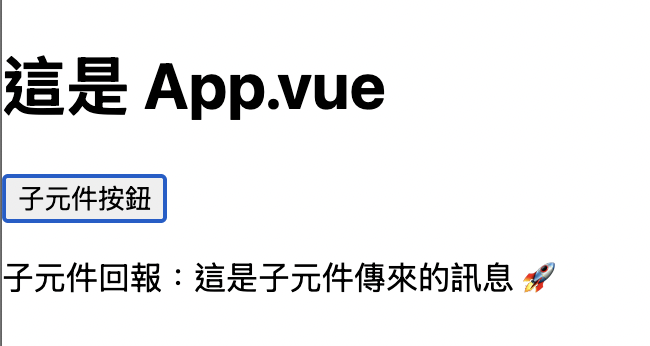
我們今天完成了Vue 的「組件星雲」三個重點:建立元件、父傳子、子傳父。
這些組件溝通的基礎,未來會搭配 v-model 讓互動更自然。
明天我們會一起了解 v-model 怎麼用,一起體驗「雙向通信」的方便!
參考資源
https://vuejs.org/guide
https://www.runoob.com/vue3


 iThome鐵人賽