既然進入到了基礎帳號系統部分,我認為較完整的功能有這三個:
今天想要進入到「帳號管理的頁面」。
通常會包含:
今天先從個人資料頁面做起。
先創一個 account.html 作為帳號管理頁面
目前初步先長這樣,頁面內容包含:
<head>
<title>帳號管理</title>
<link rel="stylesheet" href="style.css" />
</head>
<body>
<header>
<h1>帳號管理</h1>
<nav id="navbar">
<a href="index.html">首頁</a>
<a href="record.html">填寫</a>
<a href="report.html">紀錄</a>
</nav>
</header>
<main>
<!-- 顯示使用者資訊 -->
<section>
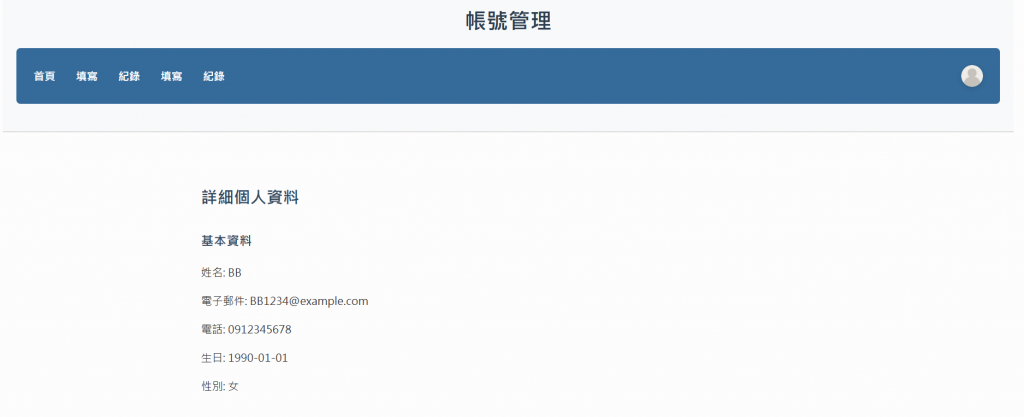
<h2>詳細個人資料</h2>
<h3>基本資料</h3>
<p>姓名: BB</p>
<p>電子郵件: BB1234@example.com</p>
<p>電話: 0912345678</p>
<p>生日: 1990-01-01</p>
<p>性別: 女</p>
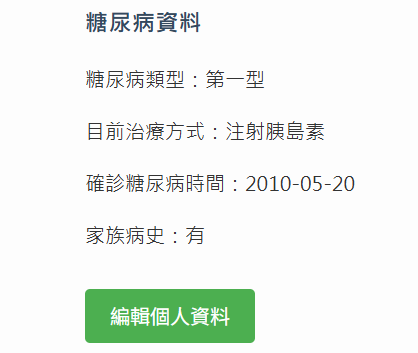
<h3>糖尿病資料</h3>
<p>糖尿病類型:第一型</p>
<p>目前治療方式:注射胰島素</p>
<p>確診糖尿病時間:2010-05-20</p>
<p>家族病史:有</p>
<button type="submit">編輯個人資料</button> <!-- 在JS加入轉跳邏輯 -->
</section>
0
<!-- 修改密碼 -->
<section>
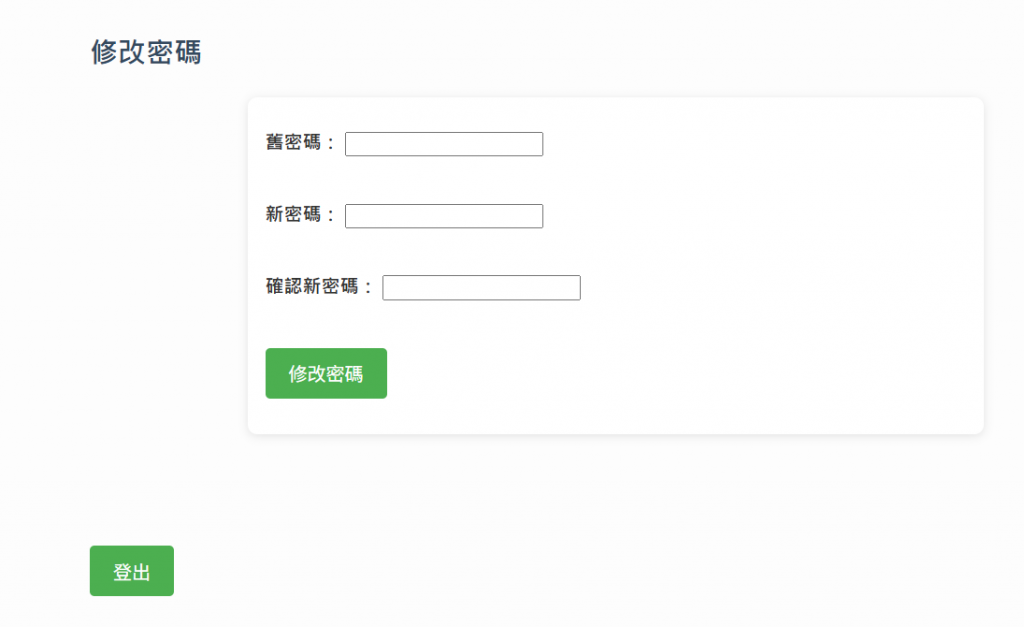
<h2>修改密碼</h2>
<form id="changePasswordForm">
<label>舊密碼:
<input type="password" id="oldPassword" required />
</label>
<br>
<label>新密碼:
<input type="password" id="newPassword" required />
</label>
<br>
<label>確認新密碼:
<input type="password" id="confirmPassword" required />
</label>
<br>
<button type="submit">修改密碼</button>
<p id="changePasswordMessage"></p>
</form>
</section>
<!-- 登出 -->
<section>
<button id="logoutBtn">登出</button>
</section>
</main>
<script src="script.js"></script>
</body>
</html>
在主頁 index.html 加入頭像,點擊可轉跳至帳號管理頁面
在 style.css 加入頭像圖示
.avatar {
  width: 32px;
  height: 32px;
  border-radius: 50%;
  vertical-align: middle;
  cursor: pointer;
}
JS 邏輯:頭像連結的邏輯
const navbar = document.getElementById("navbar");
const loggedInUser = localStorage.getItem("loggedInUser");

if (navbar && loggedInUser) {
  // 填寫
  const recordLink = document.createElement("a");
  recordLink.href = "record.html";
  recordLink.textContent = "填寫";
  navbar.appendChild(recordLink);

  // 紀錄
  const reportLink = document.createElement("a");
  reportLink.href = "report.html";
  reportLink.textContent = "紀錄";
  navbar.appendChild(reportLink);

  // 頭像按鈕 (連到 account.html)
  const accountLink = document.createElement("a");
  accountLink.href = "account.html";
  accountLink.innerHTML = `<img src="https://cdn-icons-png.flaticon.com/512/847/847969.png" alt="帳號" class="avatar">`;
  navbar.appendChild(accountLink);

  // 登出
  const logoutLink = document.createElement("a");
  logoutLink.href = "#";
  logoutLink.textContent = "登出";
  logoutLink.addEventListener("click", () => {
    localStorage.removeItem("loggedInUser");
    window.location.reload();
  });
  navbar.appendChild(logoutLink);
}
登出按鈕
原本登出按鈕會出現在導覽列上,但改成只出現在個人資料頁面的底部
  const logoutBtn = document.getElementById("logoutBtn");
  if (logoutBtn) {
    logoutBtn.addEventListener("click", function () {
      localStorage.removeItem("loggedInUser");
      window.location.href = "login.html";
    });
  }


 iThome鐵人賽