哈囉,各位邦友們!
昨天我們完成了第一個子元件並理解了元件的裝飾器結構。
今天來進一步把資料綁到畫面上,並用 @if/@else 做條件顯示。
<app-hero-badge>可正常渲染一、在 App 建立 hero 狀態
// src/app/app.ts
import { Component, signal } from '@angular/core';
import { HeroBadge } from './hero-badge/hero-badge';

type Hero = { id: number; name: string; rank?: string };

@Component({
  selector: 'app-root',
  imports: [HeroBadge],
  templateUrl: './app.html',
  styleUrl: './app.scss'
})
export class App {
  protected readonly title = signal('hero-journey');

  // 單一英雄狀態
  protected readonly hero = signal<Hero | null>({ id: 1, name: 'Narco', rank: 'A' });
}
二、範本使用繫結動態文字/屬性/類別綁定 + @if/@else
<!-- src/app/app.html -->
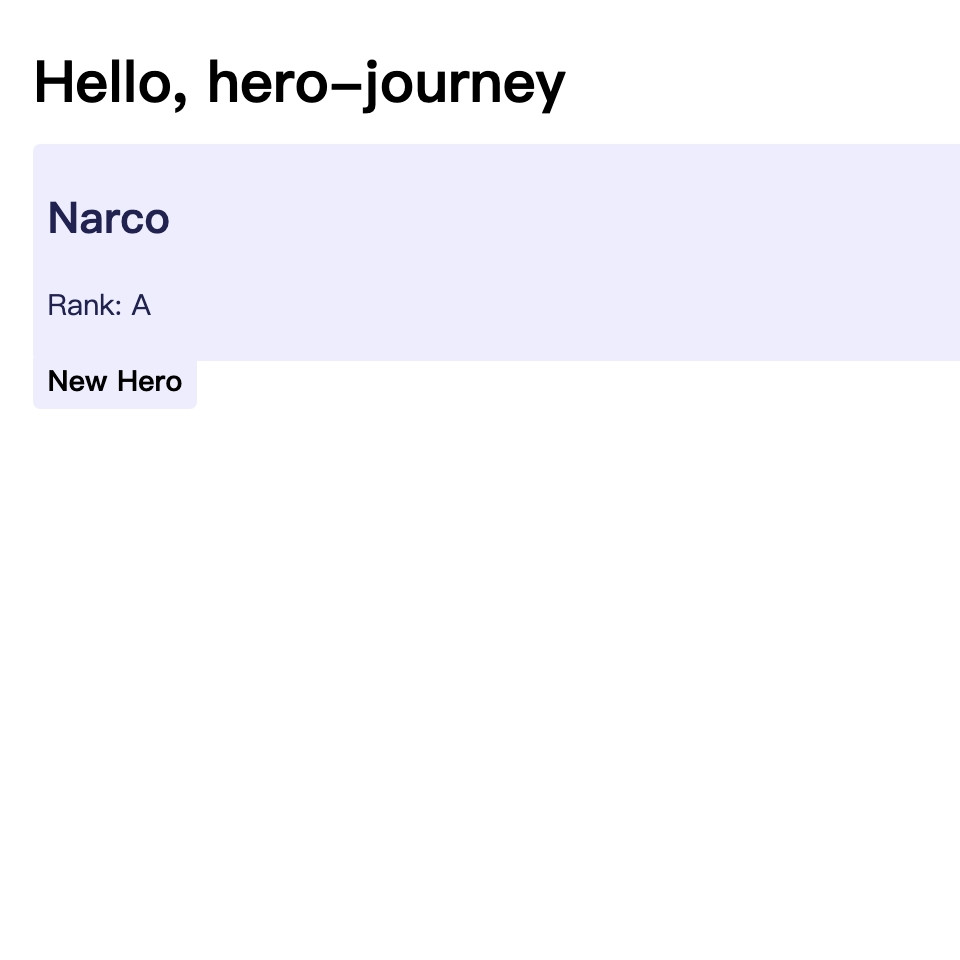
<h1>Hello, {{ title() }}</h1>
@if (hero(); as h) {
<section
[title]="'Hero #' + h.id"
[class.is-a]="h.rank === 'A'"
[attr.aria-label]="'hero-' + h.name">
<h2>{{ h.name }}</h2>
<p>Rank: {{ h.rank ?? 'N/A' }}</p>
</section>
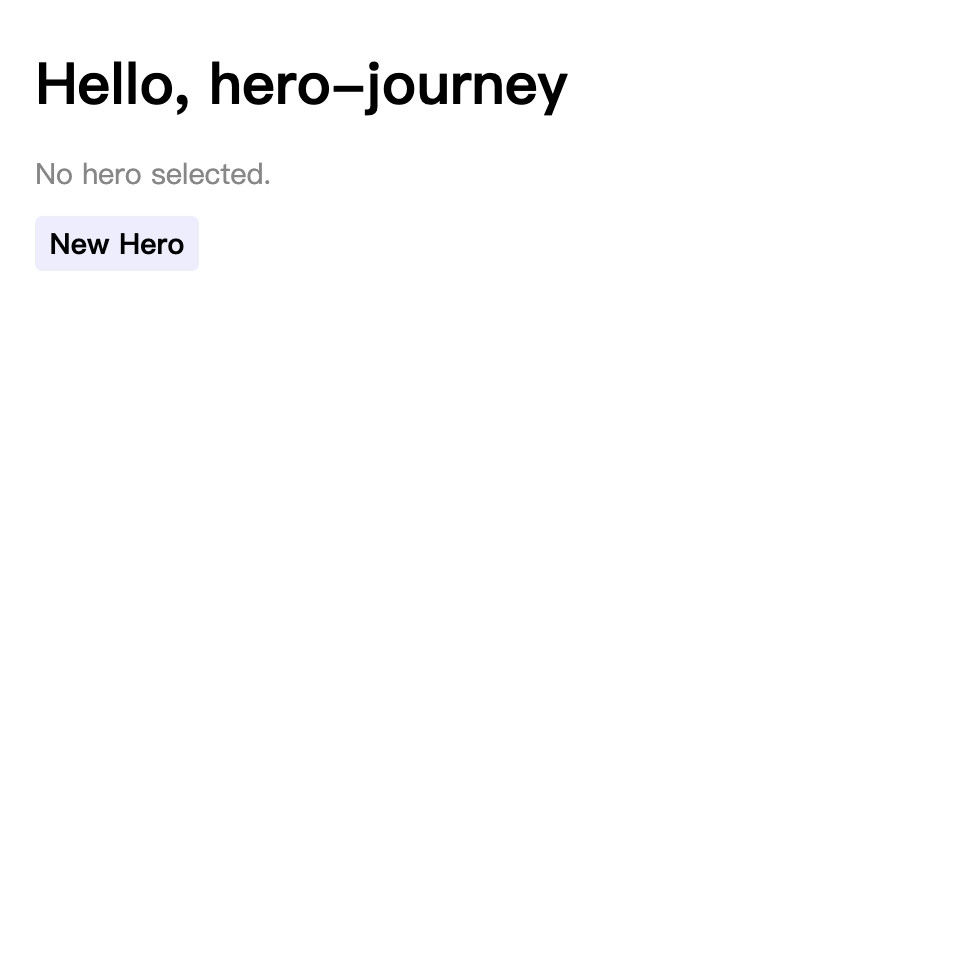
} @else {
<p class="muted">No hero selected.</p>
}
<!-- 保留 Day03 範例 -->
<app-hero-badge></app-hero-badge>
重點:
三、新增樣式
/* src/app/app.scss */
/* ...existing code... */
.is-a {
    color: #225;
    background: #eef;
    padding: 4px 8px;
    border-radius: 4px;
}

.muted {
    color: #888;
}
補充:
驗收清單:
常見錯誤與排查:
今日小結:
你現在應該已經會使用繫結動態文字與屬性/類別綁定等方式顯示資料了,並且用 @if/@else 控制「有資料/無資料」畫面。
明天我們會把單一 hero 擴充成一個列表,來練習 @for 與 track。
參考資料: