今天要進一步挑戰「實際應用 API」。
為什麼選擇 Open-Meteo 天氣 API?
day07
在電腦裡,建立一個資料夾,叫做 day07,把所有相關程式都放在這裡,方便管理。
day07_taipei_temp.py
在剛才的 day07 資料夾裡,建立一個程式檔,命名為 day07_taipei_temp.py,這是你將要寫程式的檔案。
requests 套件(若沒安裝:pip install requests)https://api.open-meteo.com/v1/forecast
這是我們用來取得天氣資料的主要網址。
latitude / longitude:指定位址的經緯度。例如台北的座標是經度 121.56,緯度 25.04。
current=temperature_2m:要取得即時的 2 公尺高度的氣溫。
hourly=temperature_2m:要取得每小時的氣溫預報。
timezone=Asia/Taipei:把回傳的時間改成台北時區,會比較容易看懂時間。
current:代表即時的天氣數據。
hourly:代表逐小時的天氣預報。
簡單說明:
當用 Open-Meteo API 時,可以告訴它:
「我要查位置(經緯度)台北,想知道現在氣溫(current=temperature_2m),還有每小時的預報(hourly=temperature_2m),請用台北時間回傳(timezone=Asia/Taipei)」,然後它會回一份有即時跟每小時氣溫的資料,格式是 JSON,裡面就包含 current 和 hourly 的資訊。
直接把 API 的網址貼到瀏覽器的網址列,按下 Enter。
瀏覽器會顯示一段 JSON 資料,裡面就是 API 回傳的天氣資訊。
找找看裡面有沒有 temperature_2m(氣溫)和 time(時間)這兩個欄位。
以台北為例,API URL 可能長這樣:
https://api.open-meteo.com/v1/forecast?latitude=25.04&longitude=121.56¤t_weather=true&temperature_unit=celsius&timezone=Asia/Taipei
貼上去後就會看到包含氣溫和時間的 JSON。
為什麼要確認這些欄位?
因為回來的 JSON 會有很多欄位,氣溫(temperature_2m)和時間(time)是最常用的,知道在哪裡,用程式讀這些欄位會比較方便。
步驟說明:
用 requests.get() 去呼叫 Open-Meteo API,拿回 JSON 天氣資料。
解析回傳的 JSON,找到即時氣溫(current.temperature_2m)與未來 12 小時的氣溫(hourly.temperature_2m)。
把結果印出來,按照時間配上氣溫,方便閱讀。
程式碼:
import requests # 載入 requests,用來發送 HTTP 請求
url = (
"https://api.open-meteo.com/v1/forecast?"
"latitude=25.04&longitude=121.56" # 指定經緯度(台北)
"¤t_weather=true" # 要即時天氣
"&hourly=temperature_2m" # 要逐小時氣溫
"&timezone=Asia/Taipei" # 時區設成 Asia/Taipei,回來的時間就會是台北時間
)
r = requests.get(url)
r.raise_for_status()       # 確保回傳成功
data = r.json()            # 解析成 Python 的字典
current_temp = data.get("current_weather", {}).get("temperature")
print(f"即時台北氣溫: {current_temp} °C\n")
hourly = data.get("hourly", {})
times = hourly.get("time", [])
temps = hourly.get("temperature_2m", [])
print("接下來 12 小時氣溫預報:")
for t, temp in zip(times[:12], temps[:12]):
    print(f"{t}: {temp} °C")
執行結果: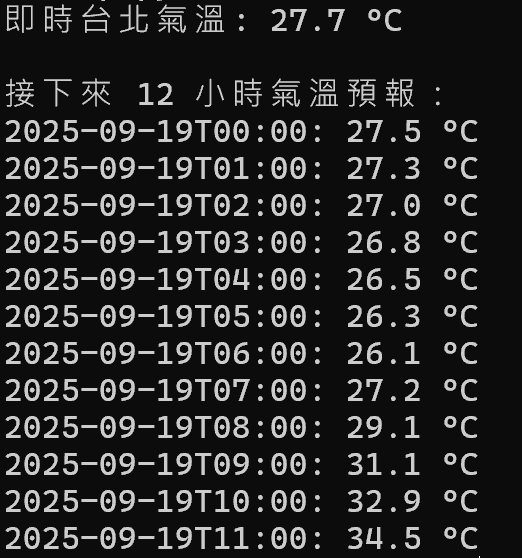
可以先用 Open-Meteo 提供的「地理編碼 API」去查地名(例如「台北」)相對應的經緯度,之後再把經緯度丟進天氣 API。
把這個網址貼到瀏覽器,按 Enter 撿資料:
https://geocoding-api.open-meteo.com/v1/search?name=Taipei&count=1&language=zh&format=json
這樣就會看到台北的經緯度和其他資訊。
可以寫一個函式,傳入想查的城市,去查經緯度,回傳後再查天氣。
def lookup_coords(city="Taipei", country="TW", count=1):
    url = "https://geocoding-api.open-meteo.com/v1/search"
    resp = requests.get(url, params={
        "name": city, # 要找的城市名
        "count": count, # 要回傳幾筆候選結果(預設只拿第一筆)
        "language": "zh", # 回傳中文名稱
        "format": "json",
        "country": country # 國碼(TW、JP、US...)縮小範圍,避免重名
    }, timeout=10)
    resp.raise_for_status()  # 不是 2xx 就丟錯
    results = resp.json().get("results", [])  # 拿出結果清單
    if not results:
        raise ValueError("找不到地點") # 沒資料就明確丟錯
    top = results[0] # 取第一筆最匹配的
    return top["latitude"], top["longitude"], top["name"], top.get("country_code")
lat, lon, name, cc = lookup_coords("Taipei", "TW")
PARAMS["latitude"] = lat
PARAMS["longitude"] = lon
把結果寫回原本用來 call Open-Meteo 的 PARAMS。
這樣做的好處是:
不用自己記座標,可以用地名直接查經緯度。
API 參數名稱一定要拼對,例如 temperature_2m。
拼錯會得到 400 錯誤(請求錯誤),API 會回傳錯誤訊息,你會看到類似:「找不到參數」的提示。
可以加上 temperature_unit=fahrenheit 這個參數,就會把回傳的溫度轉成華氏度。
其他常用單位設定,也都在官方文件中有說明。
可以把參數設成 timezone=auto,這樣 API 會根據經緯度自動調整時區。
不過本教學範例是以固定的 Asia/Taipei(台北時區)做為例子。
學會呼叫公開 API 取得天氣資訊
能解析 JSON 並取出特定欄位
應用場景:查任意城市天氣小工具

