🎯 系列目標:用 30 天時間,從零開始打造一個專屬輔大學生的課表生成 Chrome 擴充功能
👨💻 作者:輔大智慧資安 412580084
📅 Day 11:Chrome Extension 實作篇 - Popup 與 Background 消息傳遞
昨天我們讓按鈕具備了真正的功能,今天我們要學習 Chrome Extension 的核心技術:消息傳遞。讓 popup 能夠與 background script 溝通!
今天我們要完成:
在 popup.js 中發送消息給 background.js:
// 基本的消息發送語法
chrome.runtime.sendMessage({
  action: 'doSomething',    // 要做什麼事
  data: { key: 'value' }    // 需要的資料
}, (response) => {
  // 處理 background 的回應
  console.log('收到回應:', response);
});
在 background.js 中接收並回應消息:
// 基本的消息接收語法
chrome.runtime.onMessage.addListener((request, sender, sendResponse) => {
  console.log('收到消息:', request);

  if (request.action === 'doSomething') {
    // 處理請求
    sendResponse({ success: true, message: '處理完成' });
  }

  return true; // 保持消息通道開放
});
現在要修改生成課表按鈕,將原本的延遲函數移除並改成發送消息給 background:
// 修改後的生成課表按鈕處理
function handleGenerateClick() {
  console.log('🔘 生成課表按鈕被點擊');

  setButtonLoading('generateButton', '⏳ 處理中...');
  showLoadingStatus('正在與背景腳本溝通...');

  // 發送消息給 background script
  chrome.runtime.sendMessage({
    action: 'generateSchedule',
    data: { timestamp: new Date().toISOString() }
  }, (response) => {
    // 恢復按鈕狀態
    resetButton('generateButton');

    if (response && response.success) {
      showStatus('課表生成成功!', 'success');
      console.log('✅ Background 回應:', response);
    } else {
      showStatus('課表生成失敗:' + (response?.error || '未知錯誤'), 'error');
      console.error('❌ Background 錯誤:', response?.error);
    }
  });
}
同樣修改設定按鈕:
// 修改後的設定按鈕處理
function handleSettingsClick() {
  console.log('🔘 設定按鈕被點擊');

  setButtonLoading('settingsButton', '⏳ 載入中...');
  showLoadingStatus('正在載入設定...');

  // 發送消息獲取設定
  chrome.runtime.sendMessage({
    action: 'getSettings'
  }, (response) => {
    resetButton('settingsButton');

    if (response && response.success) {
      const settings = response.settings;
      showStatus(`自動儲存:${settings.autoSave ? '開啟' : '關閉'}`, 'success');
      console.log('✅ 設定載入成功:', settings);

      // 3秒後回到準備狀態
      setTimeout(() => {
        showStatus('準備就緒', 'success');
      }, 3000);
    } else {
      showStatus('載入設定失敗', 'error');
    }
  });
}
在 background.js 中添加消息監聽處理:
// 主要的消息監聽器
chrome.runtime.onMessage.addListener((request, sender, sendResponse) => {
  console.log('📨 收到消息:', request);
  console.log('📤 發送者:', sender);
  console.log('📩 回應函數:', sendResponse);

  // 根據不同的 action 執行不同的處理
  if (request.action === 'generateSchedule') {
    handleGenerateSchedule(request, sendResponse);
  } else if (request.action === 'getSettings') {
    handleGetSettings(sendResponse);
  } else {
    console.log('❓ 未知的 action:', request.action);
    sendResponse({ success: false, error: '未知的操作' });
  }

  return true; // 保持消息通道開放
});
這裡我們在console中會看到 request的內容就是 2.1 2.2 sendMessage函數中第一個參數的內容:
// request的內容
{
    action: 'generateSchedule',
    data: { timestamp: new Date().toISOString() }
}
而 sendResponse 則顯示是 ƒ () { [native code] },代表它是執行環境內建的函數,我們不用再額外去寫sendResponse函數,只需要給參數就行了。
這裡先初始模擬兩個按鈕的處理函數,之後會將真正的功能寫進去:
// 處理生成課表請求
function handleGenerateSchedule(request, sendResponse) {
  console.log('📊 開始處理課表生成請求');

  // 模擬處理過程(2秒後完成)
  setTimeout(() => {
    console.log('✅ 課表生成處理完成');
    sendResponse({
      success: true,
      message: '課表生成成功',
      data: {
        timestamp: request.data.timestamp,
        processedAt: new Date().toISOString()
      }
    });
  }, 2000);
}

// 處理獲取設定請求
function handleGetSettings(sendResponse) {
  console.log('⚙️ 獲取設定');

  chrome.storage.local.get(['settings'], (result) => {
    if (chrome.runtime.lastError) {
      console.error('❌ 獲取設定失敗:', chrome.runtime.lastError);
      sendResponse({
        success: false,
        error: chrome.runtime.lastError.message
      });
    } else {
      console.log('✅ 設定獲取成功');
      sendResponse({
        success: true,
        settings: result.settings || { autoSave: true, theme: 'default' }
      });
    }
  });
}
以上程式碼我們可以注意到sendResponse沒有規定要傳送的訊息,全看開發者如何設計自己要傳的內容。
更新 popup.js 和 background.js:
重新載入擴充功能: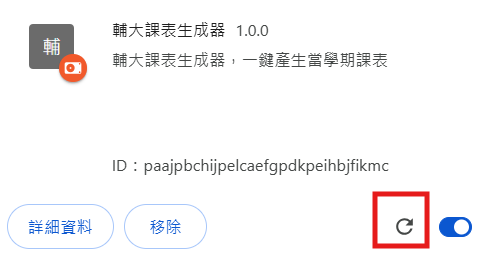
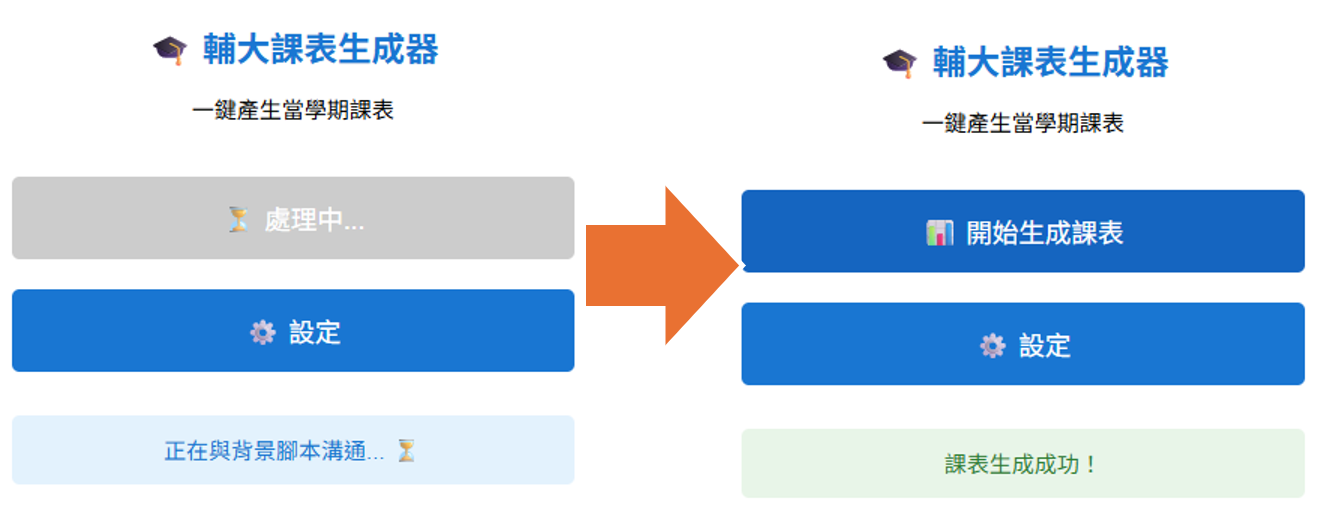
測試生成課表按鈕:
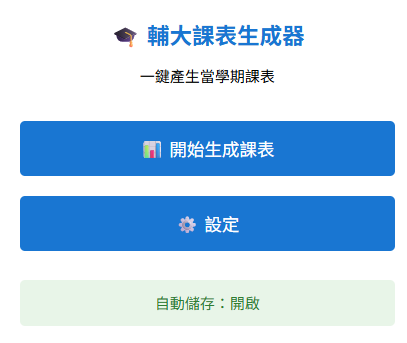
測試設定按鈕:
觀察日誌輸出
可以看到以下回應內容代表popup.js與background.js有成功相互傳遞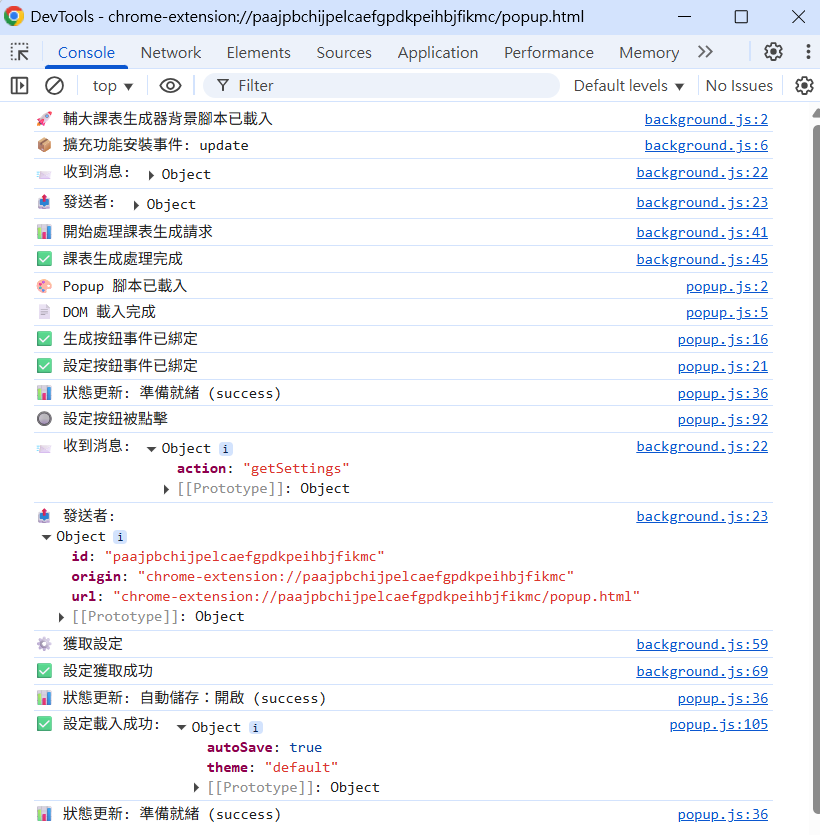
📁 fju-schedule-extension/
├── 📄 manifest.json     ← 擴充功能設定
├── 📄 background.js     ← 背景腳本(今天新增消息處理)
├── 📄 popup.html        ← 使用者介面
└── 📄 popup.js          ← 彈出視窗邏輯(今天新增消息傳遞)
🔗 知識銜接:今天我們建立了 popup 與 background 之間的基本溝通機制,明天將學習更進階的錯誤處理和異常狀況管理。
🎯 下集預告:Day 12 - 錯誤處理與異常狀況管理 🛡️
 alan_1024
