哈囉,各位邦友們!
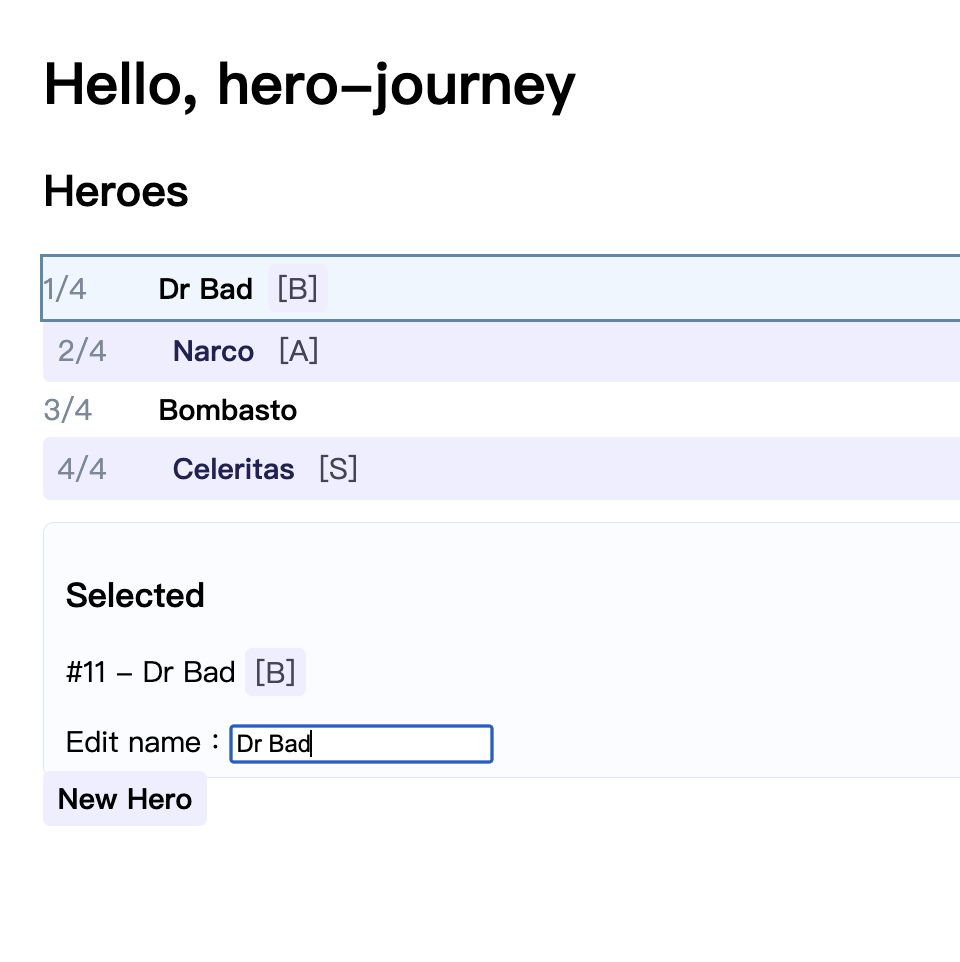
昨天我們用 FormsModule 在 Selected 區塊即時編輯英雄名稱,同步更新清單與選取畫面。
接下來要把英雄資料抽到 HeroService 使其與元件分離,改為透過依賴注入(DI)在元件中取用。
這是走向真實專案架構的第一步。
一、建立 HeroService
把資料與邏輯放進服務,讓元件專注於template的畫面顯示。
ng g service hero
// src/app/hero.service.ts
import { Injectable } from '@angular/core';

export type Hero = { id: number; name: string; rank?: string };

@Injectable({ providedIn: 'root' })
export class HeroService {
  private readonly data: Hero[] = [
    { id: 11, name: 'Dr Nice', rank: 'B' },
    { id: 12, name: 'Narco', rank: 'A' },
    { id: 13, name: 'Bombasto' },
    { id: 14, name: 'Celeritas', rank: 'S' }
  ];

  getAll(): Hero[] {
    return this.data;
  }

  getById(id: number): Hero | undefined {
    return this.data.find((hero) => hero.id === id);
  }

  updateName(id: number, name: string): Hero | undefined {
    const hero = this.getById(id);
    if (!hero) return undefined;
    hero.name = name.trim();
    return hero;
  }
}
二、在元件使用 inject() 取得服務
以 inject() 取用 HeroService,初始化 heroes,並調整 updateName()使其能更新 Service 內資料。
// src/app/app.ts
import { Component, inject, signal } from '@angular/core';
import { HeroService, Hero } from './hero.service';
// ...existing code...

export class App {
  // 使用 inject() 取得 HeroService
  private readonly heroService = inject(HeroService);

  protected readonly title = signal('hero-journey');

  // 由服務提供初始資料
  protected readonly heroes = signal<Hero[]>(this.heroService.getAll());

  // 目前選中的英雄
  protected readonly selectedHero = signal<Hero | null>(null);

  // ...existing code...

  // 調整:讓服務處理邏輯,再回傳至元件將資料顯示
  updateName(name: string) {
    const selected = this.selectedHero();
    if (!selected) {
      return;
    }

    const updated = this.heroService.updateName(selected.id, name);
    if (!updated) {
      return;
    }

    this.heroes.update((list) =>
      list.map((hero) => (hero.id === selected.id ? { ...hero, name: updated.name } : hero))
    );
    this.selectedHero.set({ ...selected, name: updated.name });
  }
}
說明:
驗收清單:
常見錯誤與排查:
今日小結:
今天初步理解了 DI 與 inject(),並且把資料抽到 HeroService 改由服務更新資料,再同步至 signals,使元件更乾淨。
明天會將服務改成回傳 Observable,學會處理非同步資料流與基本訂閱。
參考資料:


 iThome鐵人賽