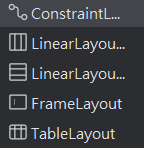
今天會帶各位介紹Layout的部分,會介紹到的就是下面這幾種,今天會主要先介紹ConstraintLayout、LinearLayout和FrameLayout
首先先從ConstraintLayout開始吧
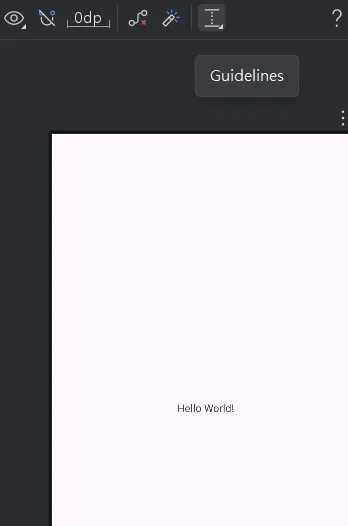
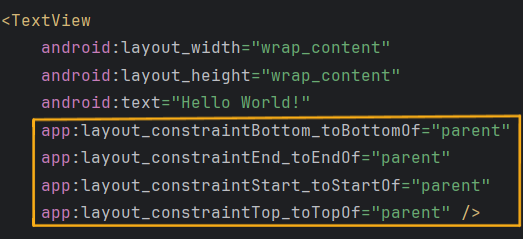
ConstraintLayout 是目前Android官方推薦使用的版面配置。它允許開發者透過設定來定義視圖與其他視圖或父容器之間的相對關係,從而創建複雜且扁平化的介面(基本上是蠻簡單也算好上手的Layout)
下面是Guidelines的位置,當然也可以直接在Code中自己寫
FrameLayout 是最簡單的版面配置容器。它的設計理念是堆疊,所有加入到 FrameLayout 的子視圖都會被放置在左上角,後加入的視圖會覆蓋在先前的視圖之上,就像一層一層疊起來的卡片~~(我很少用ww)~~
android:layout_gravity屬性來控制其在 FrameLayout 中的對齊位置 (例如:置中、靠右、置底……)LinearLayout相較於上面兩個Layout會比較難理解一點,會將其內部的所有子視圖 (View) 以單一方向進行排列,可以是水平 (horizontal) 或垂直 (vertical),所以如果你的佈局要一直垂直水平交互使用的話,Code的部分會有很多巢狀結構,就會看起來很複雜
核心特性:
方向性:透過 android:orientation 屬性設定為 vertical (垂直) 或 horizontal (水平),決定子視圖的排列方向
順序性:子視圖會依照它們在 XML 檔案中宣告的順序依序排列
權重 (Weight):android:layout_weight 是 LinearLayout 中一個非常重要的屬性。它允許子視圖按照比例分配剩餘的空間。這對於創建彈性且能適應不同螢幕尺寸的介面非常有用
可以讓兩個按鈕各佔據螢幕寬度的一半
 <LinearLayout
        android:layout_width="match_parent"
        android:layout_height="match_parent"
        android:orientation="horizontal">

        <Button
		        android:layout_width="0dp"
		        android:layout_height="wrap_content"
		        android:layout_weight="1"
		        android:text="Button" />

        <Button
		        android:layout_width="0dp"
		        android:layout_height="wrap_content"
		        android:layout_weight="1"
		        android:text="Button" />

 </LinearLayout>
今天就先到這裡,明天會開始來介紹元件部分,明天見( ゜ー゜)b


 iThome鐵人賽