距離結束倒數3天了~( Ф∇Ф)
今天來介紹如何設定各國語言吧,話不多說我們開始!!
當Android應用程式需要在多個國家使用時,為了提升使用者體驗,我們需要為應用程式添加多國語系支援功能 。系統會根據使用者手機的語言設定,自動載入對應語言的文字資源,讓各位使用者不用額外翻譯,體驗更好:)
下面直接開始範例
先在res/values/strings.xml 中建立字串,裡面會有一行app_name是預設的
<resources>
		<string name="app_name">owo</string>
    <string name="text">Hi friend</string>
</resources>
建立完我們可以先把字串設定到activity_main.xml裡面
<?xml version="1.0" encoding="utf-8"?>
<androidx.constraintlayout.widget.ConstraintLayout
    xmlns:android="http://schemas.android.com/apk/res/android"
    xmlns:app="http://schemas.android.com/apk/res-auto"
    xmlns:tools="http://schemas.android.com/tools"
    android:id="@+id/main"
    android:layout_width="match_parent"
    android:layout_height="match_parent"
    tools:context=".MainActivity">

    <TextView
        android:layout_width="wrap_content"
        android:layout_height="wrap_content"
        android:text="@string/text"
						---   上面這行   ---
        app:layout_constraintBottom_toBottomOf="parent"
        app:layout_constraintEnd_toEndOf="parent"
        app:layout_constraintStart_toStartOf="parent"
        app:layout_constraintTop_toTopOf="parent" />

</androidx.constraintlayout.widget.ConstraintLayout>
然後點strings.xml上面的Open editor

會跳出Translations Editor,接著點藍色框起來的小地球,選擇你想選擇翻譯的語言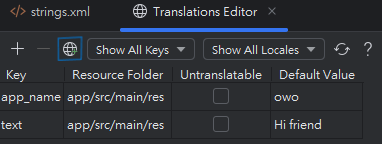
這邊直接選翻成Chinese (zh) in Taiwan(TW) 然後就會多出一格,接著就在白色框裡打上翻譯的字

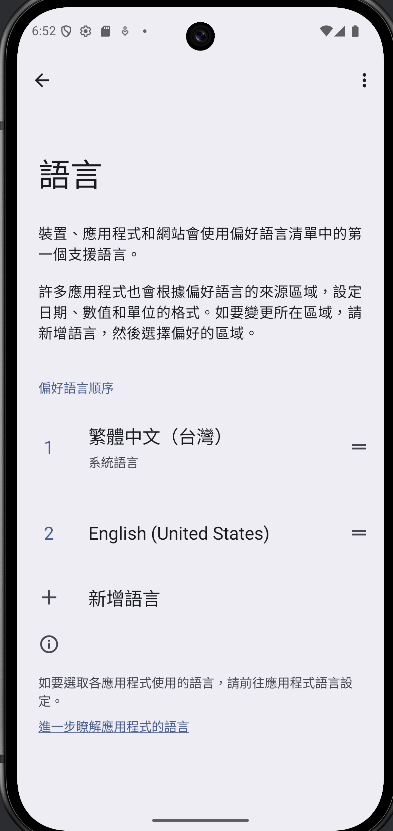
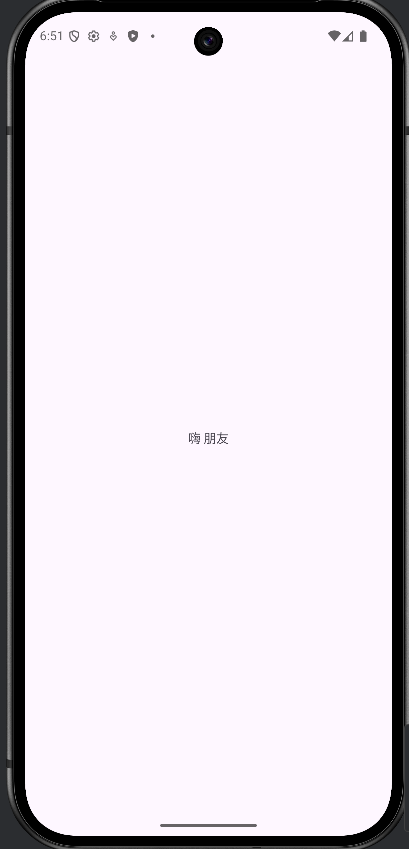
最後在模擬裝置上切換語言就完成了
設定語言就介紹到這裡,恭喜我們已經完成了9成,明天會來介紹Glind,明天見囉(๑¯w¯๑)