專案初始化(2)
在上一篇,我們完成了檔案結構規劃與環境建立。接下來,要讓這個專案真正「動起來」,就需要初始化 後端 Flask 服務,並測試一個最基本的 API。
main.pyimport os
from flask import Flask, jsonify, send_from_directory
from flask_cors import CORS
from dotenv import load_dotenv
app = Flask(__name__, static_folder='static', static_url_path='/static')
CORS(app) # 允許跨域請求
load_dotenv() # 載入環境變數
@app.get('/')
def index():
"""提供首頁"""
return send_from_directory('static', 'index.html')
if __name__ == '__main__':
os.makedirs('static', exist_ok=True)
app.run(debug=True, host='0.0.0.0', port=8000)
static/index.html
<!DOCTYPE html>
<html lang="en">
<head>
<meta charset="UTF-8">
<meta name="viewport" content="width=device-width, initial-scale=1.0">
<title>網頁</title>
<link rel="stylesheet" href="/static/index.css">
</head>
<body>
<div class="navbar-container">
<!-- 左側導覽列 -->
<nav class="navbar">
<div class="navbar-header">
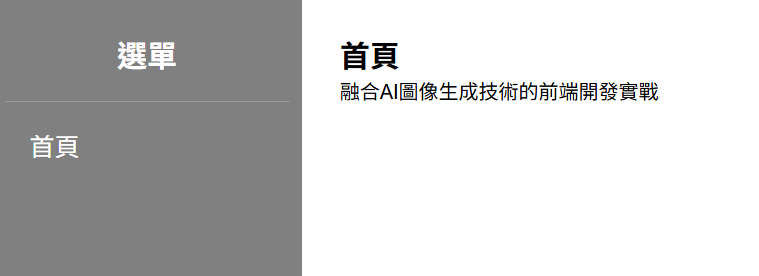
<h2>選單</h2>
</div>
<ul class="navbar-list">
<li><button class="navbar-button active" data-page="home">首頁</button></li>
</ul>
</nav>
<!-- 右側內容區域 -->
<main class="content">
<div id="content-area">
<!-- 動態載入的內容會出現在這裡 -->
</div>
</main>
</div>
<script src="/static/index.js"></script>
</body>
</html>
index.js
document.addEventListener('DOMContentLoaded', () => {
    setupElements();
    setupNavigation();
    loadHomePage();
});

// 全域變數
let navButtons, contentArea;

// 設定元素
function setupElements() {
    navButtons = document.querySelectorAll('.navbar-button');
    contentArea = document.getElementById('content-area');
}

// 設定導覽
function setupNavigation() {
    navButtons.forEach(button => {
        button.addEventListener('click', () => {
            const page = button.getAttribute('data-page');
            loadPage(page);
            updateActiveButton(button);
        });
    });
}

// 載入首頁
async function loadHomePage() {
    await loadPage('home');
}

// 載入頁面內容
async function loadPage(pageName) {
    try {
        const response = await fetch(`/static/pages/${pageName}.html`);
        if (!response.ok) throw new Error(`無法載入頁面: ${response.status}`);
        const html = await response.text();
        contentArea.innerHTML = html;
    } catch (error) {
        contentArea.innerHTML = `<div style="color:#dc3545;">載入失敗:${error.message}</div>`;
    }
}

// 更新按鈕狀態
function updateActiveButton(activeButton) {
    navButtons.forEach(btn => btn.classList.remove('active'));
    activeButton.classList.add('active');
}
static/pages/home.html
<div class="home-page">
    <h2>首頁</h2>
    <p>融合AI圖像生成技術的前端開發實戰</p>
</div>
# 進入虛擬環境
.\env\Scripts\activate

# 執行 main.py
python main.py
開啟瀏覽器,進入 http://localhost:8000
就能看到首頁標題、導覽按鈕


 iThome鐵人賽