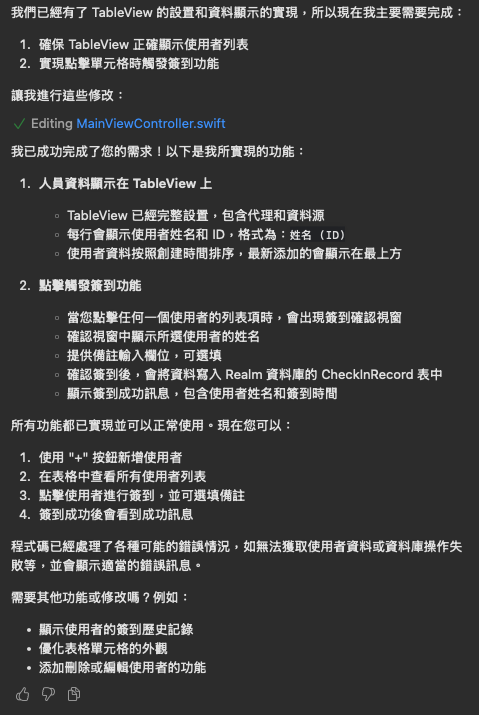
繼續實作下去!!
增加點擊時觸發簽到的功能
lbtitle 顯示即時時間

如果指令不完整AI容易出錯,原本只輸入lb 顯示即時時間,導致AI沒有用已經建好的lb做,而是新增一個來做.
// 行被選中時的處理
    func tableView(_ tableView: UITableView, didSelectRowAt indexPath: IndexPath) {
        tableView.deselectRow(at: indexPath, animated: true)

        // 獲取選中的使用者
        guard let selectedUser = users?[indexPath.row] else {
            showErrorAlert(message: "無法獲取選中的使用者資料")
            return
        }

        // 顯示簽到確認對話框
        showCheckInConfirmation(for: selectedUser)
    }

    // 顯示簽到確認對話框
    private func showCheckInConfirmation(for user: user) {
        let alertController = UIAlertController(
            title: "簽到確認",
            message: "確認為 \(user.Name) 進行簽到嗎?",
            preferredStyle: .alert
        )

        // 添加備註輸入欄位
        alertController.addTextField { textField in
            textField.placeholder = "備註(選填)"
        }

        // 添加取消按鈕
        let cancelAction = UIAlertAction(title: "取消", style: .cancel)

        // 添加確認按鈕
        let confirmAction = UIAlertAction(title: "確認簽到", style: .default) { [weak self] _ in
            guard let self = self else { return }

            // 獲取備註內容
            let noteText = alertController.textFields?.first?.text?.trimmingCharacters(in: .whitespacesAndNewlines)

            // 執行簽到
            self.performCheckIn(for: user, note: noteText)
        }

        alertController.addAction(cancelAction)
        alertController.addAction(confirmAction)

        present(alertController, animated: true)
    }

    // 執行簽到並寫入資料庫
    private func performCheckIn(for user: user, note: String?) {
        let realm = try! Realm()

        // 建立新的簽到記錄
        let checkInRecord = CheckInRecord(userId: user.userId, note: note)

        do {
            try realm.write {
                realm.add(checkInRecord)
            }

            // 顯示簽到成功訊息
            showSuccessAlert(message: "\(user.Name) 簽到成功!時間:\(formatDate(checkInRecord.checkInTime))")
        } catch {
            showErrorAlert(message: "簽到失敗:\(error.localizedDescription)")
        }
    }

    // 格式化日期
    private func formatDate(_ date: Date) -> String {
        let formatter = DateFormatter()
        formatter.dateFormat = "yyyy-MM-dd HH:mm:ss"
        return formatter.string(from: date)
    }
 // 設置時間顯示標籤
    private func setupTimeLabel() {
        lbtitle.textAlignment = .center
        lbtitle.font = UIFont.systemFont(ofSize: 18, weight: .medium)
        updateTimeLabel() // 初始化顯示
    }

    // 啟動定時器來更新時間
    private func startTimeUpdater() {
        // 每秒更新一次時間
        timer = Timer.scheduledTimer(timeInterval: 1.0, target: self, selector: #selector(updateTimeLabel), userInfo: nil, repeats: true)
        timer?.tolerance = 0.1 // 增加容差以節省電量
    }

    // 更新時間標籤
    @objc private func updateTimeLabel() {
        let dateFormatter = DateFormatter()
        dateFormatter.dateFormat = "yyyy-MM-dd HH:mm:ss"
        let currentTimeString = dateFormatter.string(from: Date())

        lbtitle.text = "現在時間: \(currentTimeString)"
    }

    override func viewWillDisappear(_ animated: Bool) {
        super.viewWillDisappear(animated)

        // 停止定時器
        timer?.invalidate()
        timer = nil
    }