昨天我們完成了串接 Google Calendar 節點的基本設定,今天的目標是建立並設定 Google Calendar 的憑證 (Credential),讓 n8n 能夠成功獲取您 Google 日曆的資料。
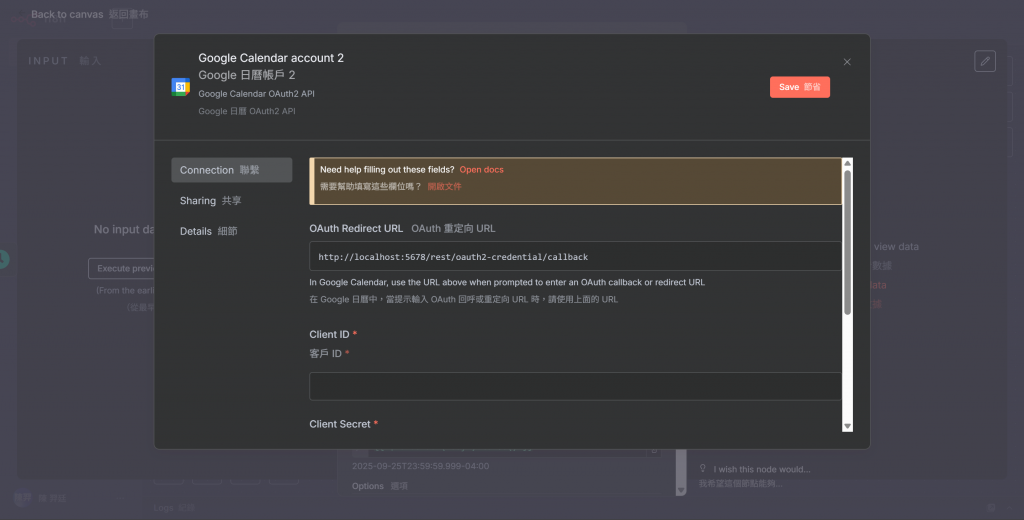
首先,點開 Credential to connect with → 點開 credential to connent with → 下拉選單選擇 + create new credential

然後複製 OAuth Redirect URL
前往 Google Cloud Platform,點選右上角的「控制台」。
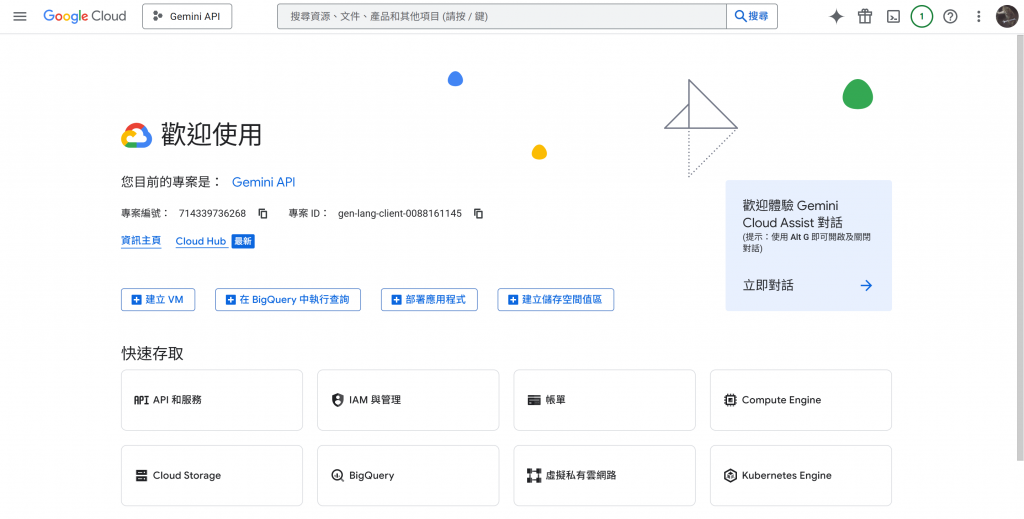
在頂端的搜尋框輸入 google calendar api 並前往設定頁面。
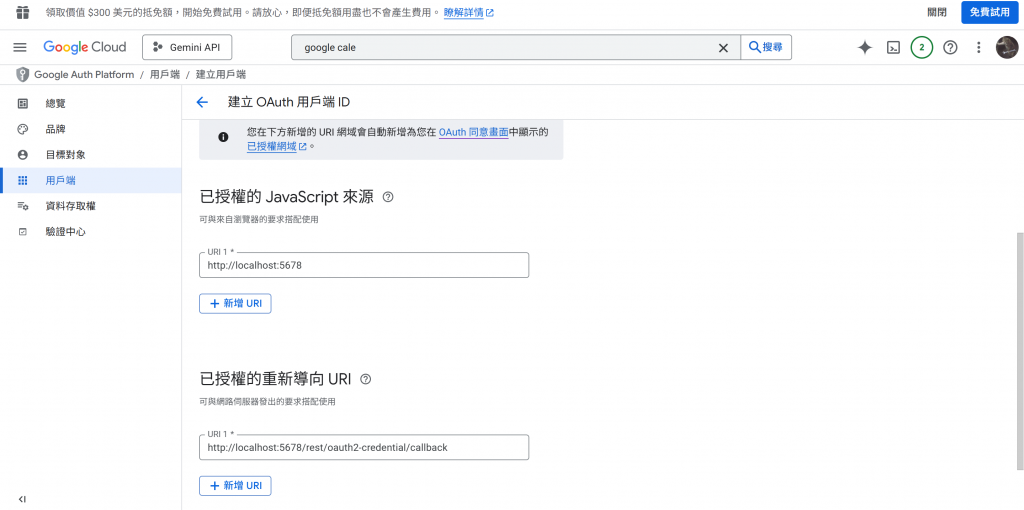
在 API 憑證設定中,將剛剛從 n8n 複製的網址分別填入「已授權的 JavaScript 來源」與「已授權的重新導向 URI」。
注意:在本地端 (localhost) 環境下,需要將 n8n 的回調網址拆成兩部分填寫。
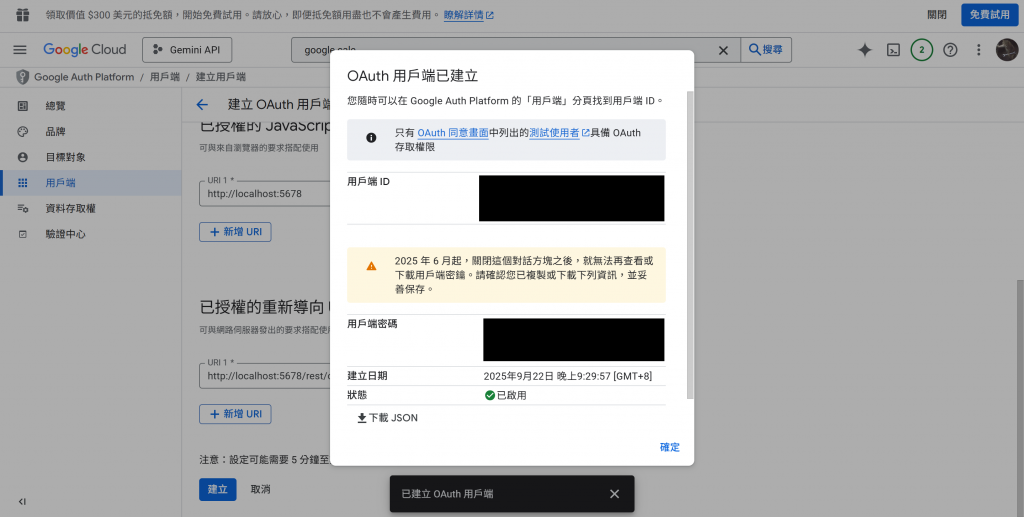
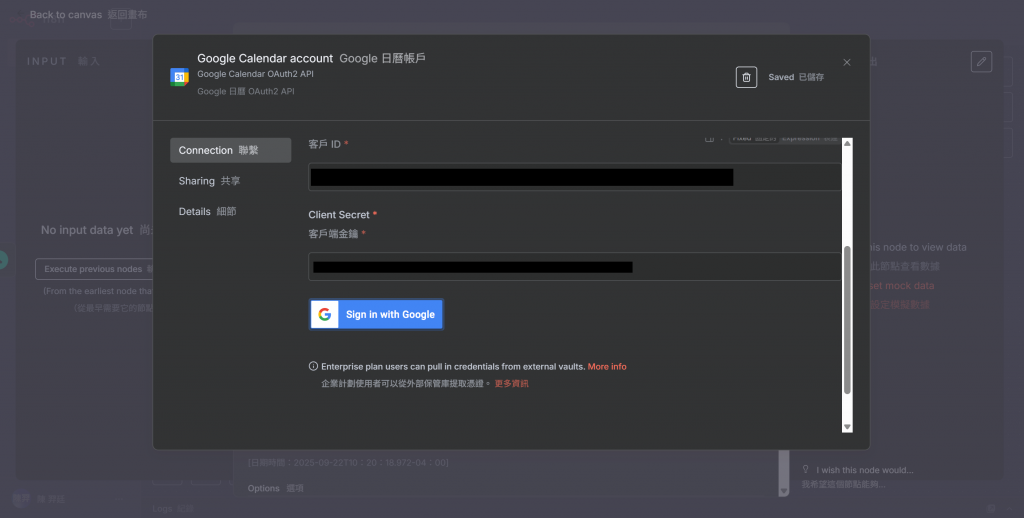
設定完成後,將 Google Cloud 提供的「用戶端 ID」和「用戶端密鑰」複製並貼回到 n8n 的對應欄位中。
點擊 Sign in with Google 進行帳號連結。
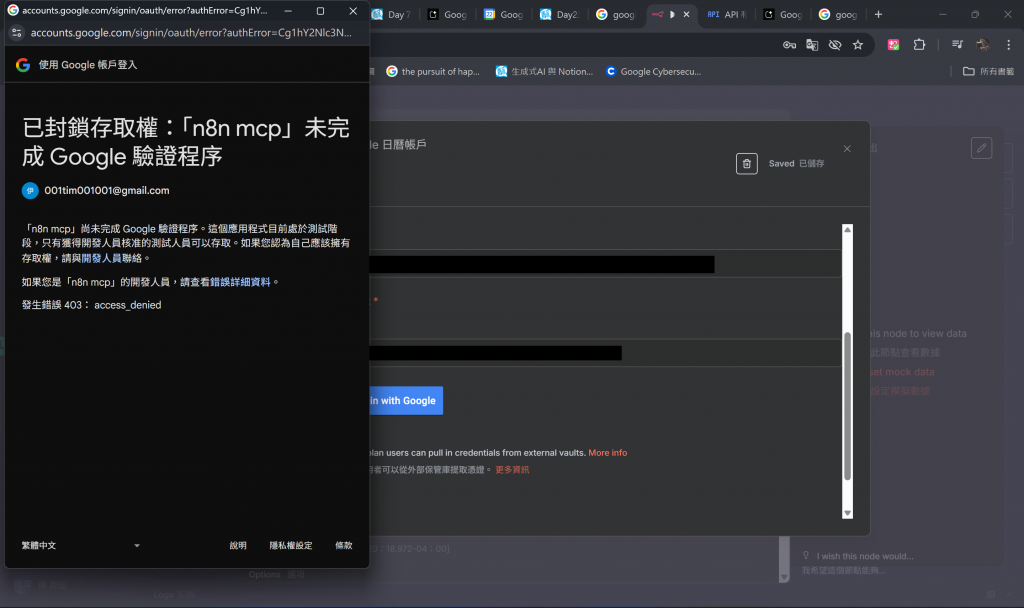
點擊登入後,您可能會遇到「已封存的存取權」的錯誤訊息,這是因為您的 Google Cloud 專案處於測試模式,需要手動將您的帳號加入測試使用者名單。
請依照以下步驟操作:
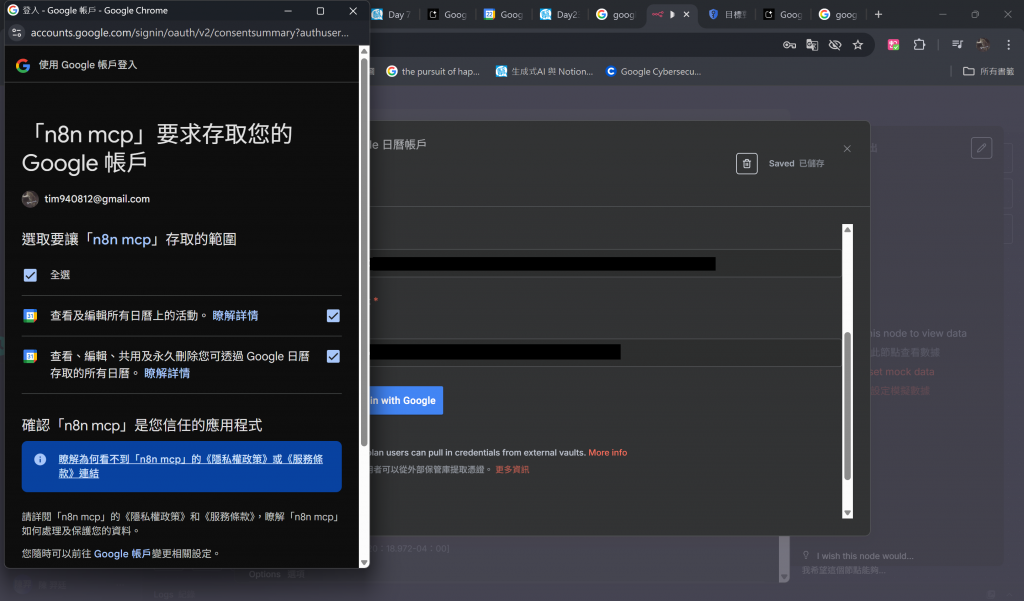
完成後,再回到 n8n 點擊一次 sign in with google ,此時會出現「這個應用程式未經 Google 驗證」的警告畫面。請點擊「繼續」,並在下一個畫面同意授權即可。
如果憑證欄位出現綠色打勾的已連結帳號,代表您已成功串接!
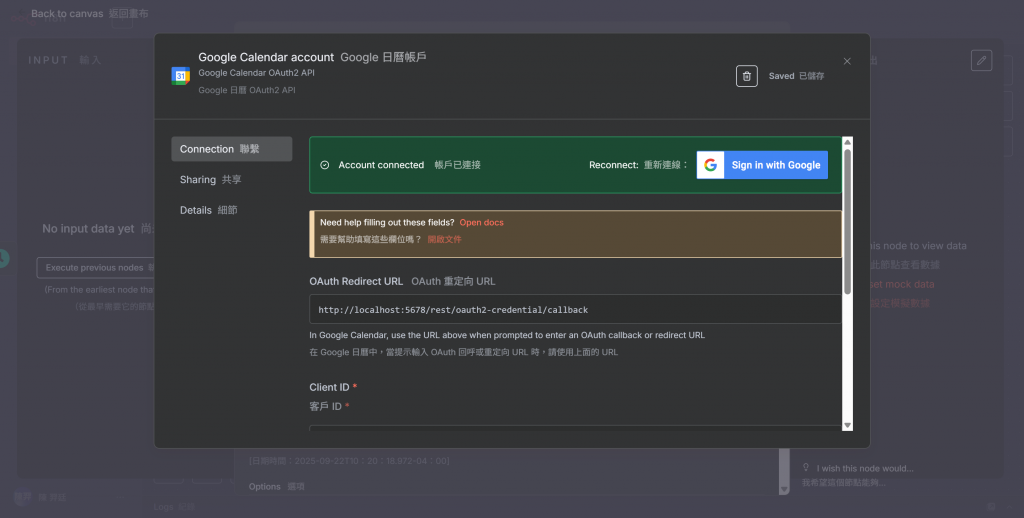
如果憑證欄位出現綠色打勾的已連結帳號,代表您已成功串接!
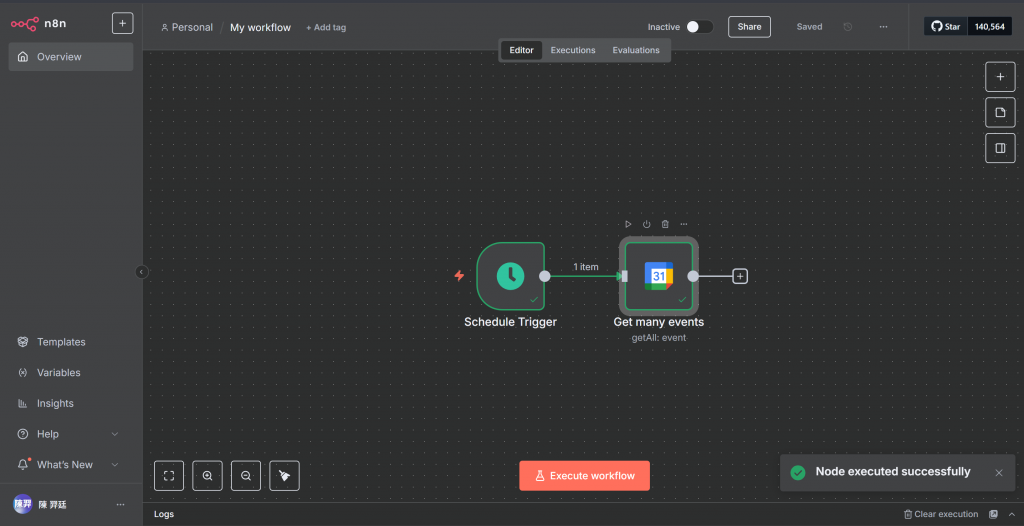
今天我們成功設定了 Google Calendar 節點的憑證,讓 n8n 可以讀取我們每天的 Google 日曆行程。
明天,我們將會教大家如何串接 Notion 節點,為後續的自動化流程獲取所有必要的資料。
下一篇!n8n x Notion 節點串接,敬請期待!

