透過 Supabase Auth 與 Database ,快速建立一個安全、可擴展的會員認證系統。
使用者資料管理
認證流程
前端整合
這邊省略細節,可參考前幾篇文章詳細說明:
建立資料庫遷移檔案來定義使用者資料表結構:
因為要新增使用者個人資料欄位到 auth.users 表中,建議建立一個新的 public.users 表來擴展功能。
-- supabase/migrations/20250101000002_create_users_profiles_table.sql

CREATE TABLE IF NOT EXISTS public.users (
    id UUID REFERENCES auth.users(id) ON DELETE CASCADE PRIMARY KEY,
    email VARCHAR(255) NOT NULL,
    name VARCHAR(255),
    phone VARCHAR(20),
    avatar_url TEXT,
    address TEXT,
    notification_settings JSONB DEFAULT '{
        "email_notifications": true,
        "push_notifications": true,
        "booking_reminders": true,
        "queue_updates": true
    }'::jsonb,
    created_at TIMESTAMP WITH TIME ZONE DEFAULT timezone('utc'::text, now()) NOT NULL,
    updated_at TIMESTAMP WITH TIME ZONE DEFAULT timezone('utc'::text, now()) NOT NULL
);

-- 啟用行級安全性(Row Level Security)
ALTER TABLE public.users ENABLE ROW LEVEL SECURITY;

-- 創建行級安全性策略
CREATE POLICY "Public profiles are viewable by everyone" ON public.users
    FOR SELECT USING (true);

CREATE POLICY "Users can insert their own profile" ON public.users
    FOR INSERT WITH CHECK (auth.uid() = id);

CREATE POLICY "Users can update their own profile" ON public.users
    FOR UPDATE USING (auth.uid() = id);

CREATE TRIGGER handle_updated_at BEFORE UPDATE ON public.users
    FOR EACH ROW EXECUTE PROCEDURE public.handle_updated_at();
使用 Supabase CLI 執行遷移:
# 執行遷移
supabase db push
建立 Supabase 客戶端連線。
// lib/supabase/client.ts
import { createBrowserClient } from "@supabase/ssr";

const supabaseUrl = process.env.NEXT_PUBLIC_SUPABASE_URL || "";
const supabaseAnonKey = process.env.NEXT_PUBLIC_SUPABASE_ANON_KEY || "";

export const supabase = createBrowserClient(supabaseUrl, supabaseAnonKey);

export function createClient() {
  return supabase;
}
建立專門處理使用者相關操作的服務模組。
// lib/supabase/users-client.ts
import { createClient } from "./client";

export const userProfileService = {
  // 取得當前使用者的個人資料
  async getCurrentProfile(): Promise<UserProfile | null> {
    const supabase = createClient();
    const {
      data: { user },
    } = await supabase.auth.getUser();

    if (!user) return null;

    const { data, error } = await supabase
      .from("users")
      .select("*")
      .eq("id", user.id)
      .single();

    return data;
  },

  // 更新當前使用者的個人資料
  async updateProfile(
    updates: UpdateUserProfileData
  ): Promise<UserProfile | null> {
    const supabase = createClient();
    const {
      data: { user },
    } = await supabase.auth.getUser();

    if (!user) throw new Error("User not authenticated");

    const { data, error } = await supabase
      .from("users")
      .update(updates)
      .eq("id", user.id)
      .select()
      .single();

    return data;
  },

  // 根據使用者 ID 取得個人資料
  async getProfileById(userId: string): Promise<UserProfile | null> {
    const supabase = createClient();

    const { data, error } = await supabase
      .from("users")
      .select("id, email, name, avatar_url, created_at")
      .eq("id", userId)
      .single();

    return data;
  },
};
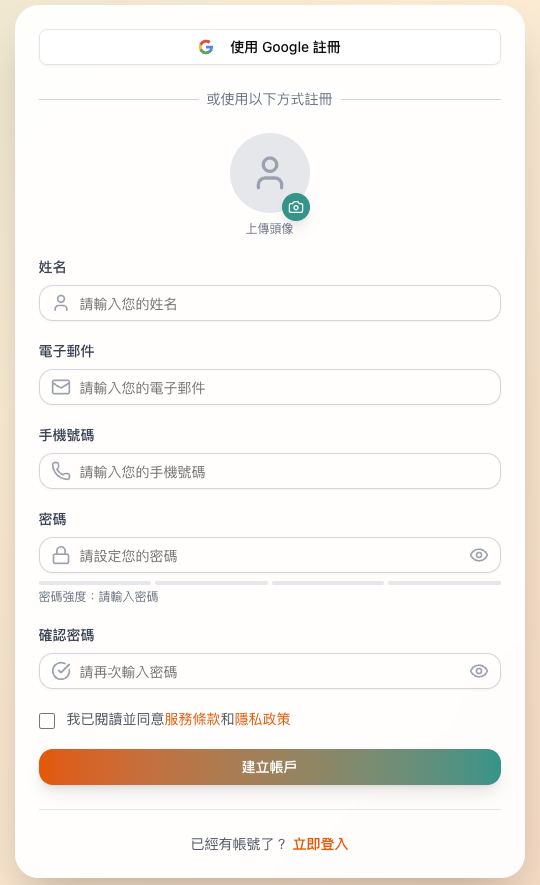
// components/queue-sign-up-form.tsx
const handleSignUp = async (e: React.FormEvent) => {
  try {
    // 註冊使用者
    const { data: authData, error: authError } = await supabase.auth.signUp({
      email: formData.email,
      password: formData.password,
      options: {
        data: {
          name: formData.name,
          phone: formData.phone,
        },
        emailRedirectTo: `${window.location.origin}/auth/callback`,
      },
    });

    if (authError) throw authError;

    // 導向成功頁面
    router.push("/auth/sign-up-success");
  } catch (error: unknown) {
    setError(error instanceof Error ? error.message : "註冊過程中發生錯誤");
  } finally {
    setIsLoading(false);
  }
};
// components/queue-login-form.tsx
const handleLogin = async (e: React.FormEvent) => {
  try {
    const { error } = await supabase.auth.signInWithPassword({
      email,
      password,
    });

    if (error) {
      setError(error.message);
    } else {
      // 登入成功,導向首頁
      router.push("/home");
    }
  } catch {
    setError("登入時發生錯誤,請稍後再試");
  } finally {
    setIsLoading(false);
  }
};
http://localhost:3000)在 Supabase Dashboard > Authentication > Email 中自訂信箱範本:
<!-- 確認信箱範本 -->
<style>
  body {
    font-family: Arial, sans-serif;
    line-height: 1.6;
    color: #333;
    background-color: #f4f4f4;
    margin: 0;
    padding: 0;
  }
  .container {
    width: 80%;
    margin: 20px auto;
    background: #fff;
    padding: 30px;
    border-radius: 8px;
    box-shadow: 0 0 10px rgba(0, 0, 0, 0.1);
  }
  h2 {
    color: #0056b3;
    text-align: center;
    margin-bottom: 20px;
  }
  p {
    margin-bottom: 15px;
  }
  .button {
    display: block;
    width: 200px;
    margin-left: 0;
    margin-right: auto;
    padding: 10px 15px;
    background-color: #007bff;
    color: #fff;
    text-align: center;
    text-decoration: none;
    border-radius: 5px;
  }
  .button:hover {
    background-color: #0056b3;
  }
  .footer {
    text-align: center;
    margin-top: 30px;
    font-size: 0.9em;
    color: #777;
  }
</style>

<div class="container">
  <h2>歡迎加入 來企排隊!</h2>
  <p>感謝您註冊 來企排隊 帳戶。請點擊下方按鈕來驗證您的電子郵件地址:</p>
  <p><a href="{{ .ConfirmationURL }}" class="button">驗證電子郵件</a></p>
  <p>如果您沒有註冊此帳戶,請忽略此郵件。</p>
  <div class="footer">
    <p>來企排隊 團隊</p>
  </div>
</div>
// app/auth/callback/page.tsx

export default function AuthCallback() {
  useEffect(() => {
    const handleAuthCallback = async () => {
      try {
        // 檢查是否有 session
        const { data, error } = await supabase.auth.getSession();

        if (error) {
          console.error("Session error:", error);
          setError(error.message);
          return;
        }

        if (data.session) {
          // 已有 session,導向首頁
          router.push("/home");
          return;
        }

        // 如果沒有 session,導向登入頁面
        router.push("/auth/login");
      } catch (err) {
        console.error("Auth callback error:", err);
        setError("Authentication failed");
      } finally {
        setLoading(false);
      }
    };

    handleAuthCallback();
  }, [router]);
// app/auth/sign-up-success/page.tsx

export default function SignUpSuccessPage() {
  return (
    <div className="min-h-screen flex items-center justify-center">
      <div className="max-w-md w-full text-center space-y-8">
        <div>
          <h2 className="text-3xl font-bold">註冊成功!</h2>
          <p className="text-gray-600 mt-2">請檢查您的電子郵件</p>
        </div>

        <div className="bg-green-50 border border-green-200 rounded-lg p-6">
          <p className="text-green-800">
            我們已經發送一封確認郵件到您的信箱。
            請點擊郵件中的連結來啟用您的帳戶。
          </p>
        </div>

        <div>
          <Link
            href="/auth/login"
            className="text-blue-600 hover:text-blue-800 underline"
          >
            返回登入頁面
          </Link>
        </div>
      </div>
    </div>
  );
}
npm run dev
http://localhost:3000/auth/sign-up
http://localhost:3000/auth/login
在 Supabase Dashboard > Table Editor 中檢查:
auth.users 表是否有新使用者記錄public.users 表是否自動建立對應的個人資料利用 Supabase Auth 和 Database 建立使用者系統。Auth 提供身份驗證機制,包含電子郵件註冊、登入驗證、信箱確認等功能,而 PostgreSQL 資料庫能夠擴展使用者資料,建立個人化的使用者檔案。結合行級安全性(RLS)政策,確保了資料存取的安全性。
... to be continued
有任何想討論歡迎留言,或需要指正的地方請鞭大力一點,歡迎訂閱、按讚加分享,分享給想要提升開發效率的朋友


 iThome鐵人賽