今天要利用 Supabase Edge Function 結合 Resend 服務,來寄送客製化的訂單通知信。
Resend 是一個專為開發者設計的電子郵件 API 服務,它讓寄送郵件(如訂單確認)變得非常簡單。
yourdomain.com)。建立一個新的 Edge Function 來處理郵件寄送邏輯。
在 Supabase 專案根目錄下,使用以下指令建立一個新的 Edge Function,例如命名為 send-order-email:
supabase functions new send-order-email
打開 supabase/functions/send-order-email/index.ts,編寫以下程式碼。這個函式會接收訂單資訊,並使用 Resend 寄送客製化 HTML 郵件。
// supabase/functions/send-order-email/index.ts

import { serve } from "https://deno.land/std@0.168.0/http/server.ts";
import { Resend } from "@resend/api";

const RESEND_API_KEY = Deno.env.get("RESEND_API_KEY");

if (!RESEND_API_KEY) {
  console.error("RESEND_API_KEY is not set in environment variables.");
}

const resend = new Resend(RESEND_API_KEY);

serve(async (req) => {
  if (req.method !== "POST") {
    return new Response("Method Not Allowed", { status: 405 });
  }

  try {
    const { toEmail, orderId, customerName, orderItems, totalAmount } =
      await req.json();

    if (!toEmail || !orderId || !customerName || !orderItems || !totalAmount) {
      return new Response(
        JSON.stringify({ error: "Missing required order information." }),
        { status: 400, headers: { "Content-Type": "application/json" } }
      );
    }

    // 動態生成訂單商品列表的 HTML
    const itemsHtml = orderItems
      .map(
        (item: any) => `
      <tr>
        <td style="padding: 8px; border: 1px solid #ddd;">${item.name}</td>
        <td style="padding: 8px; border: 1px solid #ddd; text-align: right;">${item.quantity}</td>
        <td style="padding: 8px; border: 1px solid #ddd; text-align: right;">$${item.price.toFixed(2)}</td>
      </tr>
    `
      )
      .join("");

    // 客製化 HTML 郵件內容
    const emailHtml = `
      <div style="font-family: Arial, sans-serif; line-height: 1.6; color: #333; max-width: 600px; margin: 20px auto; padding: 20px; border: 1px solid #eee; border-radius: 8px;">
        <h2 style="color: #0056b3; text-align: center;">您的訂單 #${orderId} 已確認!</h2>
        <p>親愛的 ${customerName},</p>
        <p>感謝您的訂購!您的訂單已成功確認,詳細資訊如下:</p>

        <h3 style="color: #0056b3;">訂單詳情</h3>
        <table style="width: 100%; border-collapse: collapse; margin-bottom: 20px;">
          <thead>
            <tr>
              <th style="padding: 8px; border: 1px solid #ddd; background-color: #f2f2f2; text-align: left;">商品</th>
              <th style="padding: 8px; border: 1px solid #ddd; background-color: #f2f2f2; text-align: right;">數量</th>
              <th style="padding: 8px; border: 1px solid #ddd; background-color: #f2f2f2; text-align: right;">單價</th>
            </tr>
          </thead>
          <tbody>
            ${itemsHtml}
          </tbody>
          <tfoot>
            <tr>
              <td colspan="2" style="padding: 8px; border: 1px solid #ddd; text-align: right; font-weight: bold;">總金額:</td>
              <td style="padding: 8px; border: 1px solid #ddd; text-align: right; font-weight: bold;">$${totalAmount.toFixed(2)}</td>
            </tr>
          </tfoot>
        </table>

        <p>我們將盡快處理您的訂單。如有任何問題,請隨時聯繫我們。</p>
        <p>祝您有美好的一天!</p>
        <p>此致,<br>來企排隊團隊</p>
        <div style="text-align: center; margin-top: 30px; font-size: 0.9em; color: #777;">
          <p>此為自動發送郵件,請勿直接回覆。</p>
        </div>
      </div>
    `;

    const { data, error } = await resend.emails.send({
      from: "您的商店名稱 <onboarding@resend.dev>",
      to: [toEmail],
      subject: `來企排隊 - 您的訂單 #${orderId} 已確認!`,
      html: emailHtml,
    });

    if (error) {
      console.error("Error sending email:", error);
      return new Response(JSON.stringify({ error: error.message }), {
        status: 500,
        headers: { "Content-Type": "application/json" },
      });
    }

    return new Response(
      JSON.stringify({ message: "郵件發送成功!", data }),
      { status: 200, headers: { "Content-Type": "application/json" } }
    );
  } catch (error) {
    console.error("Function execution error:", error);
    return new Response(JSON.stringify({ error: "Internal Server Error" }), {
      status: 500,
      headers: { "Content-Type": "application/json" },
    });
  }
});
在您的 Supabase 專案中,您需要設定 RESEND_API_KEY 環境變數。
本地開發:在專案根目錄下的 .env.local 或 .env 檔案中加入:
RESEND_API_KEY=re_YOUR_RESEND_API_KEY
請將 re_YOUR_RESEND_API_KEY 替換為您在 Resend 建立的實際 API Key。
部署到 Supabase:在 Supabase Dashboard 中,前往 Project Settings > Edge Functions > Environment Variables,新增 RESEND_API_KEY 並填入 Key。
在部署之前,可以在本地測試 Edge Function。
bash supabase start
bash supabase functions serve --no-verify-jwt
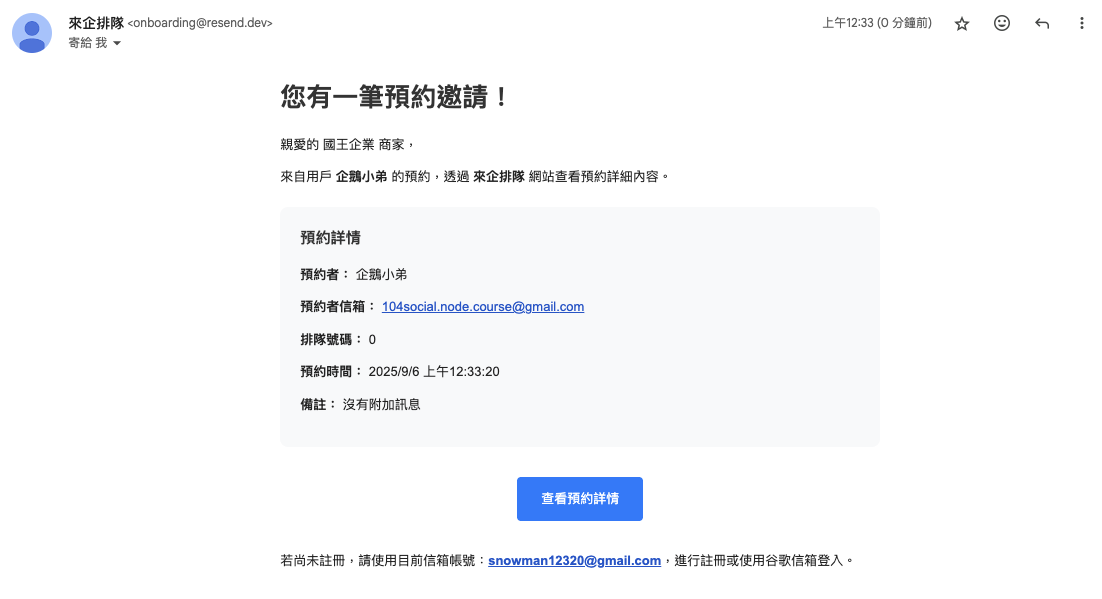
curl 測試:bash curl -i --location --request POST 'http://localhost:54321/functions/v1/send-order-email' \ --header 'Content-Type: application/json' \ --data '{ "toEmail": "test@example.com", "orderId": "ABC-12345", "customerName": "王小明", "orderItems": [ {"name": "來企排隊 VIP 會員", "quantity": 1, "price": 99.99}, {"name": "快速通關券", "quantity": 2, "price": 10.50} ], "totalAmount": 120.99 }' test@example.com 替換為您可以接收郵件的信箱。如果一切順利,應該會收到一封客製化的訂單通知信。部署 Edge Function 時,使用指令:
supabase functions deploy send-order-email
這會將函式部署到 Supabase 的邊緣節點。
使用 supabase-js 客戶端來呼叫這個 Edge Function。例如,在訂單完成後觸發:
import { createClient } from "@/lib/supabase/client";

async function sendOrderConfirmationEmail(orderDetails: OrderDetails) {
  const supabase = createClient();

  try {
    const { data, error } = await supabase.functions.invoke(
      "send-order-email",
      {
        body: orderDetails,
      }
    );

    if (error) {
      console.error("呼叫 Edge Function 失敗:", error);
    }
  } catch (err) {
    console.error("寄送訂單確認信時發生錯誤:", err);
  }
}

// 發送信件測試
// const myOrder = {
//   toEmail: "customer@example.com",
//   orderId: "XYZ-67890",
//   customerName: "李小華",
//   orderItems: [
//     { name: "咖啡", quantity: 1, price: 5.00 },
//     { name: "蛋糕", quantity: 1, price: 8.50 }
//   ],
//   totalAmount: 13.50
// };
// sendOrderConfirmationEmail(myOrder);

透過 Supabase Edge Function 和 Resend,可以輕鬆地為應用程式添加客製化的電子郵件通知功能。
... to be continued
有任何想討論歡迎留言,或需要指正的地方請鞭大力一點,歡迎訂閱、按讚加分享,分享給想要提升開發效率的朋友