我們已經探討了長輪詢和 WebSocket 這兩種追蹤任務進度的技術。長輪詢簡單但效率不高,WebSocket 強大但實作上稍微複雜一些。今天,我們要介紹一種介於兩者之間的技術:伺服器發送事件 (Server-Sent Events, SSE)。
對於許多 AI 應用的進度追蹤場景,我們其實只需要「伺服器向客戶端」單向推送更新,而不太需要客戶端向伺服器發送訊息。例如,顯示模型訓練的進度百分比、串流式地展示 LLM 生成的文字等。在這種「單向通訊」的場景下,SSE 提供了一個比 WebSocket 更輕量、更簡單的選擇。

SSE 是一種允許伺服器「單向」地向客戶端推送事件串流的標準。它的核心特點如下:
FastAPI 並沒有像 WebSocket 那樣內建一個專門的 SSE 類別,但我們可以透過 StreamingResponse 輕鬆地實現它。我們需要一個產生器 (Generator) 來不斷 yield 出要發送的資料。
from fastapi import FastAPI
from fastapi.responses import StreamingResponse
import time

app = FastAPI()

def event_stream():
    """持續推送事件"""
    counter = 0
    while True:
        counter += 1
        yield f"data: 訊息 {counter} 時間:{time.strftime('%X')}\n\n"
        time.sleep(1)


@app.get("/stream")
async def stream():
    """SSE endpoint"""
    return StreamingResponse(event_stream(), media_type="text/event-stream")
再做一個簡單的前端來接收 SSE
from fastapi.responses import HTMLResponse

@app.get("/demo", response_class=HTMLResponse)
async def get_page():
    """回傳一個包含 SSE 客戶端的基本 HTML 頁面"""
    html_content = """
    <!DOCTYPE html>
    <html lang="zh-TW">
    <head>
        <meta charset="UTF-8">
        <title>SSE Demo - FastAPI</title>
        <style>
            body { font-family: system-ui, sans-serif; padding: 2rem; }
            button { margin-right: 1rem; }
            ul { margin-top: 1rem; }
        </style>
    </head>
    <body>
        <h1>🛰️ Server-Sent Events (SSE) Demo</h1>
        <button id="connect">連線</button>
        <button id="disconnect">斷線</button>
        <ul id="messages"></ul>

        <script>
            let eventSource = null;
            const messages = document.getElementById("messages");
            const connectBtn = document.getElementById("connect");
            const disconnectBtn = document.getElementById("disconnect");

            connectBtn.addEventListener("click", () => {
                if (eventSource) return;
                eventSource = new EventSource("/stream");

                eventSource.onmessage = (event) => {
                    const li = document.createElement("li");
                    li.textContent = event.data;
                    messages.appendChild(li);
                };

                eventSource.onerror = (event) => {
                    console.error("SSE 連線錯誤", event);
                    eventSource.close();
                    eventSource = null;
                };
            });

            disconnectBtn.addEventListener("click", () => {
                if (eventSource) {
                    eventSource.close();
                    eventSource = null;
                }
            });
        </script>
    </body>
    </html>
    """
    return HTMLResponse(content=html_content)
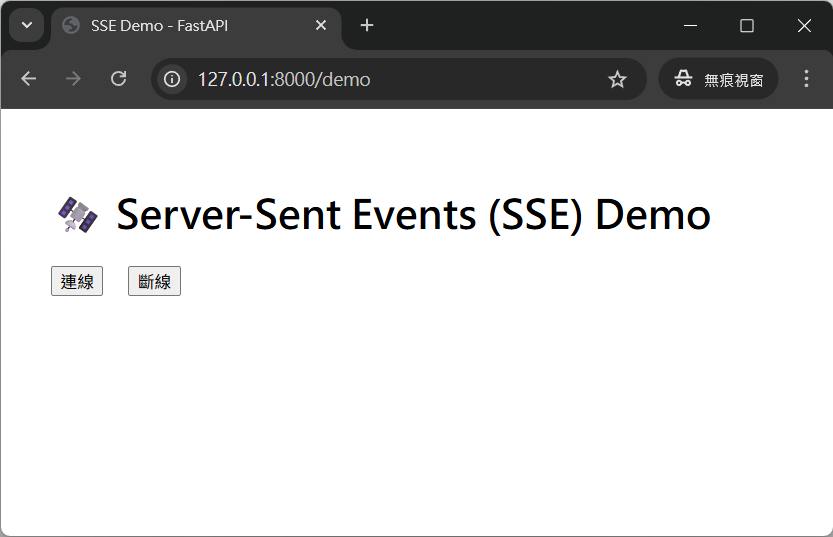
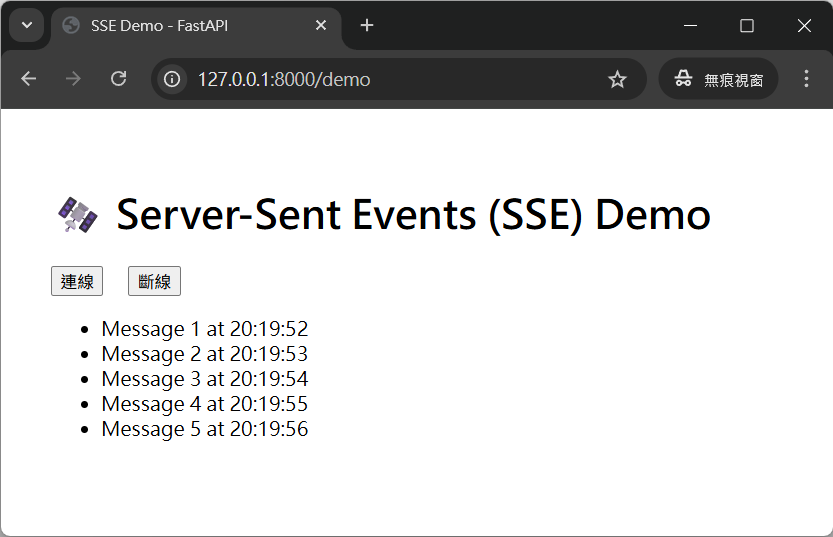
執行起來長這樣:
跟昨天一樣,接下來,來看一個稍微複雜一點的例子:有一個 API 可以啟動背景任務,而背景任務在執行時會透過 SSE 傳送任務進度。
為了方便 Demo,這邊展示了一個簡單的任務與任務狀態管理:
# 任務狀態存儲
task_progress = {"task_001": 0}
task_completed = {"task_001": False}

def background_task(task_id: str):
    """背景任務:每秒完成10%,共10秒"""
    for i in range(1, 11):
        time.sleep(1)
        task_progress[task_id] = i * 10
        if i == 10:
            task_completed[task_id] = True

@app.post("/start-task")
async def start_task(background_tasks: BackgroundTasks):
    """啟動背景任務"""
    task_id = "task_001"
    task_progress[task_id] = 0
    task_completed[task_id] = False
    background_tasks.add_task(background_task, task_id)
    return {"task_id": task_id, "message": "任務已啟動"}
接著,需要一個 API 作為 SSE 進度端點:
def progress_stream():
    """SSE 進度推送"""
    task_id = "task_001"
    while not task_completed[task_id]:
        progress = task_progress[task_id]
        yield f"data: {{\"progress\": {progress}, \"task_id\": \"{task_id}\"}}\n\n"
        time.sleep(0.5)  # 每0.5秒檢查一次
    # 最終完成訊息
    yield f"data: {{\"progress\": 100, \"task_id\": \"{task_id}\", \"completed\": true}}\n\n"

@app.get("/progress")
async def get_progress():
    """SSE 進度端點"""
    return StreamingResponse(progress_stream(), media_type="text/event-stream")
最後就是做一個簡單前端來進行展示:
@app.get("/demo", response_class=HTMLResponse)
async def demo_page():
    """演示頁面"""
    return HTMLResponse("""
    <!DOCTYPE html>
    <html>
    <head><title>背景任務進度</title></head>
    <body>
        <h1>背景任務進度演示</h1>
        <button onclick="startTask()">啟動任務</button>
        <button onclick="connectSSE()">連接進度</button>
        <div id="progress">進度: 0%</div>
        <div id="status"></div>

        <script>
        async function startTask() {
            const response = await fetch('/start-task', {method: 'POST'});
            const data = await response.json();
            document.getElementById('status').innerText = data.message;
        }

        function connectSSE() {
            const eventSource = new EventSource('/progress');
            eventSource.onmessage = function(event) {
                const data = JSON.parse(event.data);
                document.getElementById('progress').innerText = `進度: ${data.progress}%`;
                if (data.completed) {
                    document.getElementById('status').innerText = '任務完成!';
                    eventSource.close();
                }
            };
        }
        </script>
    </body>
    </html>
    """)
最後,執行起來會長這樣:
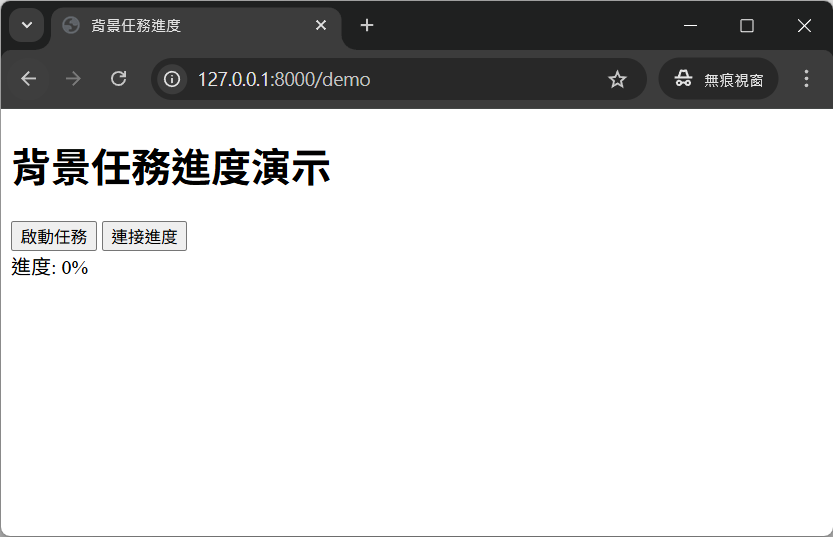
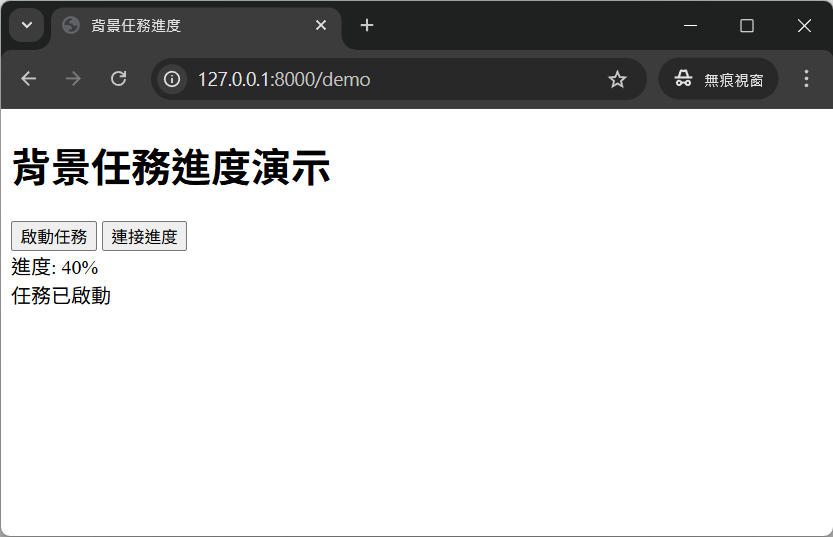
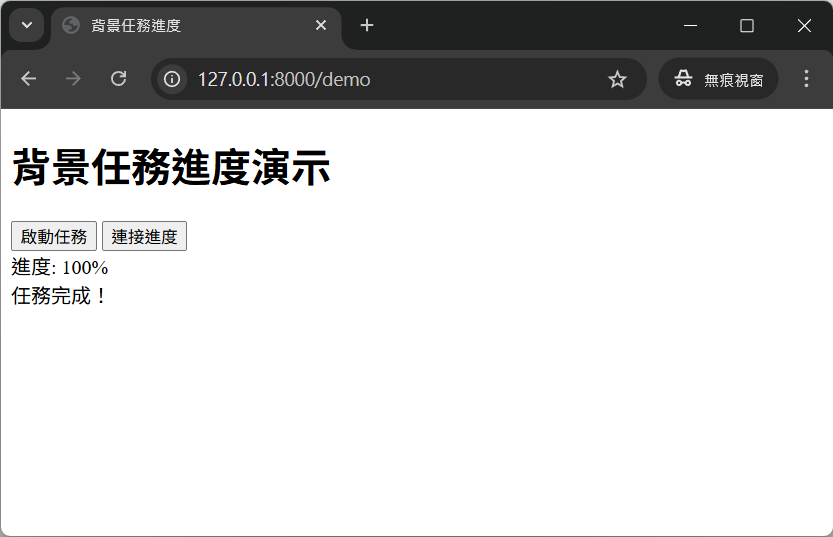
可以看到,在我們啟動任務後,任務就會開始執行。接下來按下「連接進度」按鈕後,就可以在畫面上看到即時的進度了~
雖然 SSE 很好用,但 EventSource 在實際應用中確實有一些限制需要注意:
Authorization),這在需要身份驗證的場景中會是問題如果覺得
EventSource,不好用,其實也可以考慮使用 Day 12 所介紹的第二種範例的方法:用fetch搭配StreamingResponse的組合。
Server-Sent Events (SSE) 是實現伺服器到客戶端單向即時通訊的絕佳工具。它基於標準 HTTP,簡單、可靠且易於實作。雖然 EventSource 有一些限制,但在大多數 AI 應用的進度追蹤和資料串流場景中,它仍然是比 WebSocket 更合適的選擇。
經過這三天的學習,我們掌握了長輪詢、WebSocket 和 SSE 這三種主流的進度追蹤技術。接下來的實戰章節,我們將會看到如何將這些技術應用到真實的 AI 服務中。