昨天我們將回憶的頁面與新增的畫面放在一起,今天我們把它們分開,將歷史畫面與新增畫面分隔開來,首先先在資料夾中創立history.html
<h1>歷史回憶</h1>
<div id="history"></div>
<a href="index.html">⬅ 回到首頁</a>
body 背景顏色我設為淡灰 (#f0f4f8),字體設定為常用的系統字型
h1 文字置中,顏色深灰
(.diary-card)flex-direction: column)(.diary-card img)限制最大寬高,保持比例
圓角 8px
(.diary-text)中小字,居中對齊
超出部分會隱藏 (overflow: hidden)
粗體、置中顯示
目前的成果看起來像這樣: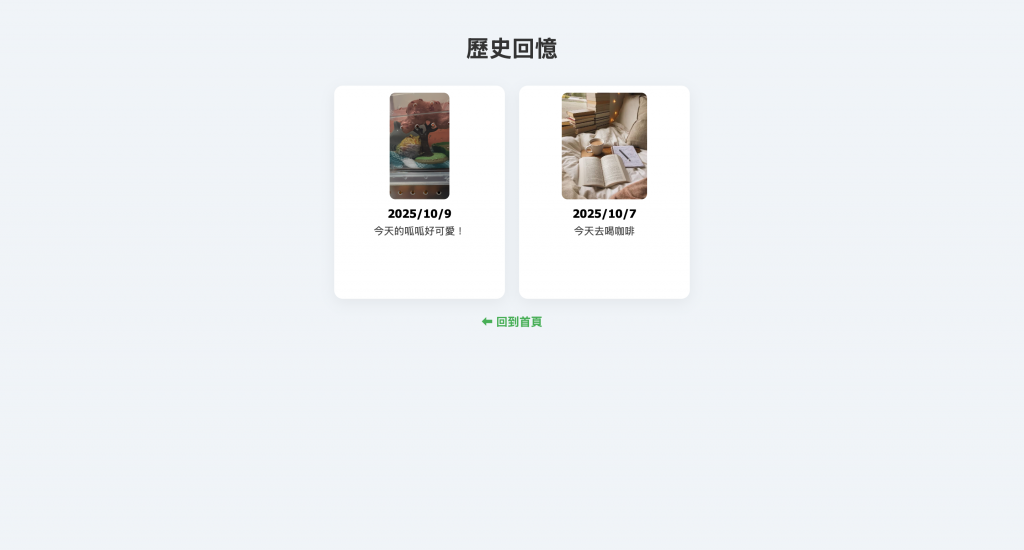
const historyDiv = document.getElementById('history');
從 localStorage 取出 diaries 資料(JSON 格式)
若沒有資料,回傳空陣列 []
const diaries = JSON.parse(localStorage.getItem('diaries') || '[]');
對每一筆日記建立一張卡片
卡片包含:
entry.image)entry.timestamp)entry.text)把卡片加入到 #history 容器
diaries.forEach(entry => {
  const card = document.createElement('div');
  card.className = 'diary-card';

  const img = document.createElement('img');
  img.src = entry.image;

  const titleDiv = document.createElement('div');
  titleDiv.className = 'diary-title';
  const dateObj = new Date(entry.timestamp);
  titleDiv.textContent = dateObj.toLocaleDateString();

  const textDiv = document.createElement('div');
  textDiv.className = 'diary-text';
  textDiv.textContent = entry.text;

  card.appendChild(img);
  card.appendChild(titleDiv);
  card.appendChild(textDiv);

  historyDiv.appendChild(card);
});
在首頁新增跳轉頁面的按鈕:id="historyBtn":給這個按鈕設定一個唯一的識別名稱
按鈕上顯示的文字是 「📖 查看歷史回憶」
<button id="historyBtn">📖 查看歷史回憶</button>
下面這段程式碼是處理它的功能,把按鈕抓出來(透過 id),讓 JavaScript 能夠監聽它的事件
const historyBtn = document.getElementById('historyBtn');
接著是主要功能:
1. 監聽事件:
當使用者點擊 historyBtn 按鈕時(click 事件),就執行箭頭函式裡的內容。
2. 切換頁面:window.location.href = 'history.html';這行會把使用者導向到名為 history.html 的頁面
historyBtn.addEventListener('click', () => {
  window.location.href = 'history.html';
});
index.html的頁面就會變成這樣:


 iThome鐵人賽