在正式整合「行程管家小助手」之前,我們要先讓前端具備最重要的視覺基礎——Google Maps 地圖功能。
為了讓使用者能清楚看到自己所在的位置與行程建議,我們將導入 Maps SDK for Android,讓整個介面更智慧、更互動,也更貼近真實旅遊體驗。
Step 1. 申請 Google Maps API 金鑰
首先,前往 Google Cloud Console並開通 Maps SDK for Android。
在開通後,你將獲得專屬的 API Key,用來授權地圖服務。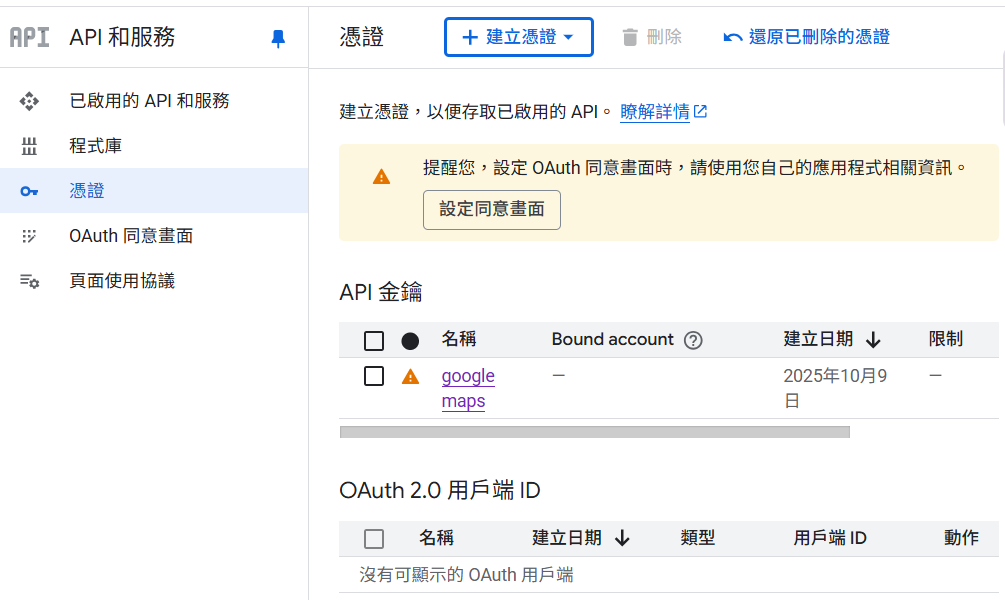
Step 2. 建立地圖 Activity
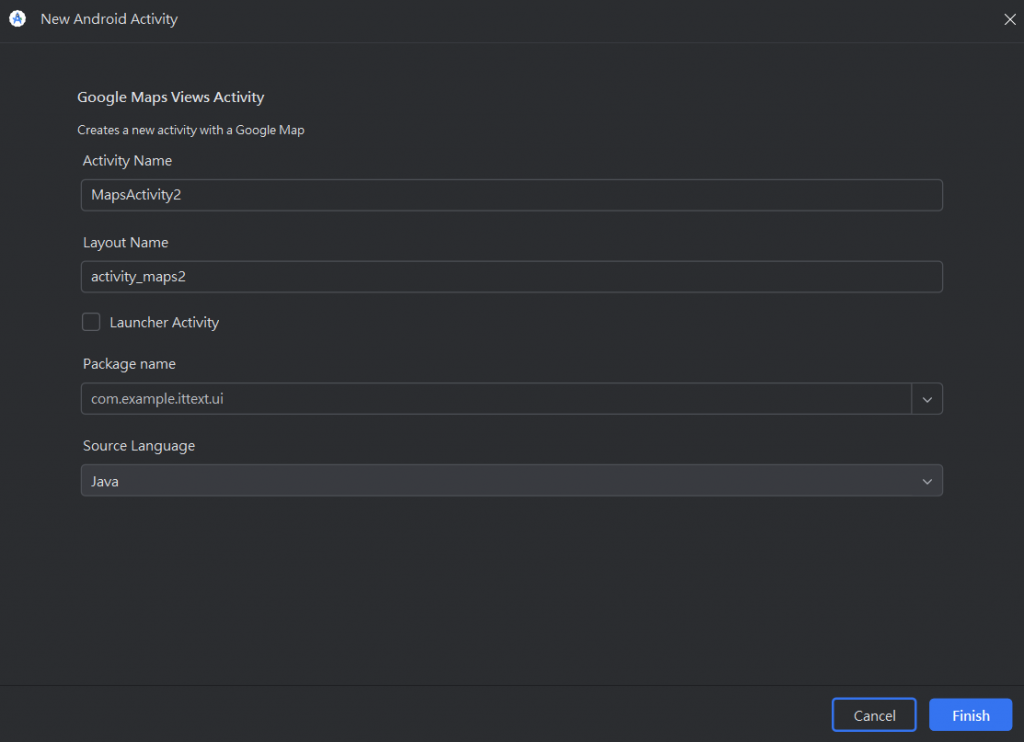
回到 Android Studio,在專案中建立一個新的 Maps Activity。
這個步驟會自動生成基本的地圖配置檔案。完成設定後,直接點選「Finish」即可。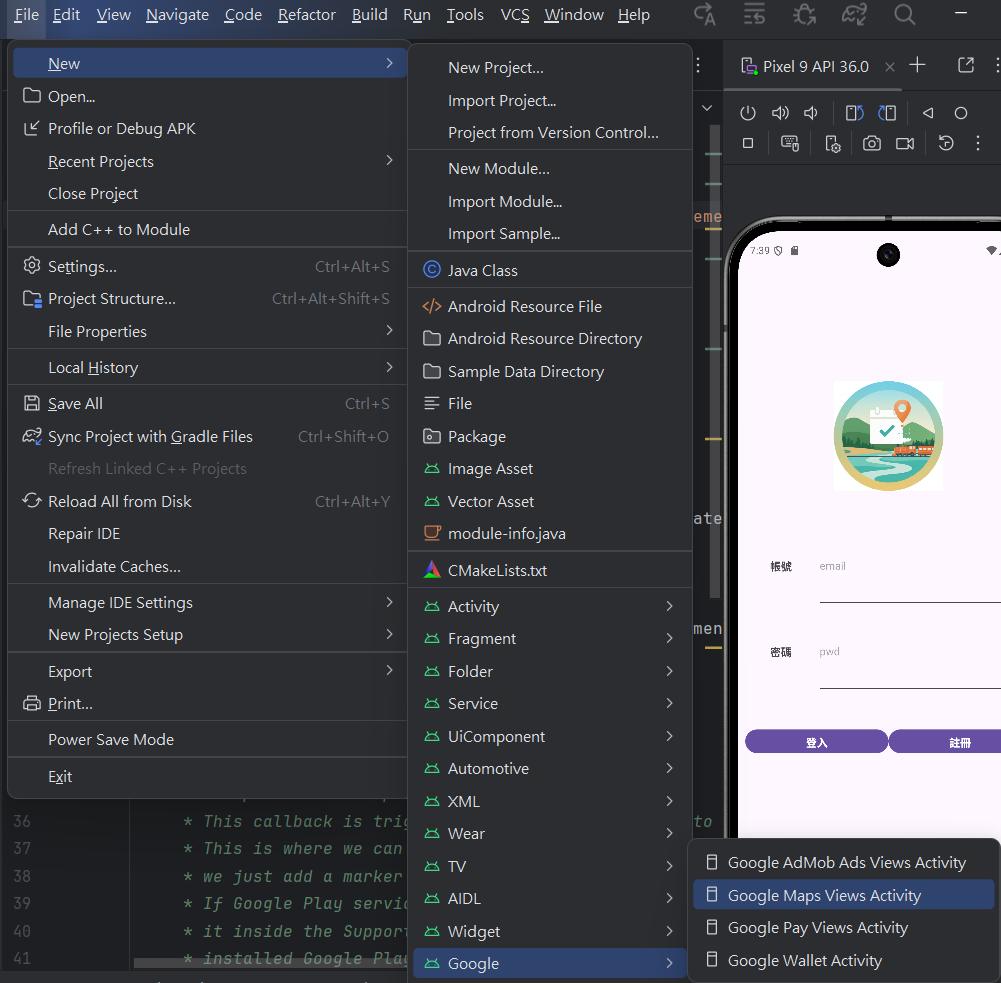
Step 3. 新增依賴與權限設定
接著在 build.gradle.kts 中加入以下依賴,讓應用程式具備地圖與定位能力:
dependencies {
 implementation("com.google.android.gms:play-services-maps:18.2.0")
    implementation("com.google.android.gms:play-services-location:21.1.0")

}
在 AndroidManifest.xml 中加入定位權限與金鑰設定:
<uses-permission android:name="android.permission.ACCESS_FINE_LOCATION" />
    <uses-permission android:name="android.permission.ACCESS_COARSE_LOCATION" />

    <meta-data
            android:name="com.google.android.geo.API_KEY"
            android:value="你地圖的金鑰" />

        <activity
            android:name=".ui.MapsActivity"
            android:exported="false"
            android:label="@string/title_activity_maps" />
Step 4. 地圖畫面與邏輯設計
在 activity_maps.xml 中嵌入地圖 Fragment,並在 MapsActivity.java 中設定初始位置。這裡我們以 台灣中部地區 為中心,加入標記與相機縮放,讓畫面一開啟就能清楚顯示主要範圍:
activity_maps.xml
<androidx.constraintlayout.widget.ConstraintLayout
    xmlns:android="http://schemas.android.com/apk/res/android"
    xmlns:app="http://schemas.android.com/apk/res-auto"
    android:layout_width="match_parent"
    android:layout_height="match_parent">

    <fragment
        android:id="@+id/map"
        android:name="com.google.android.gms.maps.SupportMapFragment"
        android:layout_width="0dp"
        android:layout_height="0dp"
        app:layout_constraintBottom_toBottomOf="parent"
        app:layout_constraintEnd_toEndOf="parent"
        app:layout_constraintStart_toStartOf="parent"
        app:layout_constraintTop_toTopOf="parent" />

</androidx.constraintlayout.widget.ConstraintLayout>
MapsActivity.java
public class MapsActivity extends AppCompatActivity implements OnMapReadyCallback {

    private GoogleMap mMap;
    private ActivityMapsBinding binding;

    @Override
    protected void onCreate(Bundle savedInstanceState) {
        super.onCreate(savedInstanceState);

     binding = ActivityMapsBinding.inflate(getLayoutInflater());
     setContentView(binding.getRoot());

        // 取得 SupportMapFragment 並在地圖準備好時收到通知
        SupportMapFragment mapFragment = (SupportMapFragment) getSupportFragmentManager()
                .findFragmentById(R.id.map);
        mapFragment.getMapAsync(this);
    }

    /**
     * Manipulates the map once available.
     * This callback is triggered when the map is ready to be used.
     * This is where we can add markers or lines, add listeners or move the camera. In this case,
     * we just add a marker near Sydney, Australia.
     * If Google Play services is not installed on the device, the user will be prompted to install
     * it inside the SupportMapFragment. This method will only be triggered once the user has
     * installed Google Play services and returned to the app.
     */
    @Override
    public void onMapReady(GoogleMap googleMap) {
        mMap = googleMap;

        // 設定初始位置(台灣中部地區)
        LatLng centralTaiwan = new LatLng(24.0, 120.8);

        //新增標記
        mMap.addMarker(new MarkerOptions()
                .position(centralTaiwan)
                .title("台灣中部")
                .snippet("中部地區"));

        // 移動相機(縮放級別調低以顯示更大範圍)
        mMap.moveCamera(CameraUpdateFactory.newLatLngZoom(centralTaiwan, 9f));
    }
}


 iThome鐵人賽