今天來記錄一下HTML5的一些新的標籤,語法更簡單且明瞭!
這次用了 <article> <header> <section> <aside> <figure> <footer>

code:
<meta http-equiv="Content-Type" content="text/html; charset=utf-8">
<title>練習一</title>
<style>
header{
margin-right:auto;
margin-left:auto;
width:auto;
//background:#FF00FF;
}
section{
float:left;
width:600px;
height:280px;
//background:#FF0000;
}
aside{
float:left;
width:424px;
height:280px;
//background:#00FF00;
}
footer{
height: 50px;
width: auto;
margin-top: 0;
clear:both;
}
</style>
<article>
<header>
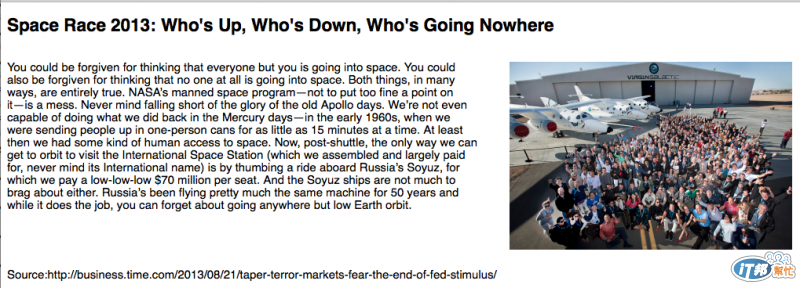
<h1>Space Race 2013: Who's Up, Who's Down, Who's Going Nowhere</h1>
</header>
<section>
<p>You could be forgiven for thinking that ...(文章內容略過)...</p>
</section>
<aside>
<figure>
<img src="p1.jpg"/>
</figure>
</aside>
<footer>
Source:http://business.time.com/2013/08/21/taper-terror-markets-fear-the-end-of-fed-stimulus/
</footer>
</article>
demo:
解釋:
CSS語法我這次是直接寫在HTML裡面,要放在 裏面,並且用<script> </script> 包起來

接著body裡面的骨幹

<header> 標籤裡面放文章的標題
這裡使用 h1 大小的文字來放
接著是 <section> ,如架構圖,section 放文章的內容,排版會在左半邊
<aside> 會在右半邊 裡面再放一個 figure 標籤準備來放圖,然後再 figure 標簽裡面用 <img> 標籤把圖放進來
<footer> 會在網頁的下方,通常放一些聯絡資訊或其他資訊給使用者參考。
下回待續


 iThome鐵人賽