前兩天都再整理書裡面的重點
接下來這幾天會針對這些特性
去做一些簡單的練習
今天先練習Listener的部分
這個練習使用到前面提到八種Linstener的HttpSessionListener
來實現統計現在有多少人在web上
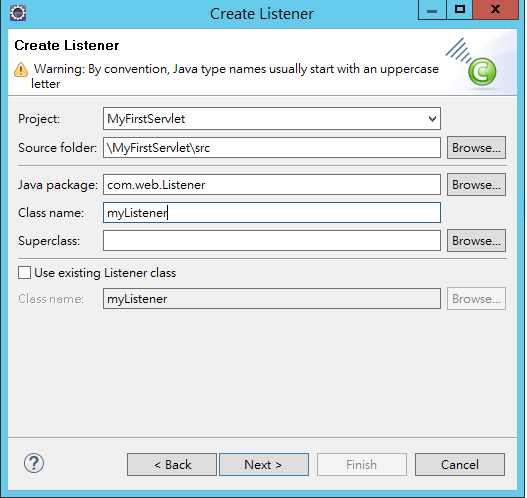
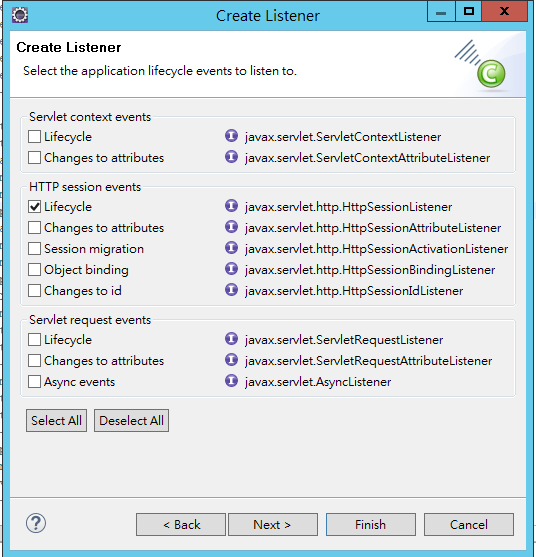
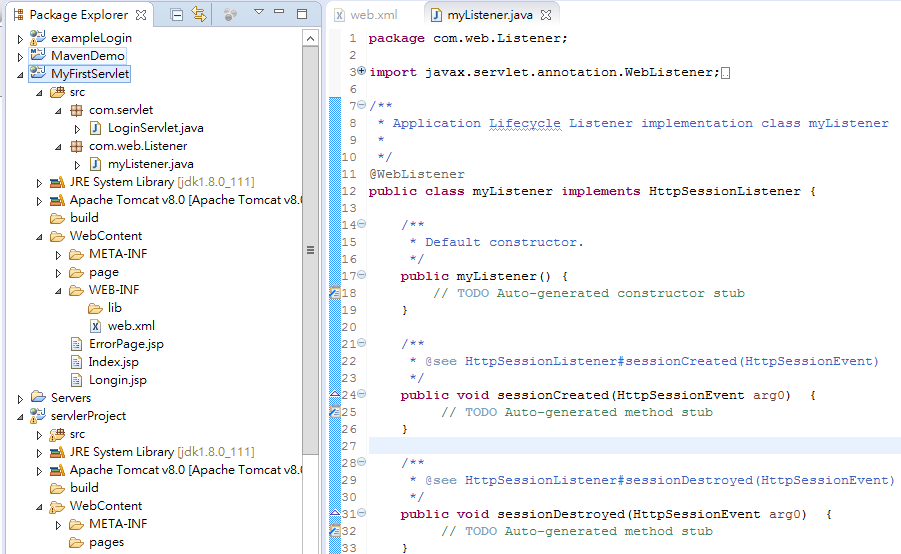
public class myListener implements HttpSessionListener {
	 private static int tSessions;
    /**
     * Default constructor.
     */
    public myListener() {
        // TODO Auto-generated constructor stub
    }
    public static int GetSessions() {
        return tSessions;
      }
	/**
     * @see HttpSessionListener#sessionCreated(HttpSessionEvent)
     */
    public void sessionCreated(HttpSessionEvent arg0)  {
         // TODO Auto-generated method stub
    	tSessions++;
    }

	/**
     * @see HttpSessionListener#sessionDestroyed(HttpSessionEvent)
     */
    public void sessionDestroyed(HttpSessionEvent arg0)  {
         // TODO Auto-generated method stub
    	tSessions--;
    }
除了新增一個tSessions之外
還要新增一個method,讓Servlet可以去取得目前的值
並且在sessionCreated和sessionDestroyed分別去做加減
sessionCreated =>當client增加的時候會呼叫此method
sessionDestroyed =>當cilent離開session時呼叫此method
  <listener>
	<listener-class>com.web.Listener.myListener</listener-class>
  </listener>
</web-app>
        //在裡只驗證密碼和DD裡面的是否相同就好,來模擬多人在同個web的case
	    if(secretPassword.equals(password) )
		{
			request.setAttribute("myname",name);
            //呼叫GetSessions,回傳參數值並透過setAttribute到新增的cont給JSP使用
			request.setAttribute("cont",myListener.GetSessions());
			request.getRequestDispatcher("Index.jsp").forward(request, response);
			return;
		}
		else
		{
			//也可以在Servlet取出context-param,再由JSP取出
			//request.setAttribute("strMsg",strError);
			request.getRequestDispatcher("ErrorPage.jsp").forward(request, response);
		}
Index.jsp
<body>
<h1>Hi! <%= request.getAttribute("myname") %>.</h1>   this is my first Servlet!!!
there have <%=request.getAttribute("cont") %> people online!!
</body>
4.demo
IE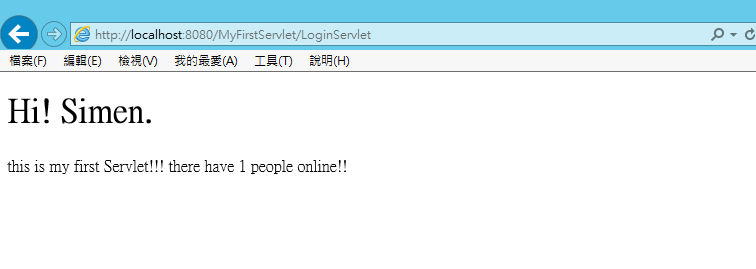
開chrome登入的結果

firefox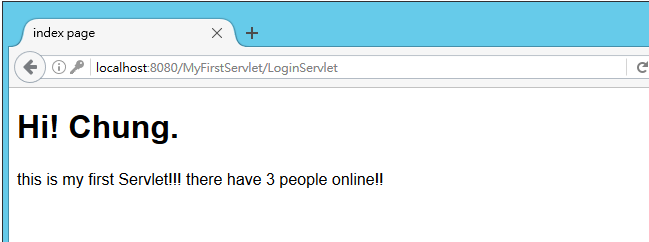
此範例是一個很簡單的練習
但還有一些問題
這部份明天會再紀錄上來
