1.首先要在檔案所在位置install wit
在cmd 先 $cd 檔案位置
再用 $pip install wit
2.製作分為app.py與utils.py跟utils2.py這三檔案
( 檔案參考自 https://github.com/nikhilkumarsingh/facebook-messenger-bot )
app.py跟utils.py是github有的,utils2.py是我多增加的
主要是寫不同的entity讀取後,在app.py引入讀取後給予不同回應
接著就一一說明,首先先說明utils.py
在使用此檔案時可以先在cmd裡寫 $pip install -r requirements.txt
將所有需要的套件模組都安裝好
4.utils.py的內容主要是在wit.ai新增一個newtype和location的entity,並利用gnewsclient模組抓取新聞
此圖access_token的地方就是要填入在wit.ai所創立的App,在setting的地方所提供的token。
gnewsclient也是需要install的,一樣可以在cmd裡寫 $pip install gnewsclient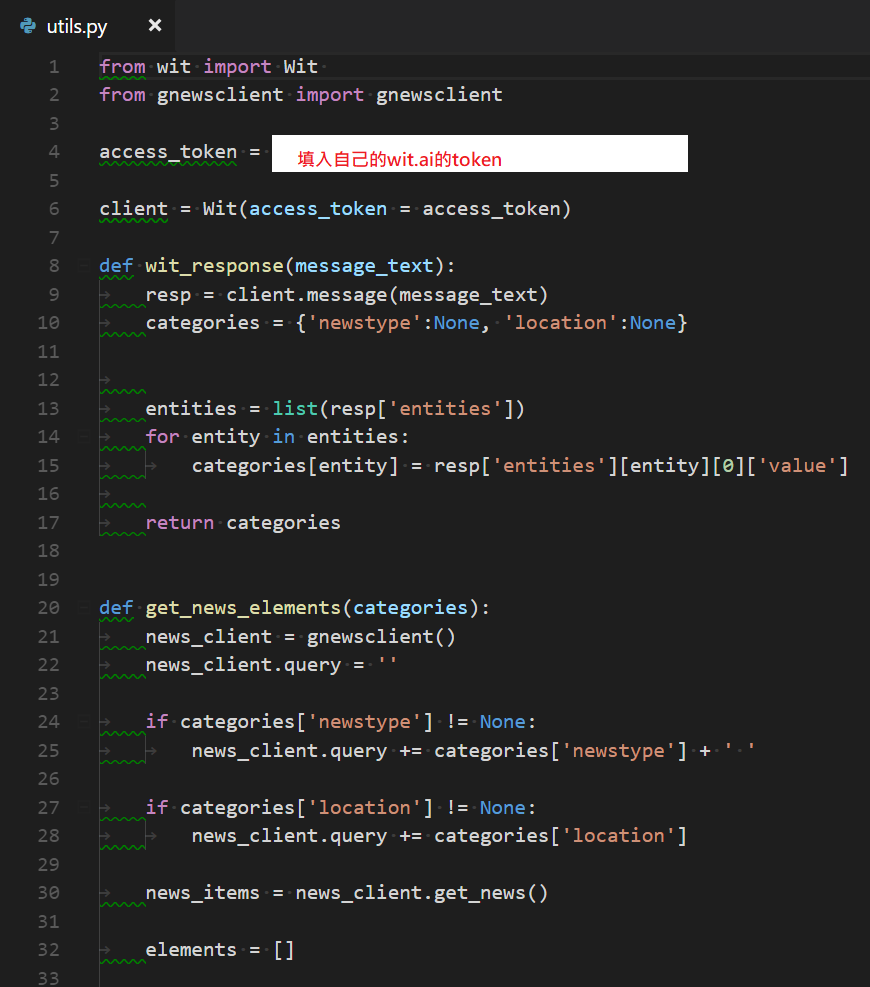
而這個item是在news_item裡面抓取內容後,用element將格式設定好,最後回傳elements到app.py回覆。
element裡所撰寫的格式可以參考 https://developers.facebook.com/docs/messenger-platform/send-messages/templates 官方所提供的範本來進行不同的應用
5.回到app.py
這個檔案的token是在facebook developer應用程式裡,選擇粉絲團的後產生的權杖
在app.py一開始要先寫from utils import wit_response, get_news_elements
這句就是把utils.py的檔案引入,wit_response, get_news_elements則是在utils.py定義的function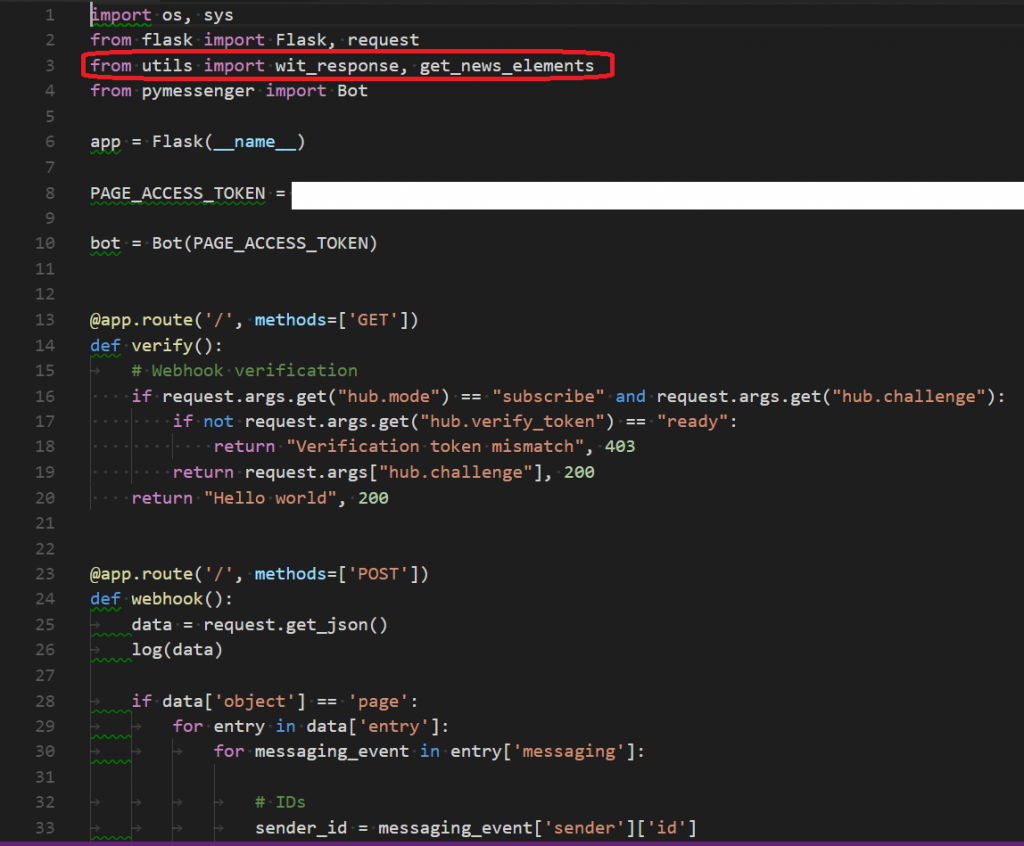
下圖這張紅框的部分就是將使用者傳送的訊息當作categories,進入get_news_elements裡抓取到新聞後,在進入element依照格式return出elements,並回覆給使用者
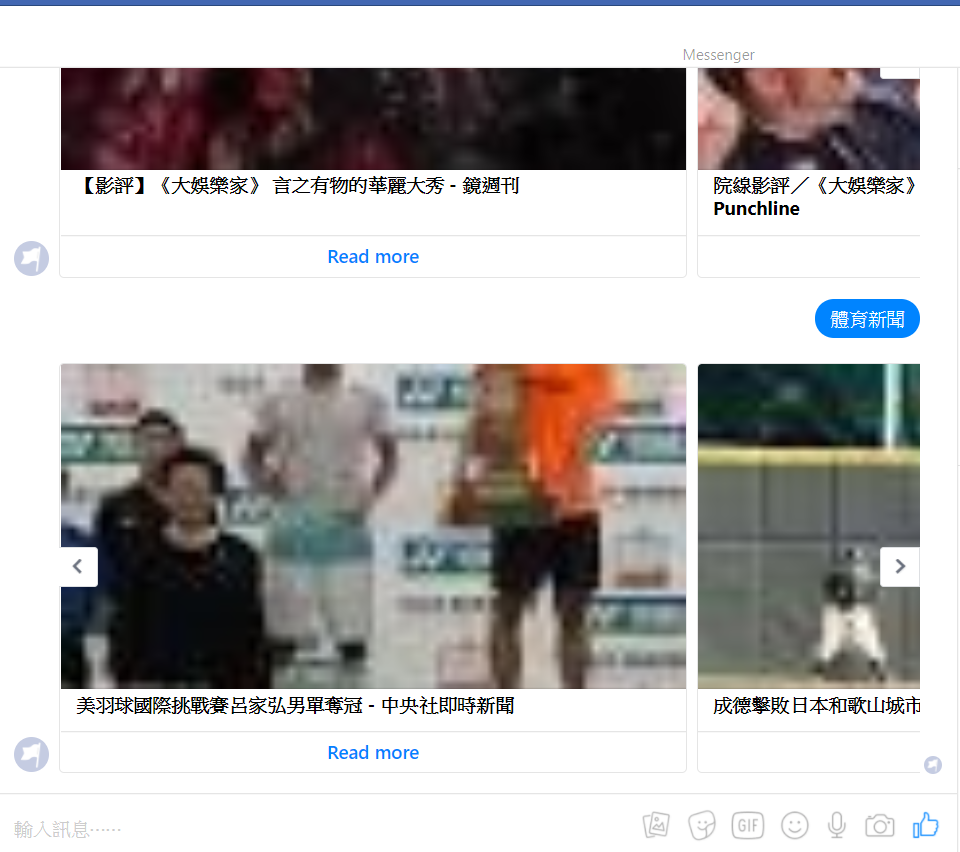
6.測試後就會得到這樣的結果。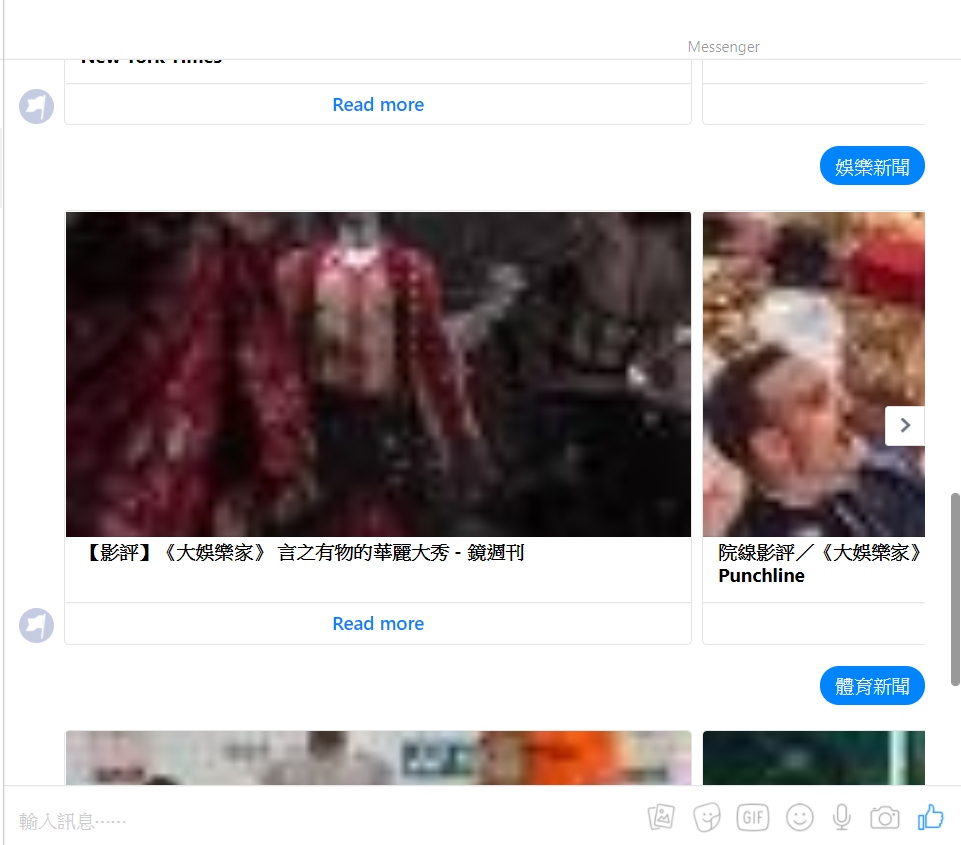
Day7再繼續說明utils2.py的加入!!


 iThome鐵人賽