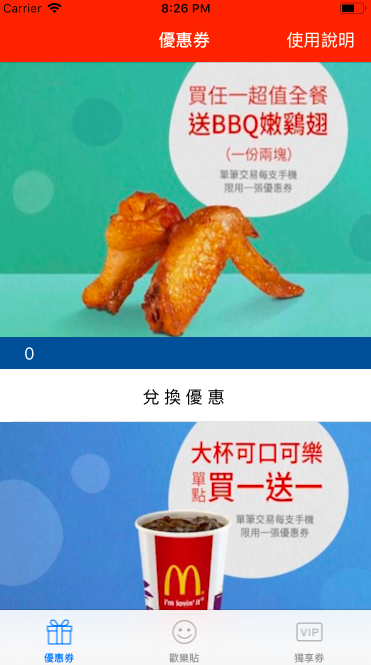
今天的部分是加入折價券的部分,在取得多張折價券之後,一樣可以看到以 table view 呈現的畫面。
因此先在 storyboard 中加入 table view 並且將屬性面板中的 Prototype Cells 調整為1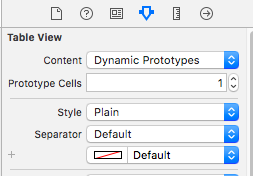
將 table view 元件連結 view controller 中的 dataSource 和 delegate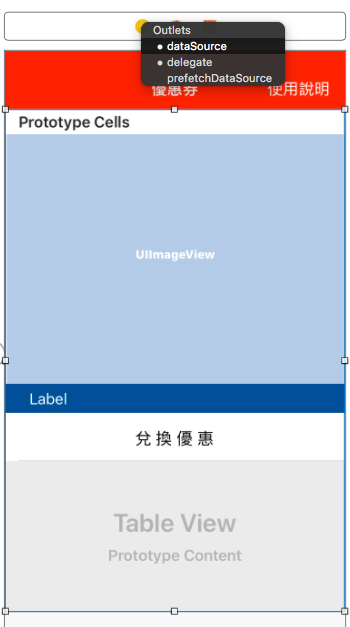
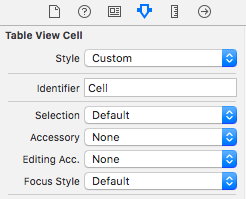
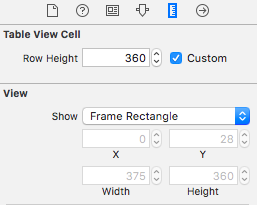
接著選到 cell 的部分,給一個 identifier 以及調整 cell 高度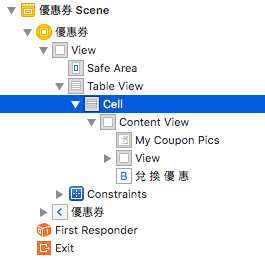
整個 cell 內的佈局大概是一張圖片、一個倒數文字標籤以及一個兌換按鈕,因此在 storyboard 的 cell 中拉進一個 image view和一個 view 分別做為折價券以及倒數文字的背景,再拉進 label 與 button 做為倒數文字以及兌換按鈕。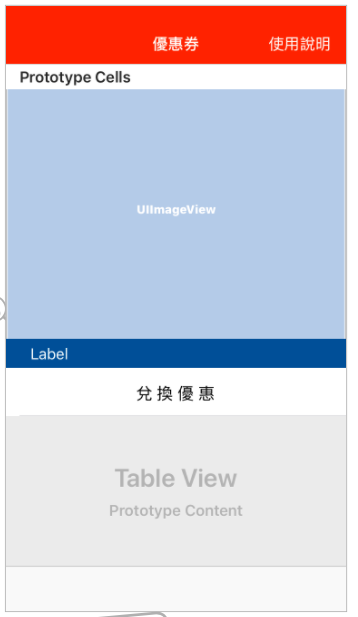
接下來按command + n新增一個 cocoa touch class 繼承於 UITableViewCell,返回到 cell 的屬性面板中將 custom class 指定為剛剛建立的class。
利用 Asistant editor 將 image view, label, button 建立 @IBOutlet 及 @IBAction
    @IBOutlet weak var myCountDownLabel: UILabel!
    @IBOutlet weak var myCouponPics: UIImageView!
    @IBAction func myButton(_ sender: Any) {
    }
回到 view controller 中完成程式碼的部分
class ViewController: UIViewController, UITabBarDelegate, UITableViewDataSource {

    var myCoupon = ["1", "2"]

    func tableView(_ tableView: UITableView, numberOfRowsInSection section: Int) -> Int {
        return myCoupon.count
    }

    func tableView(_ tableView: UITableView, cellForRowAt indexPath: IndexPath) -> UITableViewCell {
        let cell = tableView.dequeueReusableCell(withIdentifier: "Cell", for: indexPath) as! TableViewCell
        cell.myCouponPics.image = UIImage(named: myCoupon[indexPath.row] + ".jpg")
        return cell
    }
build & run