iT邦幫忙

2019 iT 邦幫忙鐵人賽

DAY 2
1
影片教學

自主性學習平台的應用系列 第 2

Moodle-怎麼開始呢 (Day2)

  • 分享至 

  • xImage
  •  

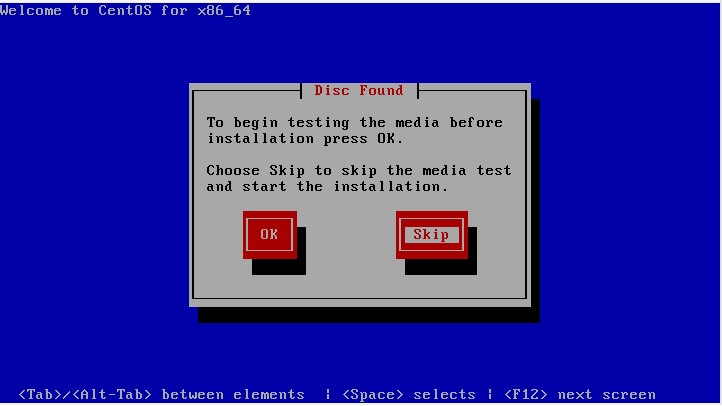
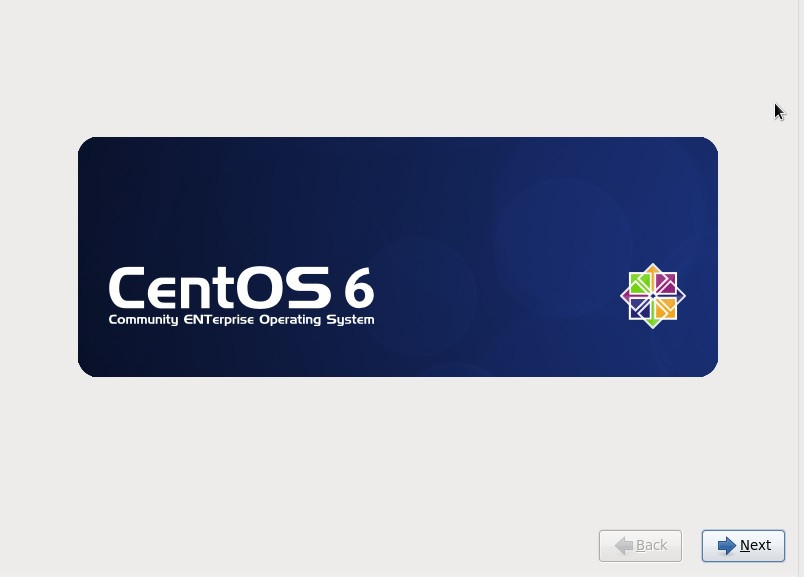
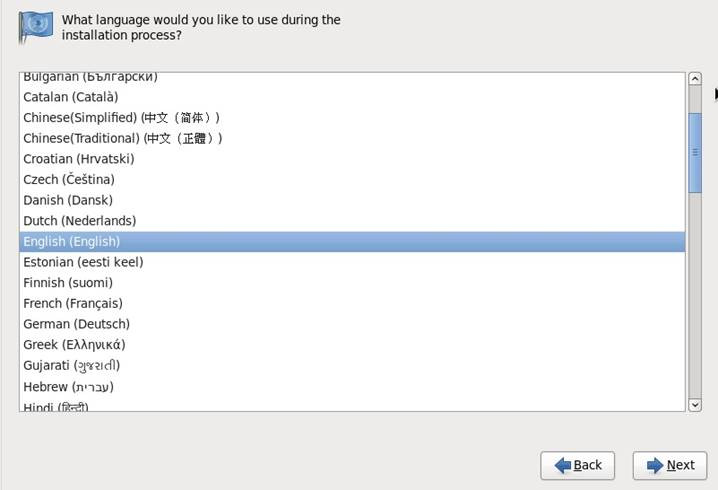
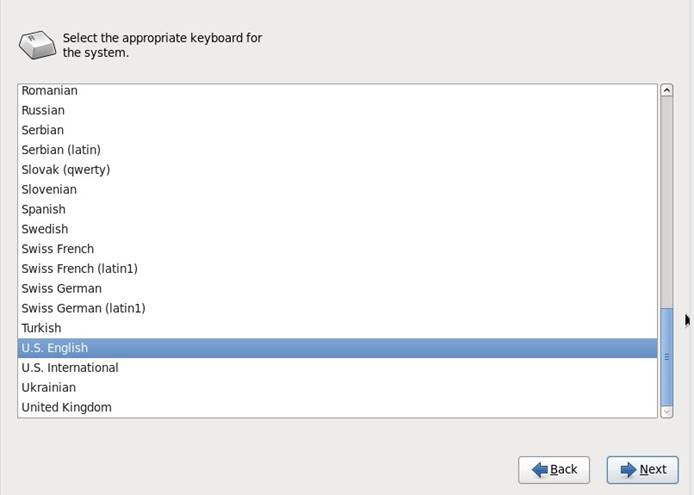
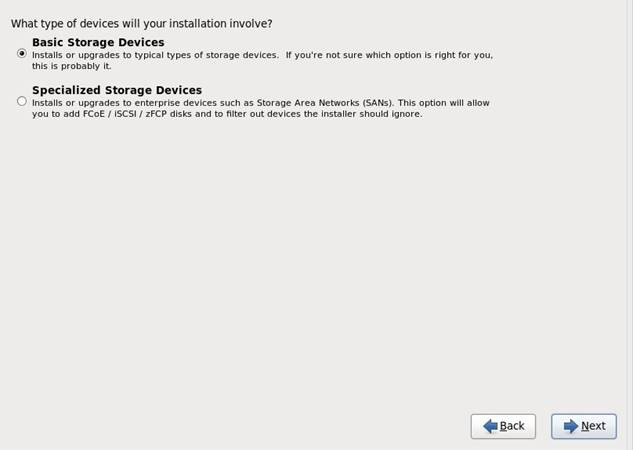
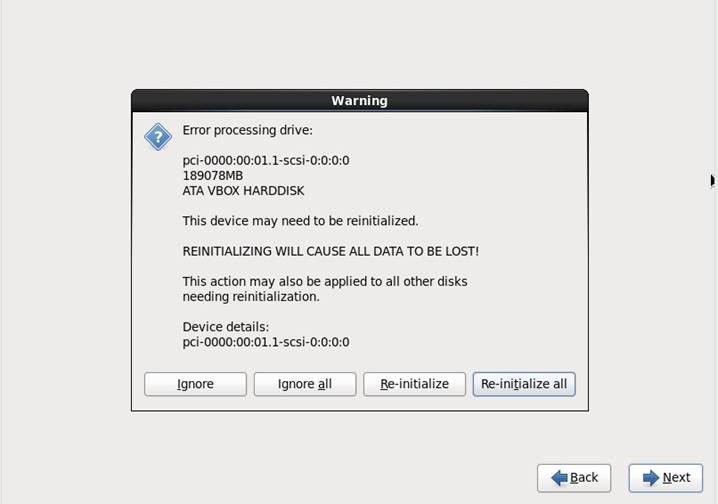
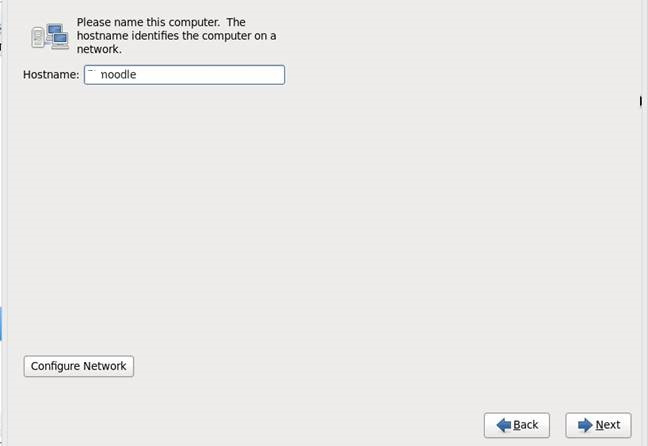
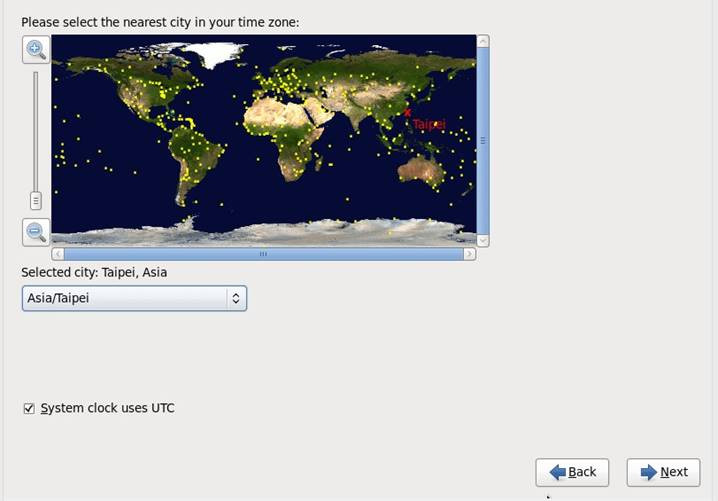
在一開始你還沒認識它(Moodle),而它(Moodle)也還沒認識你之前,你要如何開始這個專案呢?簡單來說就是用google增加彼此對彼此的了解,接著就看到與找到的資訊看著做、跟著做,可能還不熟悉作業系統怎麼架設(centos的安裝步驟),而對我來說也是第一次使用linux的情況下,也更多一層不熟悉感,此時有外援的幫忙就更加顯得重要,我主管寄給我moodle的安裝步驟說明,在開始安裝之前,有一個重要的問題,要安裝在哪裡的問題,也就是要安裝在VM虛擬作業系統呢?或者實體環境下呢?因為我所在的環境下是在公司,資源的應用是很講究的,且自己也還不是很熟悉這套系統,因此是選擇使用vm來進行moodle的安裝練習先,而以下面我預計會來寫安裝moodle的步驟

  1. 點選Install or upgrade an existing system選項 (一開始是在說明如何安裝centos)
    https://ithelp.ithome.com.tw/upload/images/20181004/20003705HvTbq1o6FP.jpg
  2. Click Skip button to skip the media test (點選忽略檢查)
    https://ithelp.ithome.com.tw/upload/images/20181004/200037059TznVc9B92.jpg
  3. Click Next button (點選NEXT按鈕)
    https://ithelp.ithome.com.tw/upload/images/20181004/20003705s3Vz1xSWR8.jpg
  4. 選擇所要使用的語系並點選NEXT按鈕
    https://ithelp.ithome.com.tw/upload/images/20181004/20003705x39Iy6WNrT.jpg
  5. 點選所要使用的鍵盤語系
    https://ithelp.ithome.com.tw/upload/images/20181004/20003705KjuxLwjk6d.jpg
  6. 點選Basic Storage Devices選項
    https://ithelp.ithome.com.tw/upload/images/20181004/20003705wdlAF2ZC8t.jpg
  7. 點選Re-initialize all 按鈕
    https://ithelp.ithome.com.tw/upload/images/20181004/200037055P0INRSiqs.jpg
  8. 輸入指定的Hostname
    https://ithelp.ithome.com.tw/upload/images/20181004/20003705OGW8m5zjc5.jpg
  9. 選擇所在的時區
    https://ithelp.ithome.com.tw/upload/images/20181004/20003705AKGr6P39D5.jpg
  10. 輸入管理者密碼
    https://ithelp.ithome.com.tw/upload/images/20181004/20003705EDziwIe1R7.jpg
  11. 自訂硬碟磁區分割
    https://ithelp.ithome.com.tw/upload/images/20181004/20003705yTcTG6xX1i.jpg
  12. 建議使用200GB的硬碟,主要需要把 / 及 var 的磁區分成下列的大小
    https://ithelp.ithome.com.tw/upload/images/20181004/20003705JW1hT6DIUK.jpg
  13. 選擇Format
    https://ithelp.ithome.com.tw/upload/images/20181004/200037059ijLf6vKhw.jpg
  14. 選擇覆寫硬碟
    https://ithelp.ithome.com.tw/upload/images/20181004/2000370589UxOUEjaT.jpg
  15. 點選下一步
    https://ithelp.ithome.com.tw/upload/images/20181004/200037053008JpAkfS.jpg
  16. 建議點選Web Server選項,因為會使用到apache
    https://ithelp.ithome.com.tw/upload/images/20181004/20003705Y3gIdt8Irs.jpg
  17. 點選Reboot按鈕
    https://ithelp.ithome.com.tw/upload/images/20181004/200037056LB8gGb3mq.jpg
  18. 先執行 yum update
    https://ithelp.ithome.com.tw/upload/images/20181004/20003705QwkV3Lbfor.jpg

https://ithelp.ithome.com.tw/upload/images/20181004/20003705ng9xqUKXzt.jpg
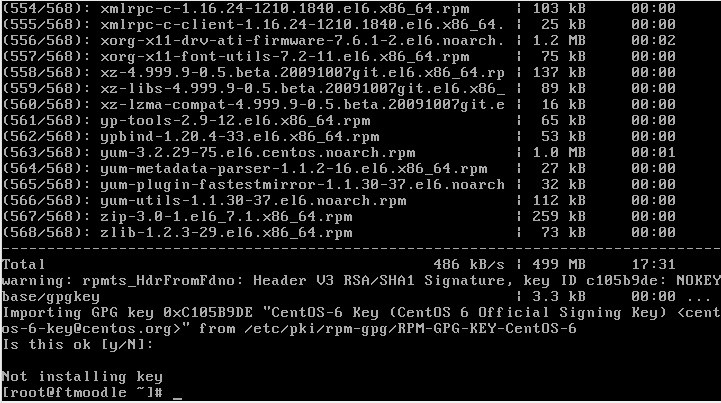
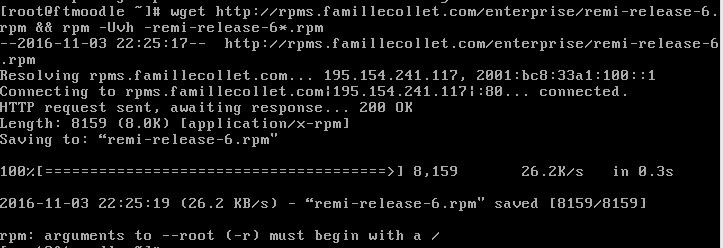
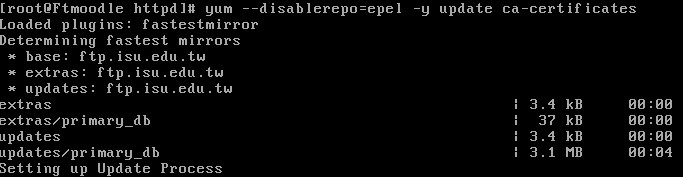
19. Run command as shown as below (執行下列的命令,而這一段我用圖片來說明)
https://ithelp.ithome.com.tw/upload/images/20181004/20003705ivyFAWb7Od.jpg

https://ithelp.ithome.com.tw/upload/images/20181004/20003705cxjQM1Bm76.jpg

https://ithelp.ithome.com.tw/upload/images/20181004/20003705Q0t3L1QKI9.jpg

https://ithelp.ithome.com.tw/upload/images/20181004/20003705FH8iT2xVCK.jpg

https://ithelp.ithome.com.tw/upload/images/20181004/2000370576O6dvbmFz.jpg

https://ithelp.ithome.com.tw/upload/images/20181004/200037053BhkUdKHxh.png

https://ithelp.ithome.com.tw/upload/images/20181004/20003705a5LUwtIVyj.png

https://ithelp.ithome.com.tw/upload/images/20181004/20003705yoopPC6PoA.jpg
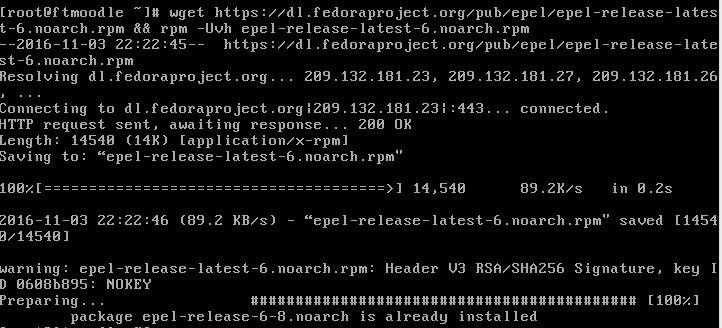
20. 設定 httpd 及 mysqld 開機自動載入服務
https://ithelp.ithome.com.tw/upload/images/20181004/20003705YQ9Ajvjo2e.jpg
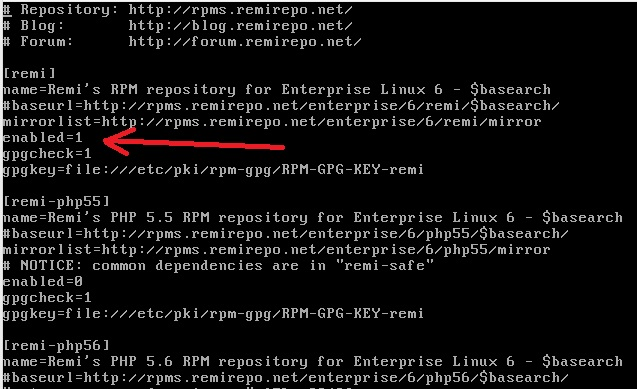
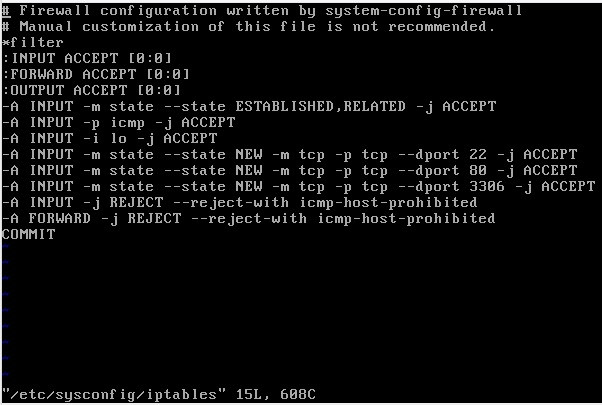
21. 修改 iptables 開啟 80 ( httpd )及 3306 (mysql) port
https://ithelp.ithome.com.tw/upload/images/20181004/20003705ME64MxA06A.jpg

https://ithelp.ithome.com.tw/upload/images/20181004/20003705PdTXyP23Vn.jpg
22. Or you can manually start apache and httpd service
https://ithelp.ithome.com.tw/upload/images/20181004/20003705rrr9MH6Aip.jpg
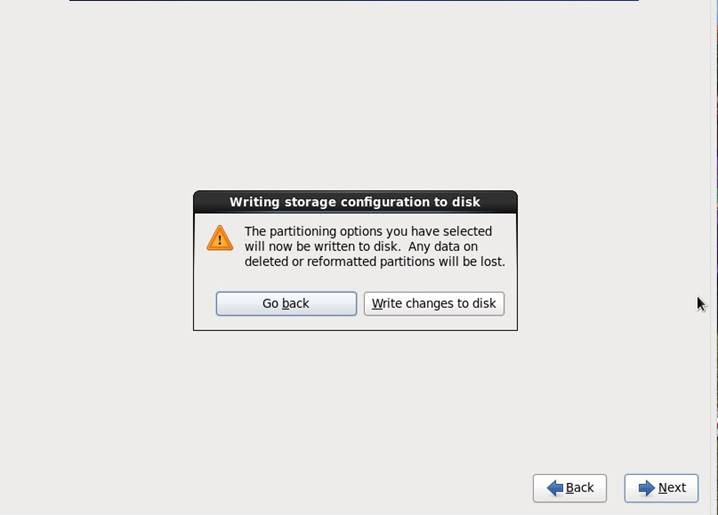
23. 重開機或者重新啟動 iptables
https://ithelp.ithome.com.tw/upload/images/20181004/20003705HYZ5VcTCo2.jpg
24. 修改mysql 的root密碼;登入mysql command模式
https://ithelp.ithome.com.tw/upload/images/20181004/20003705tlhkH0qP8C.jpg
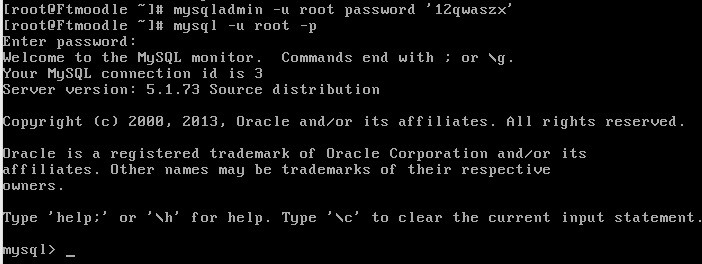
25. Create moodle database and create apache permission in moodle database
https://ithelp.ithome.com.tw/upload/images/20181004/20003705SGrcEymogX.jpg
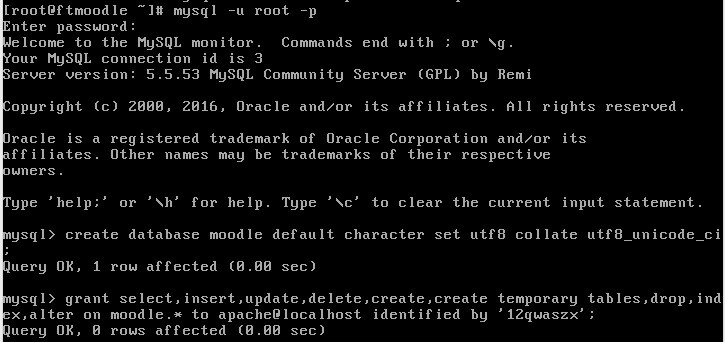
26. Check php and mysql
https://ithelp.ithome.com.tw/upload/images/20181004/20003705HqMYzvjYuS.jpg
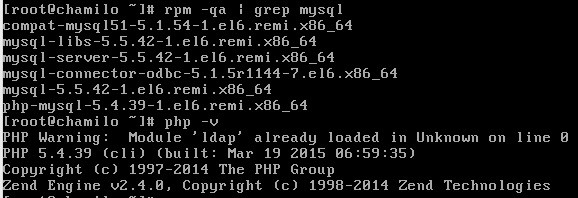
27. Create moodledata folder and copy moodle program in /var/www/html path (moodle version: 2.8.2),modify it’s permission and add apache permission for it
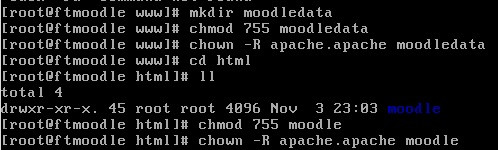
https://ithelp.ithome.com.tw/upload/images/20181004/200037052Yz8ELbwHQ.jpg
28. 55

這一段其實滿多可研究的部分,包含linux的安裝、設定、moodle的架設定,其實可以鑽的很細,而以上只能下一步下一步跟著做的方式

安裝完成後,然後主角是誰呢?要找誰來使用呢?以及有哪些影片要放在moodle上呢?第3篇將會說明主角的部分,也就是帳號怎麼來跟LDAP結合


上一篇
Moodle-自主性學習平台的應用
下一篇
Moodle-如何錄製影片 (Day3)
系列文
自主性學習平台的應用32
圖片
  直播研討會
圖片
{{ item.channelVendor }} {{ item.webinarstarted }} |
{{ formatDate(item.duration) }}
直播中

尚未有邦友留言

立即登入留言