前一篇我們針對常見的檔案資料部份進行保護避免...蟲害...不是..是勒索,反正人為天災就是了!
備份檔案資料屬於作業系統層級快照保護,但如果像是持續性交易像SQL這種的類型就會需要借重到DPM備份伺服器的長才了!
Azure重複的動作就不多說...直接進入另外的關鍵,從原本檔案資料夾改選擇SQL...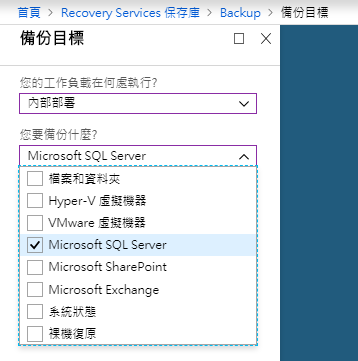
這時候你就看到跟之前安裝Agent完全不同,這是要你直接下載一整個Azure DPM安裝程式(如果已有System Center DPM則可以略過此)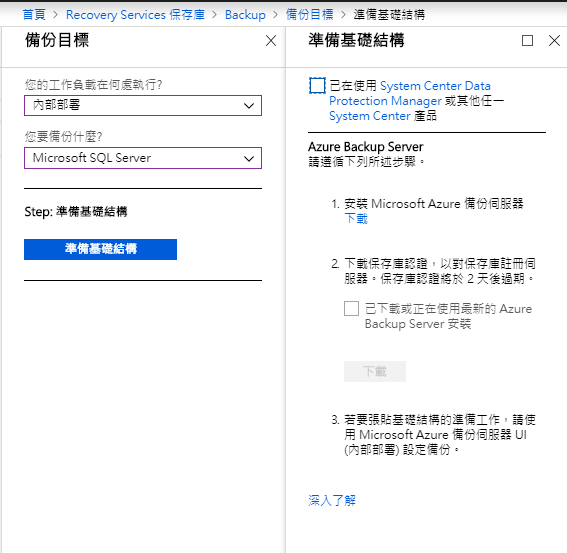
進入到DPM下載頁面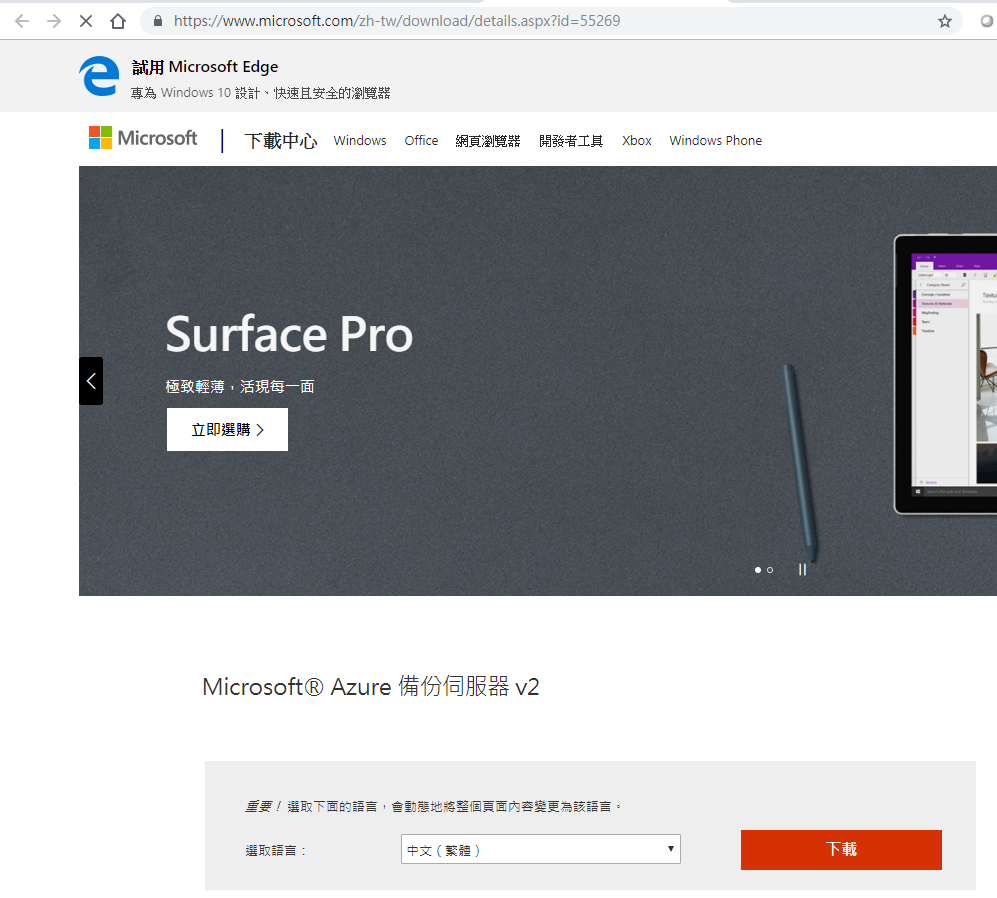
全部都給他下載下來...
差不多4到5GB的程式檔案如果下載不快的要久等了...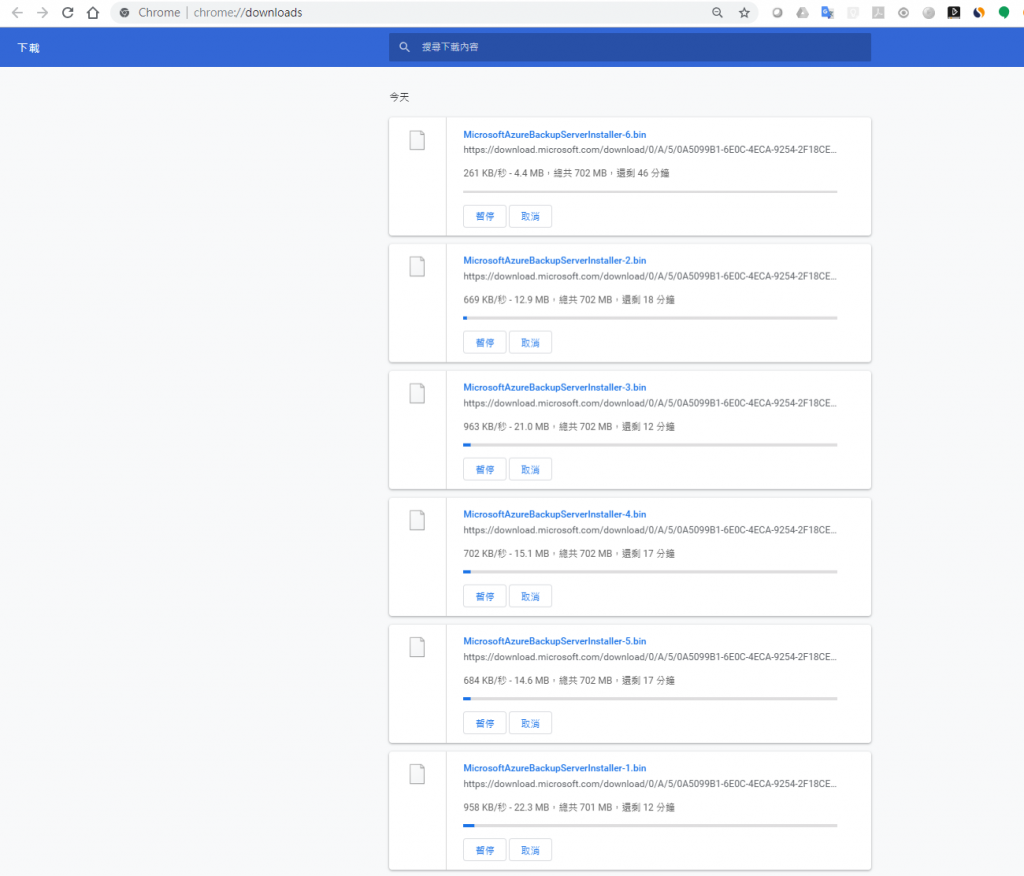
好啦!下載好了我就直接把程式Copy到要作為Azure備份伺服器的Windows Server 2016上
開始點兩下進行安裝啦!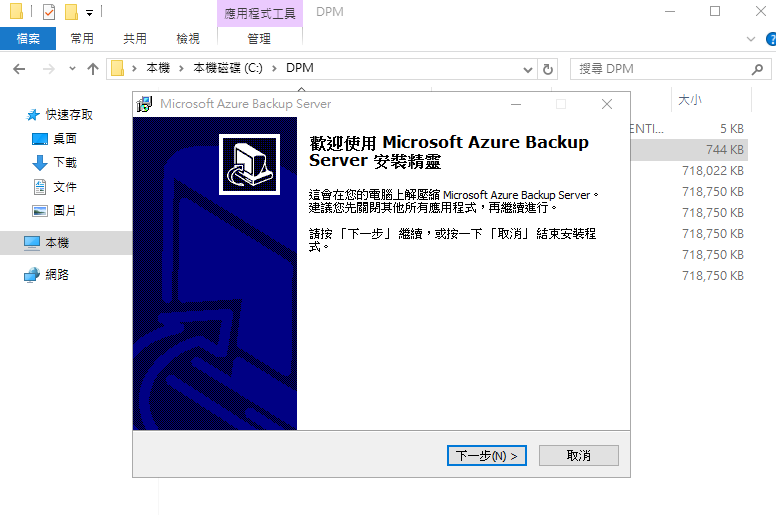
預設安裝路徑下一步繼續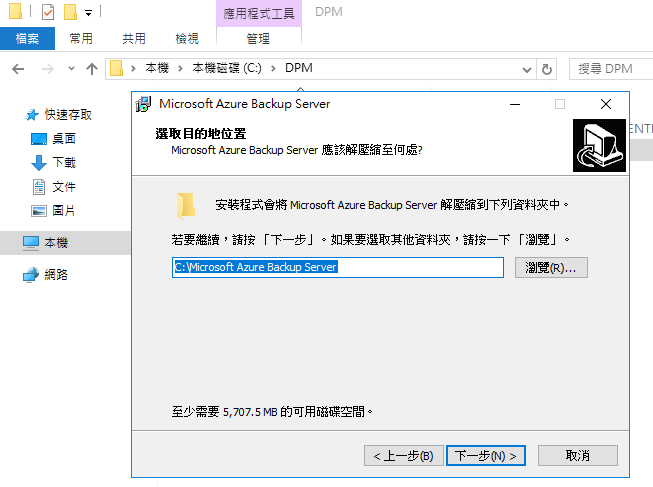
其實主程式附帶的都是一堆bin檔,開始解壓縮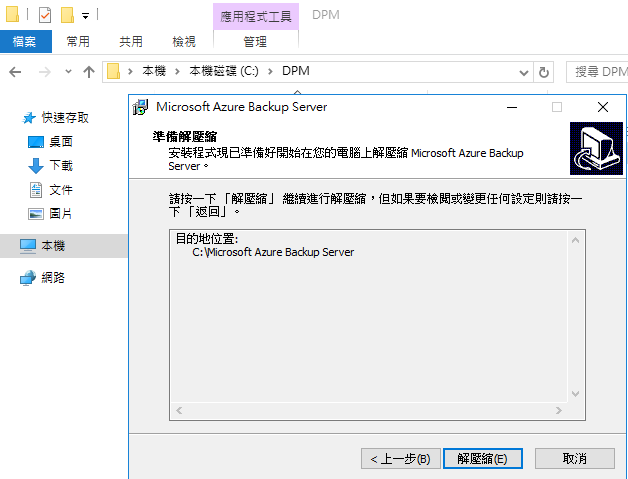
解壓縮中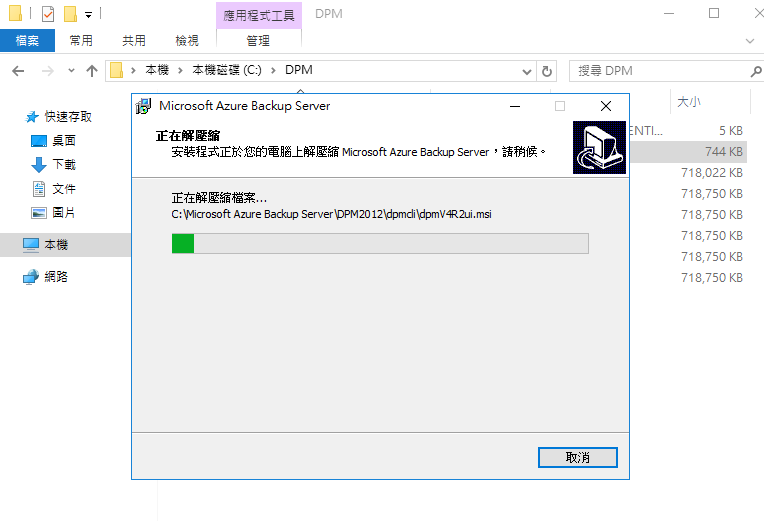
咦!怎麼有出現需要找到檔案的位置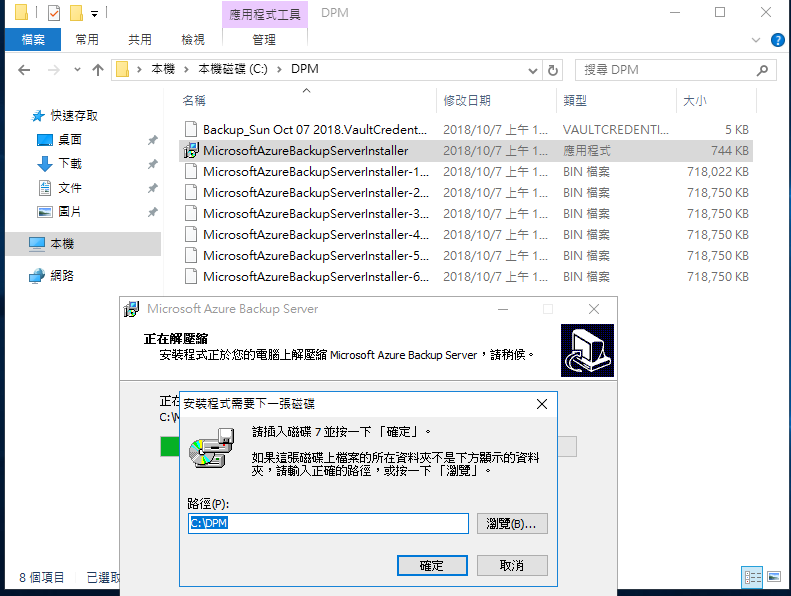
發現有bin檔找不到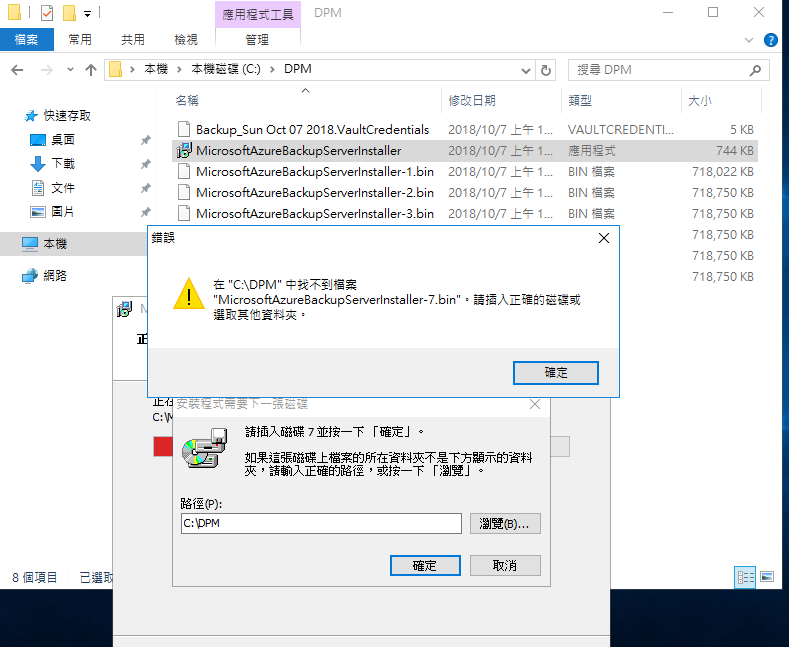
再回頭到下載頁面發現原來我少勾選了最後一個bin,被擋住了....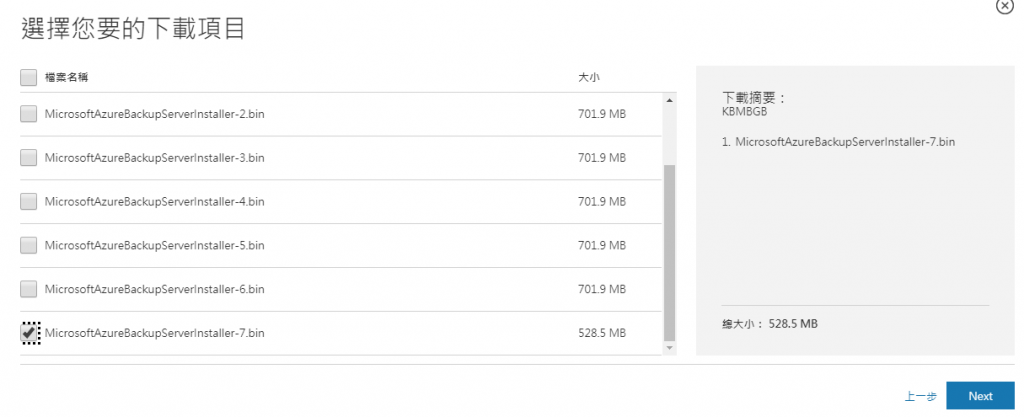
立馬下載中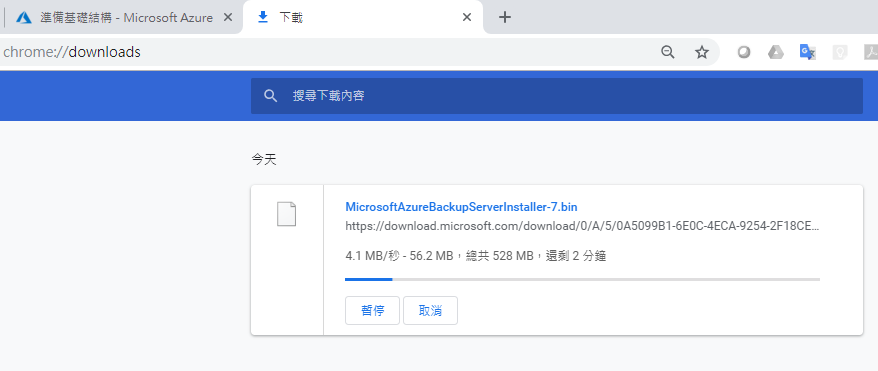
Copy到剛剛的檔案放置路徑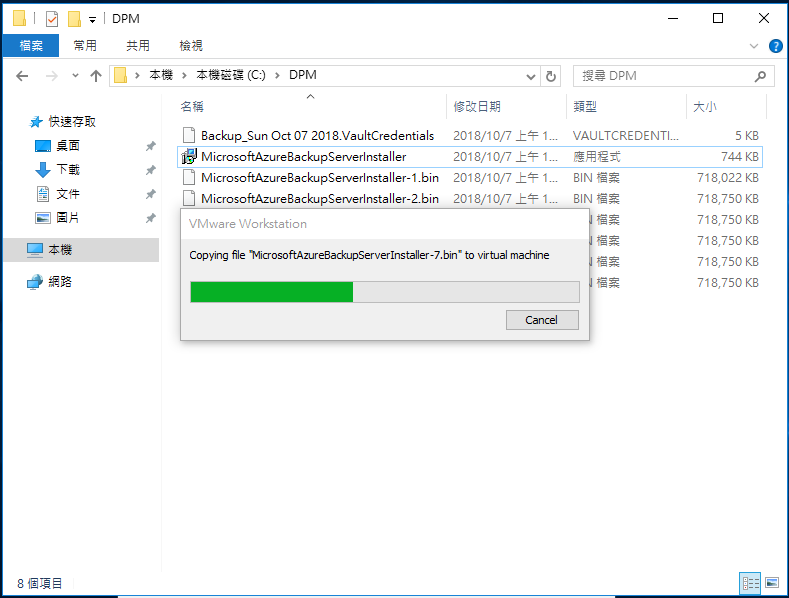
立刻找到此遺失的bin檔後正常繼續解壓縮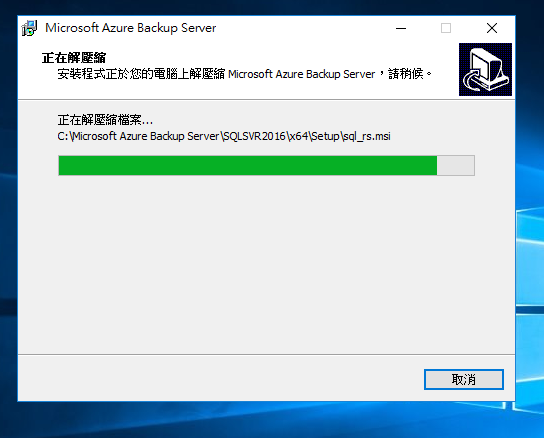
解壓縮完成可以準備開始正式安裝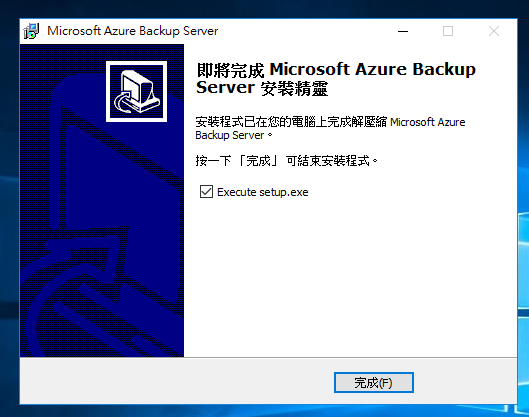
開始安裝備份伺服器,選擇左列第一項
安裝複製中
安裝下一步繼續
先做環境檢查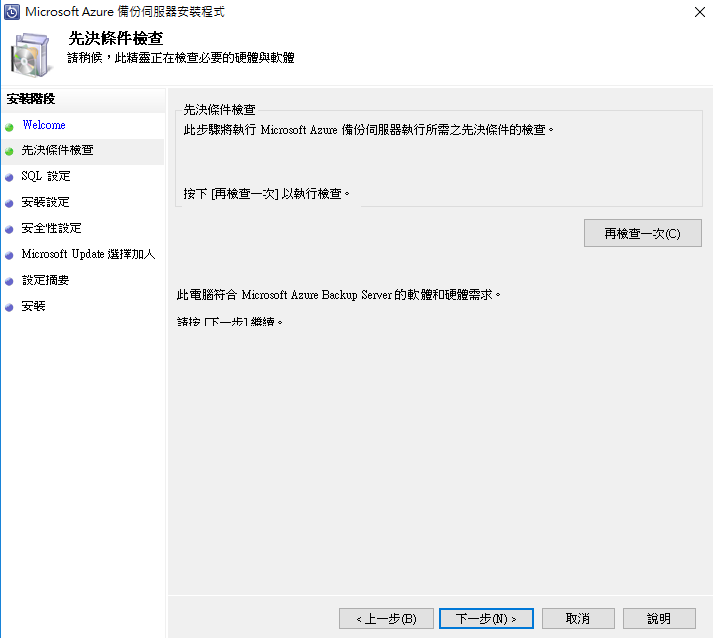
檢查中確認環境中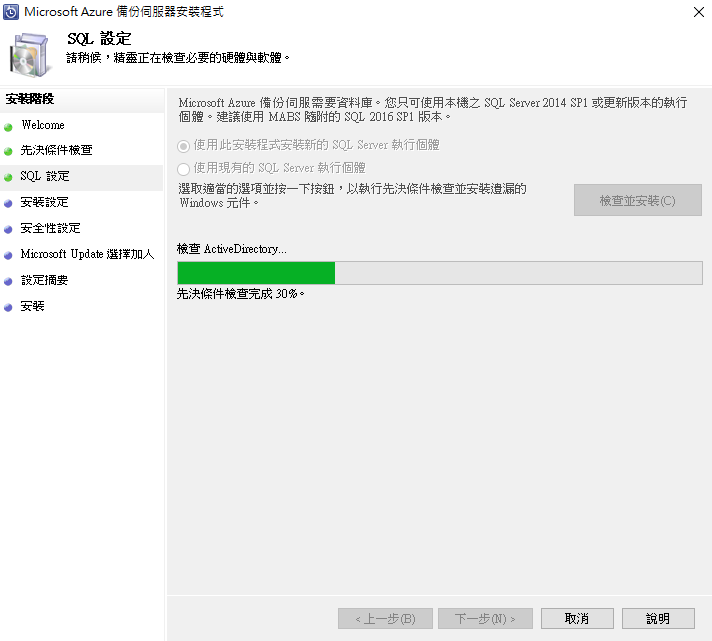
DPM是需要網域環境的...無法例外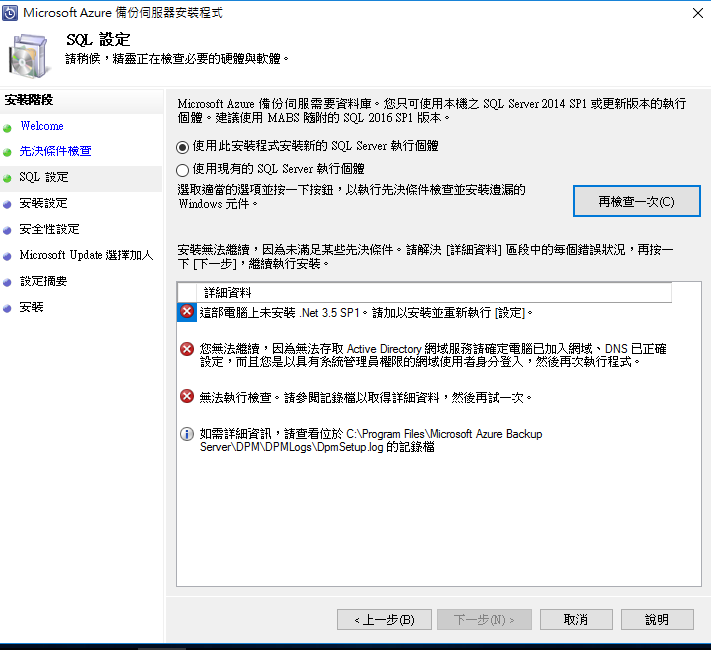
DPM立馬加入網域!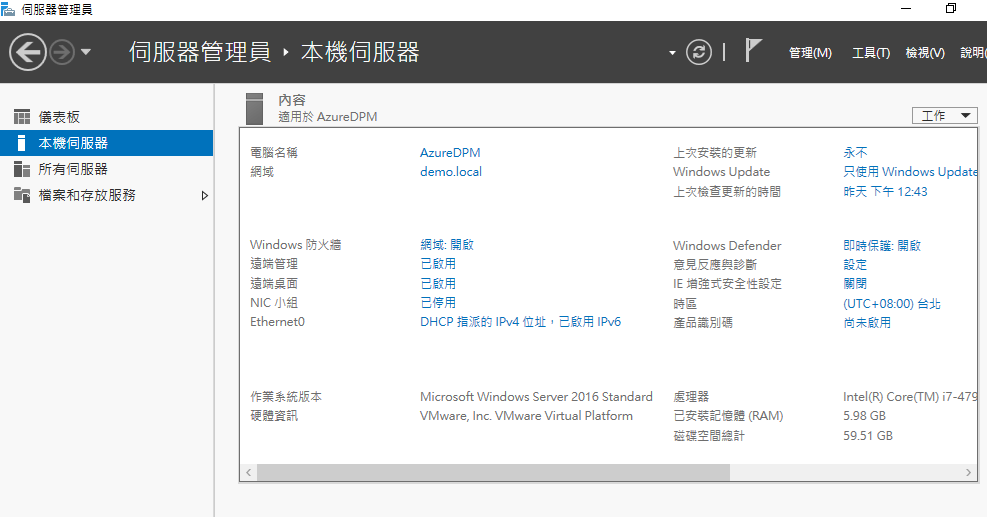
再重新安裝一次,剛剛解壓縮後的實際程式位置如下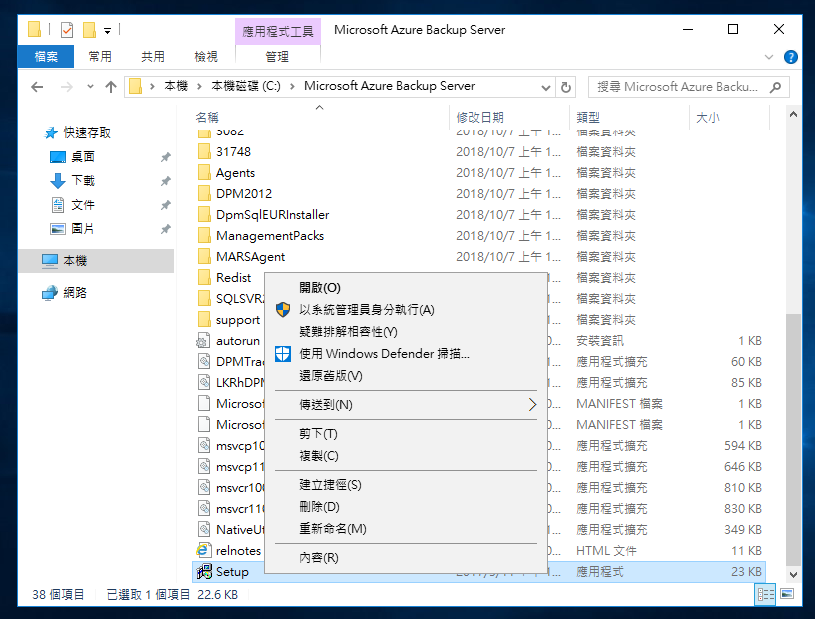
痾!...還要提示需要重新開機...好吧!就重開嘍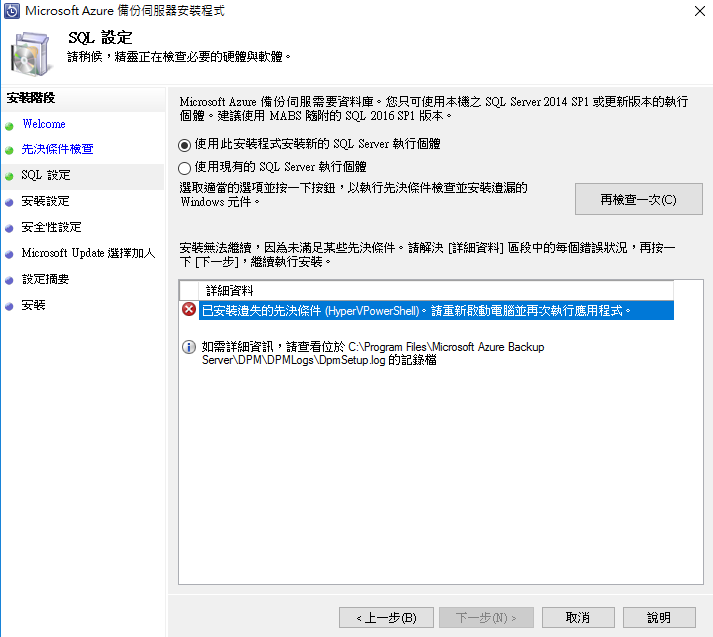
重開好了我們就重剛剛被打槍的地方繼續吧!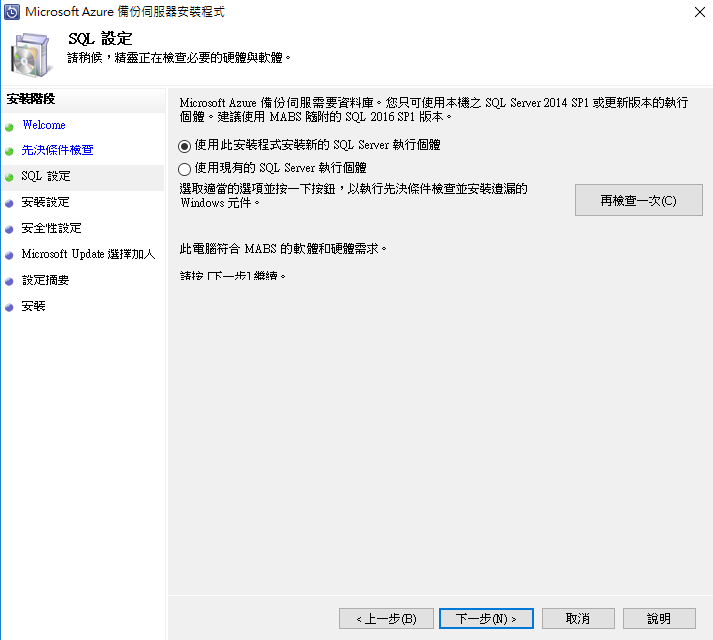
沒問題了,繼續決定預設SQL安裝路徑
設定一下報表密碼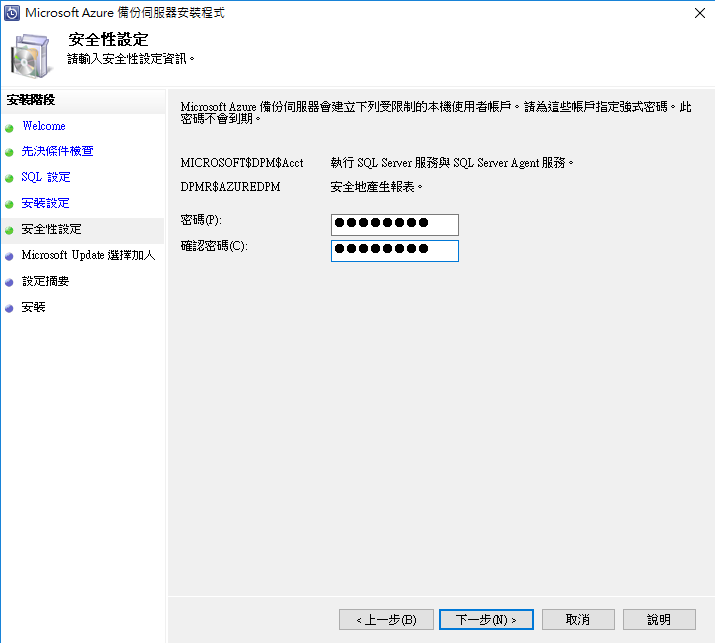
還是建議更新為上策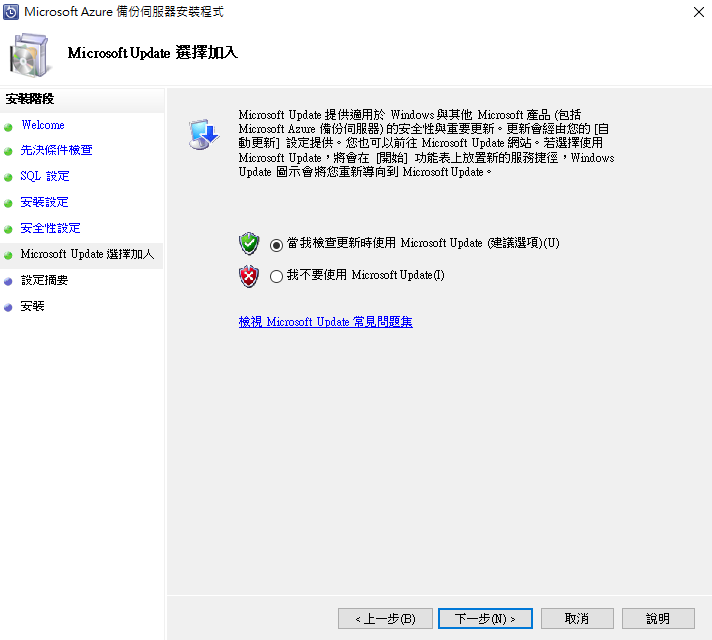
準備開始安裝
沒有走Proxy,直接走Internet下一步繼續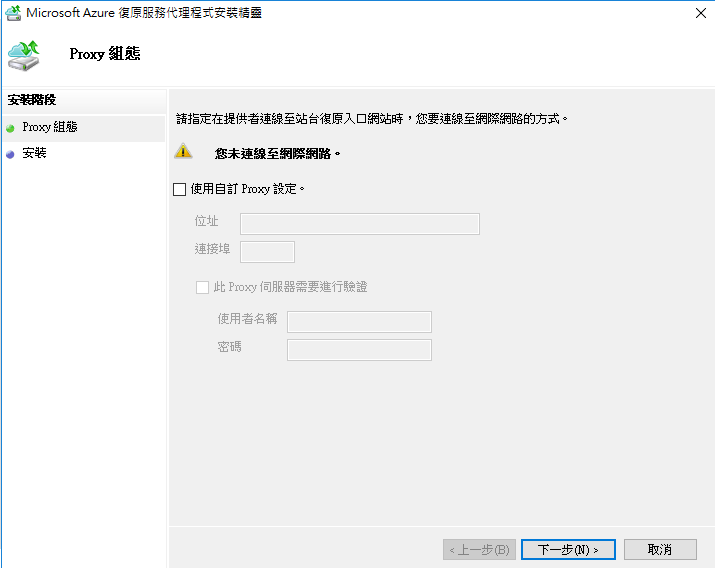
偵測到可用安裝必要服務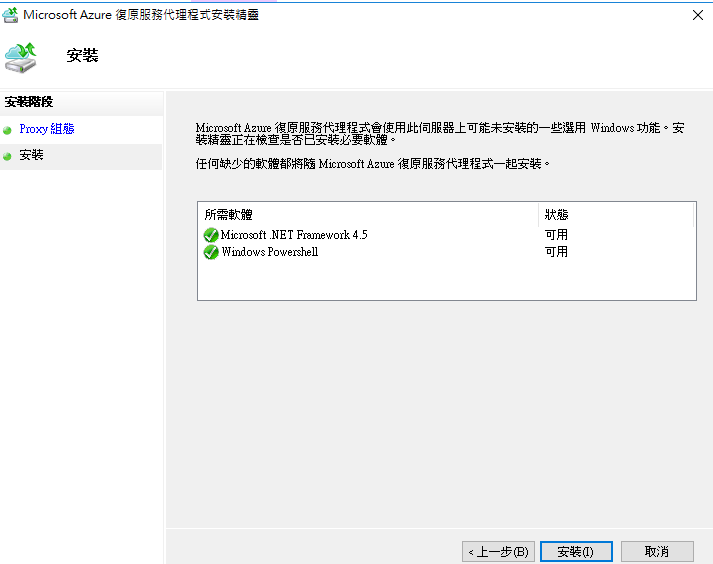
匯入昨天我們做備份的Key...因為還沒超過48小時..沿用即可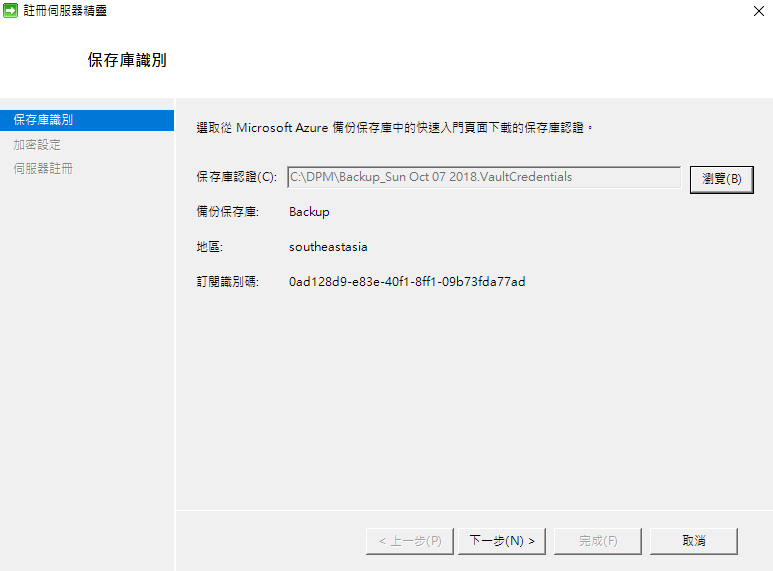
設定系統復原的密碼..直接系統產生就好(好好保管)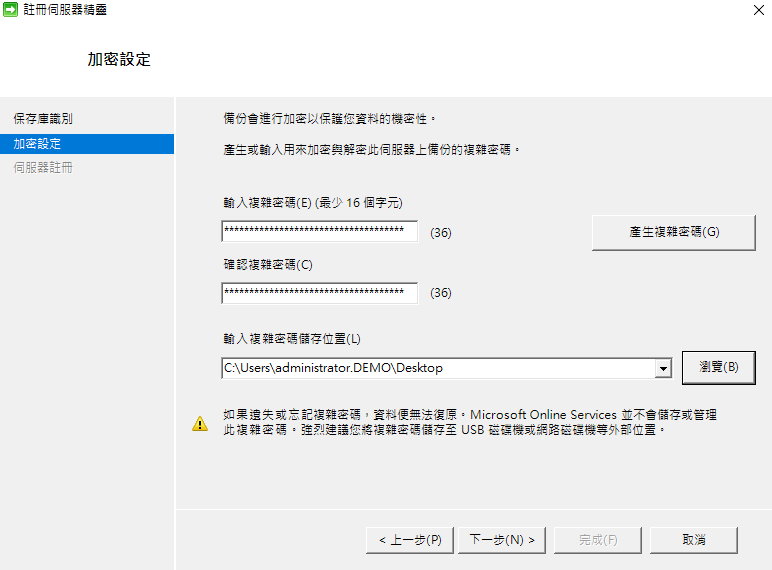
開始進行安裝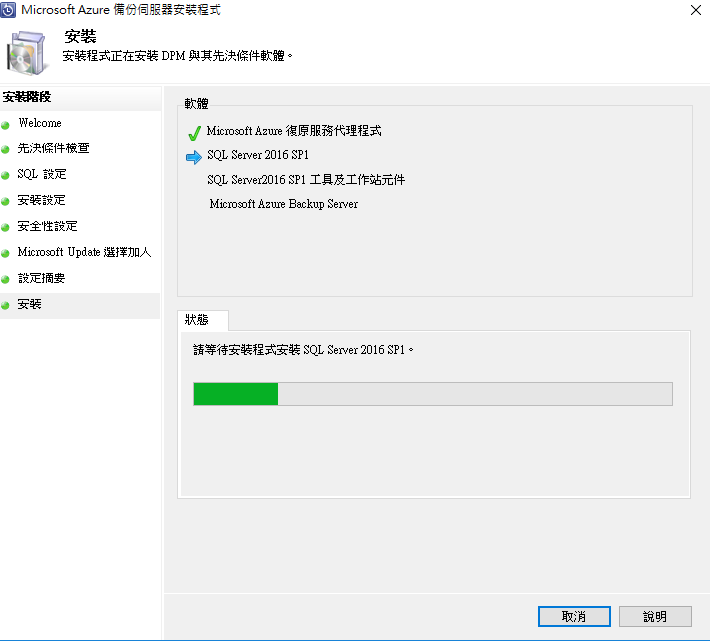
安裝中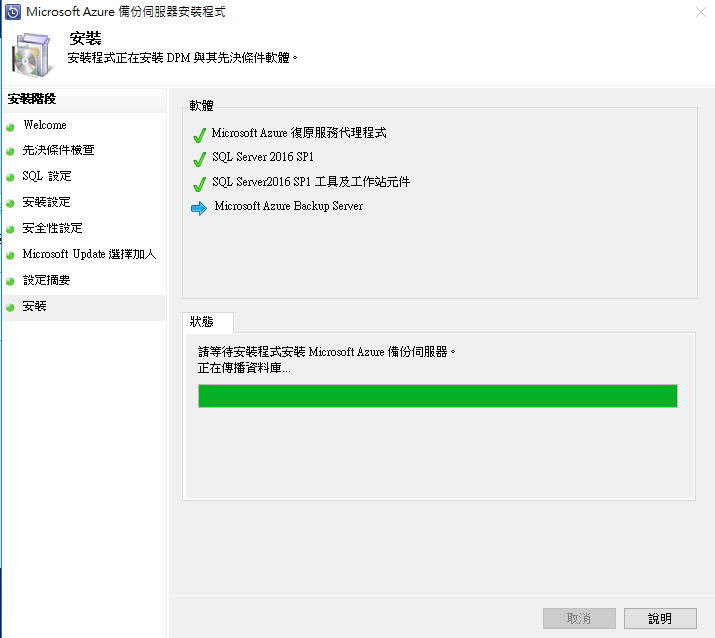
自動設定連線至DPM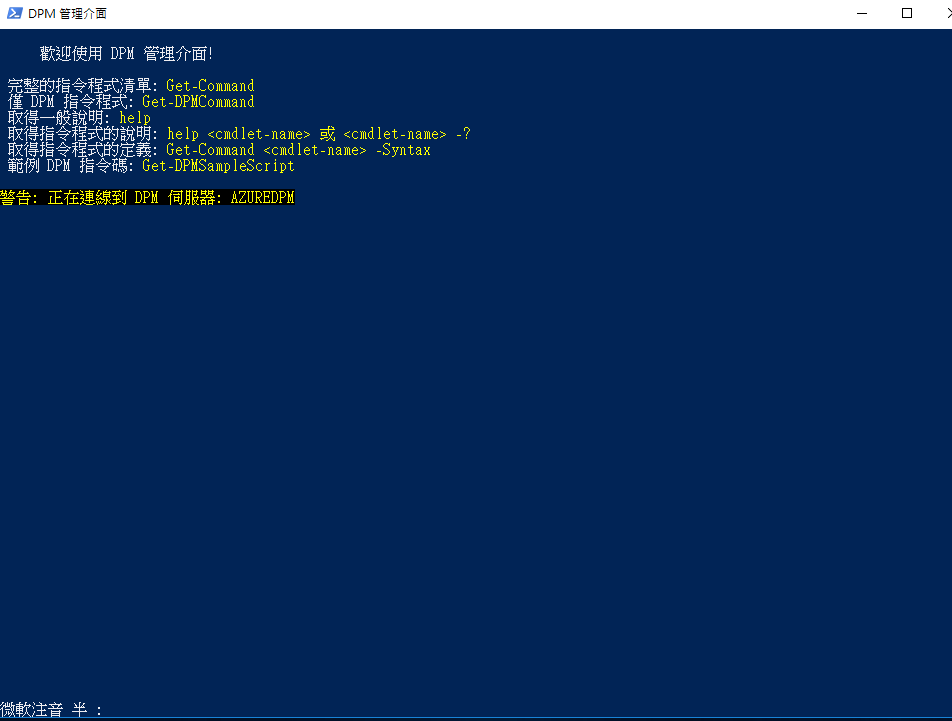
安裝完成啦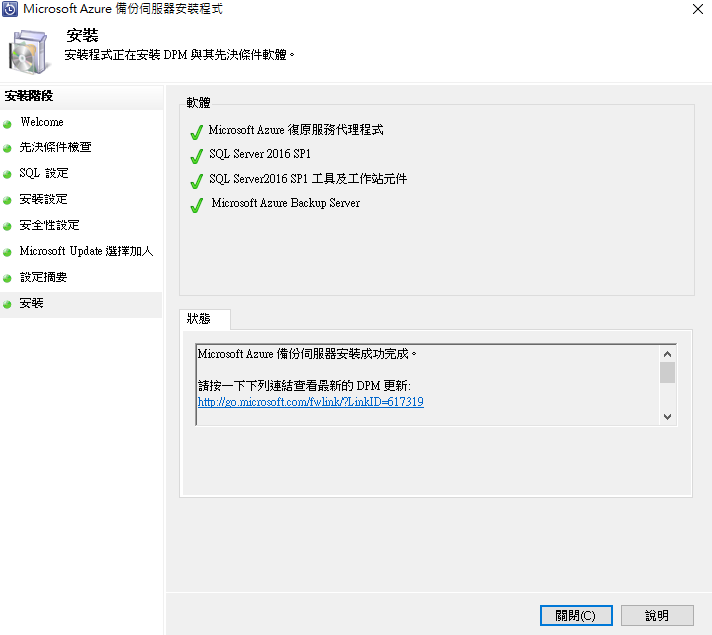
前置作業需要在此DPM設定儲存空間,需要做一個Storage Pool裡面建立的磁碟區,而非磁碟管理的第二顆磁碟區
這設置就不在此文中重點,動手摸一摸就會知道了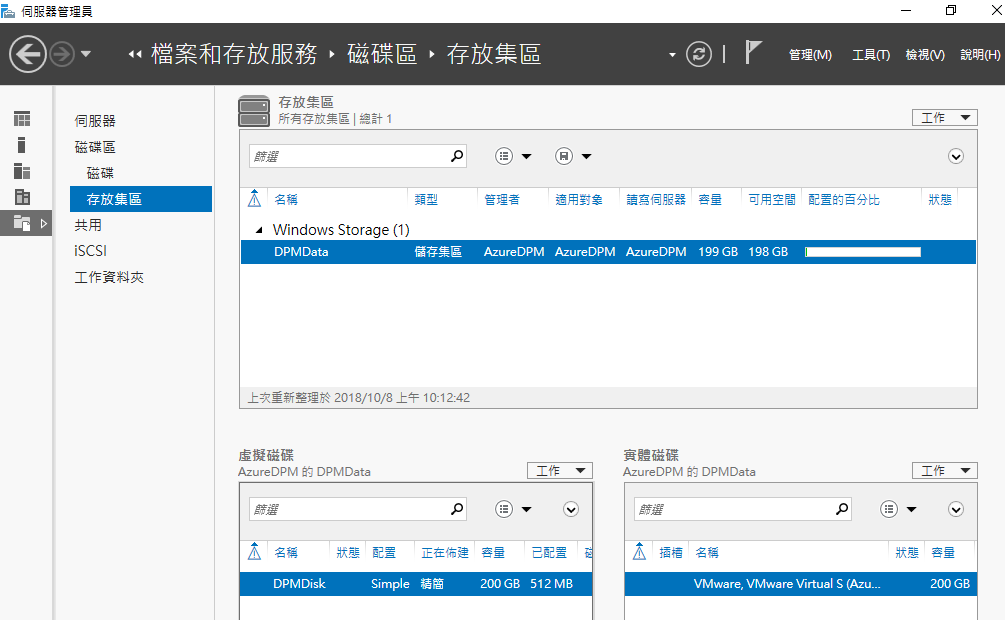
確定剛剛設定的Disk空間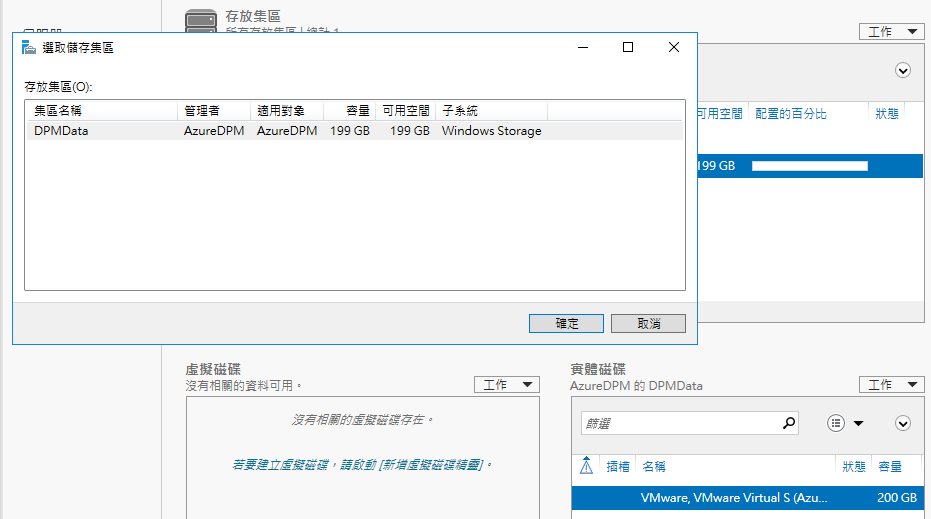
從管理介面選擇到新增磁碟空間
新增磁區就可以看到剛剛建立的199GB的E槽磁區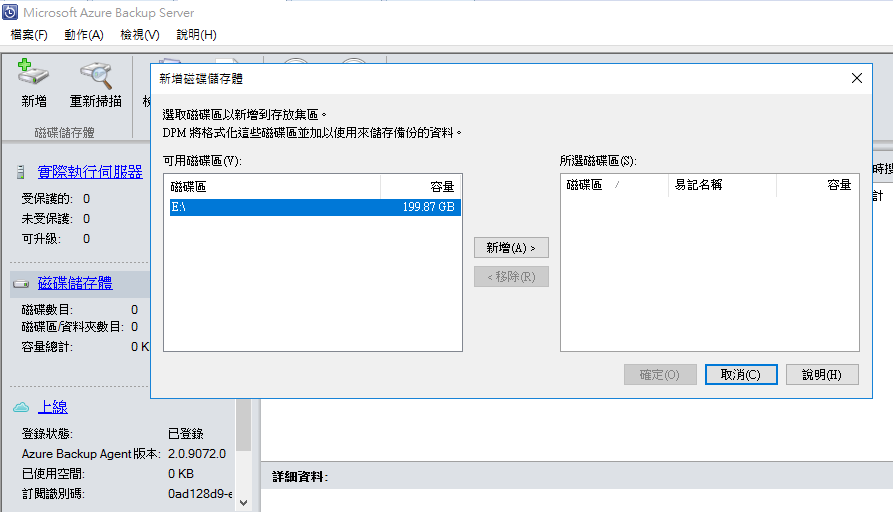
需要透過DPM格式化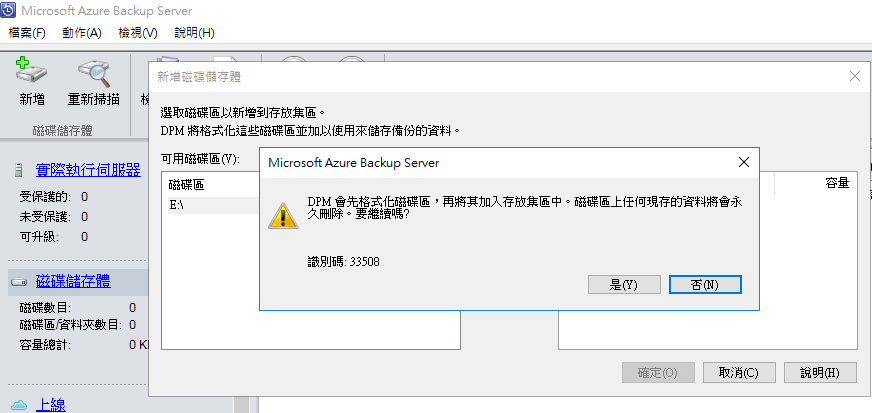
格式化後新增此磁碟空間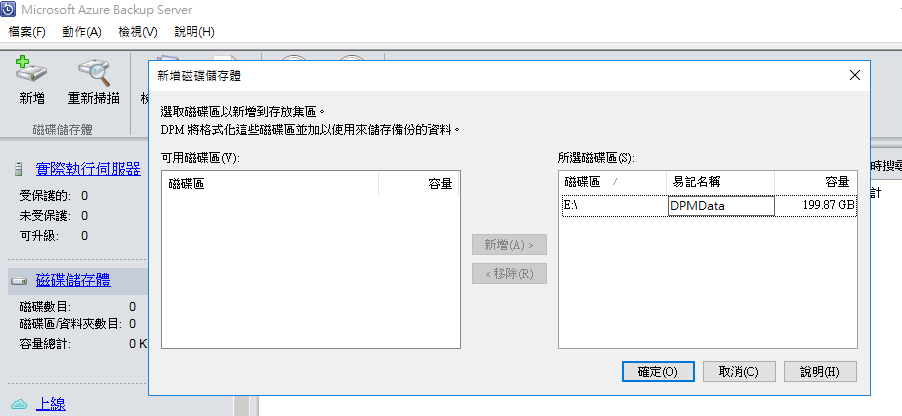
有了!DPM已經有199GB的儲存可以作為後續備份存放之用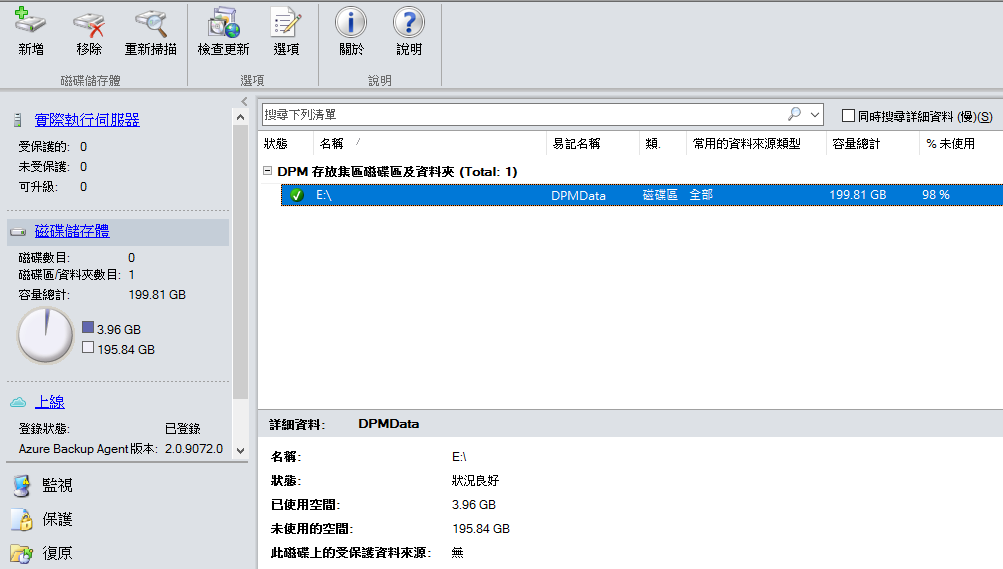
可以開始做主機的保護,就拿自家的SQL來做標的,選擇Windows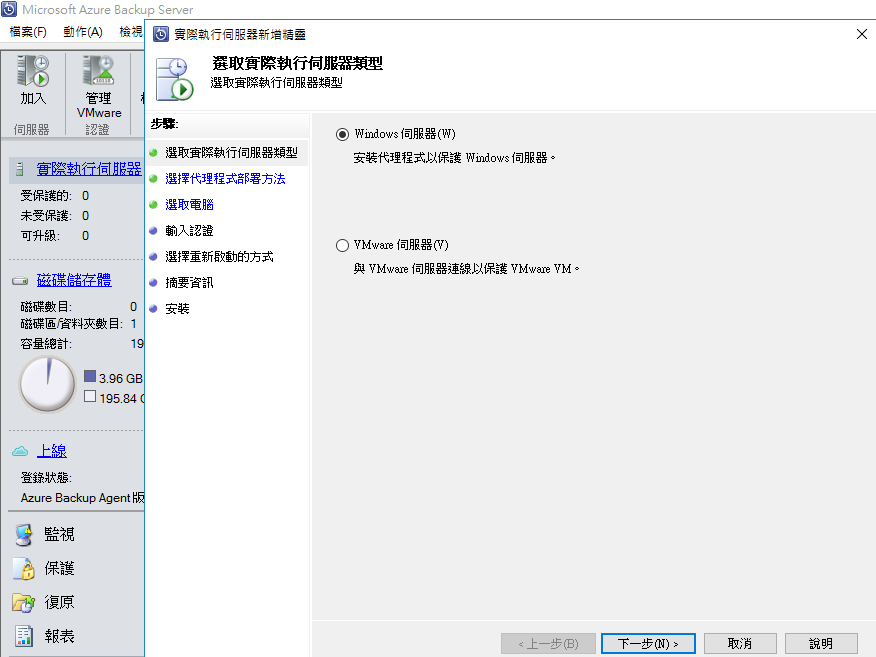
選擇自動安裝代理程式來做部署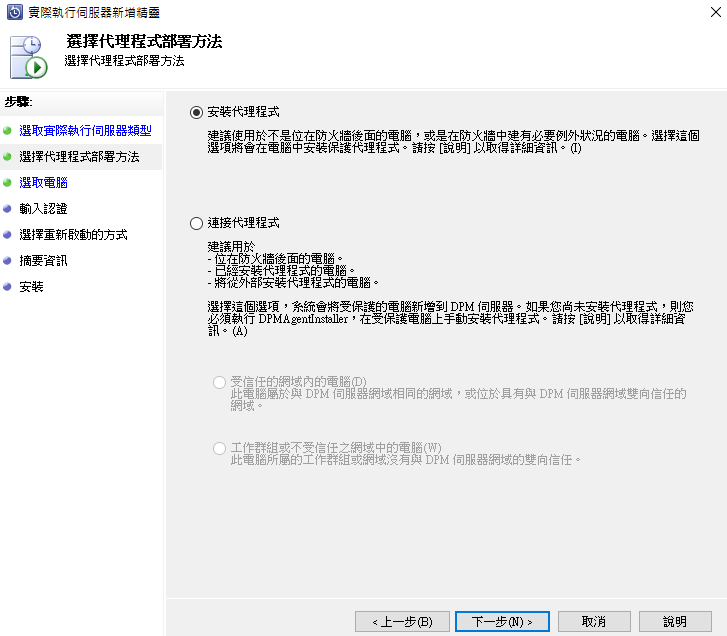
透過網域加入SQL,如果沒有掃到則手動設置加入
設定網域管理帳密
選擇預設安裝後如需要自動重開
確定安裝Agent到此台SQL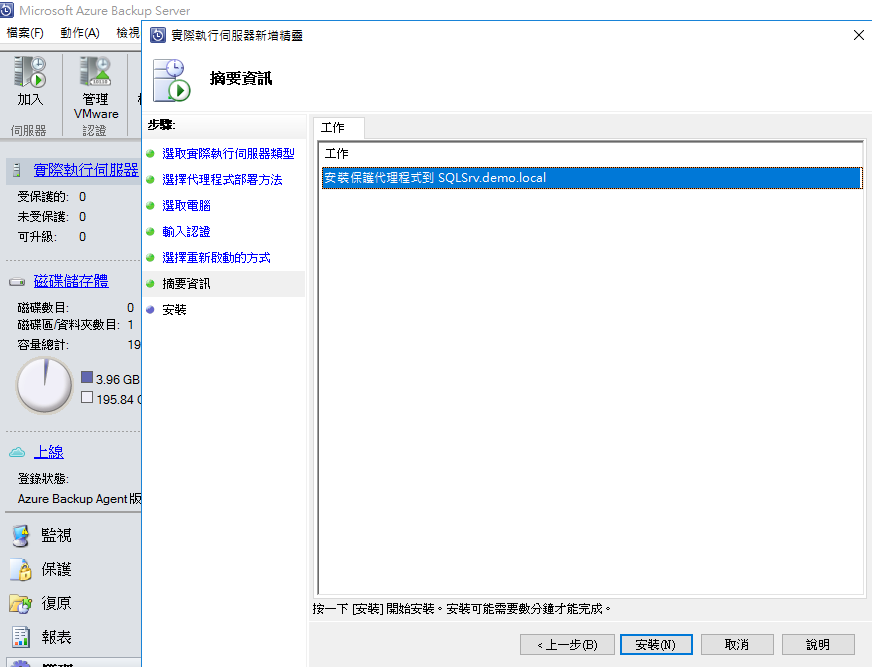
Agent已安裝成功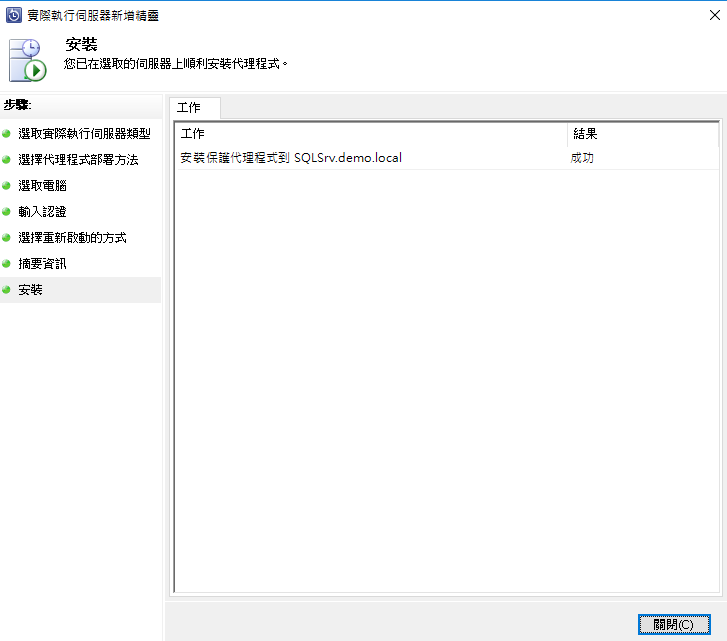
從管理受保護伺服器已經看到此台已納入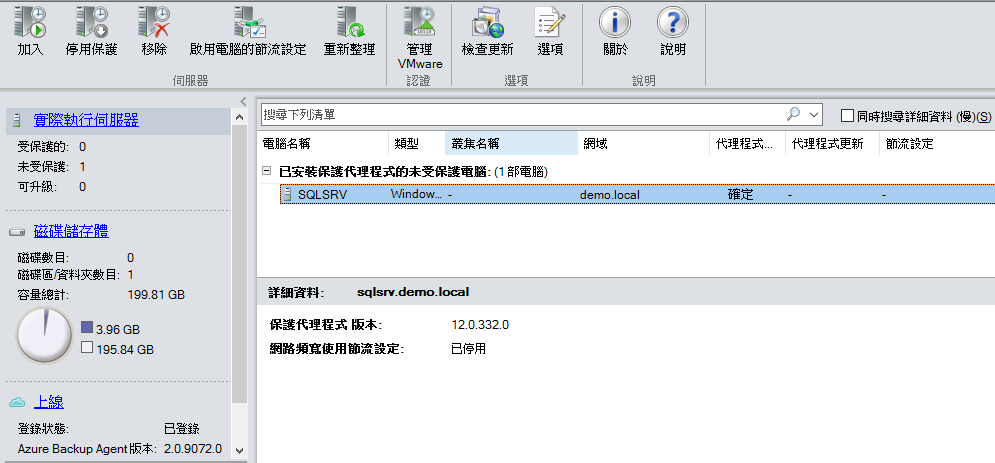
開始重頭戲設定保護啦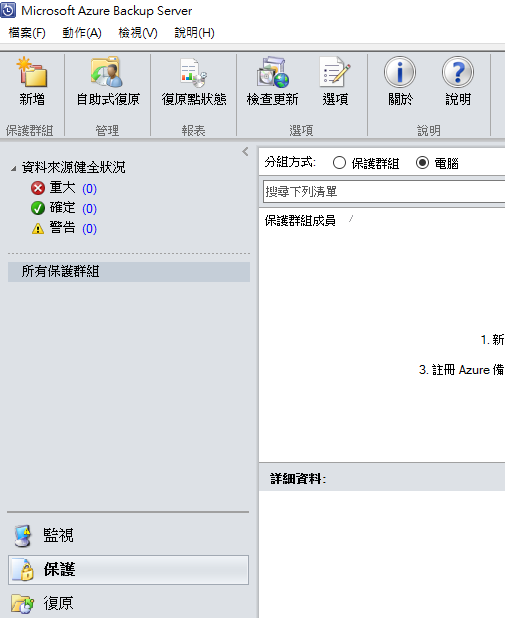
選擇伺服器..因為我是Windows Server嘛!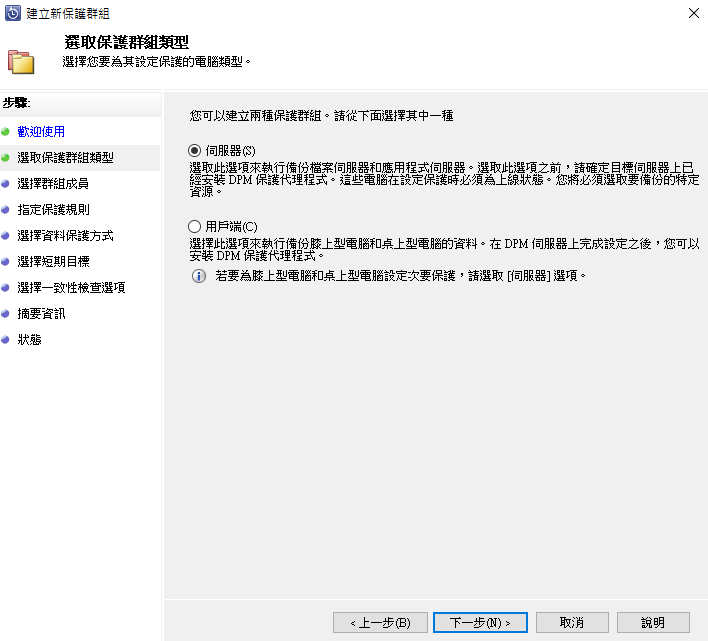
選擇指定SQL的WebDB資料庫做備份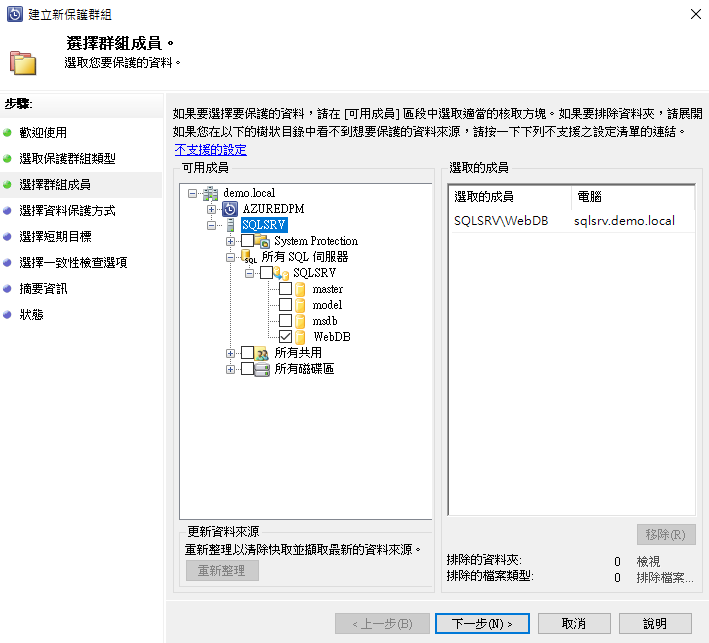
設定保護群組名稱並依照預設做長期保留(視個人環境需求而定)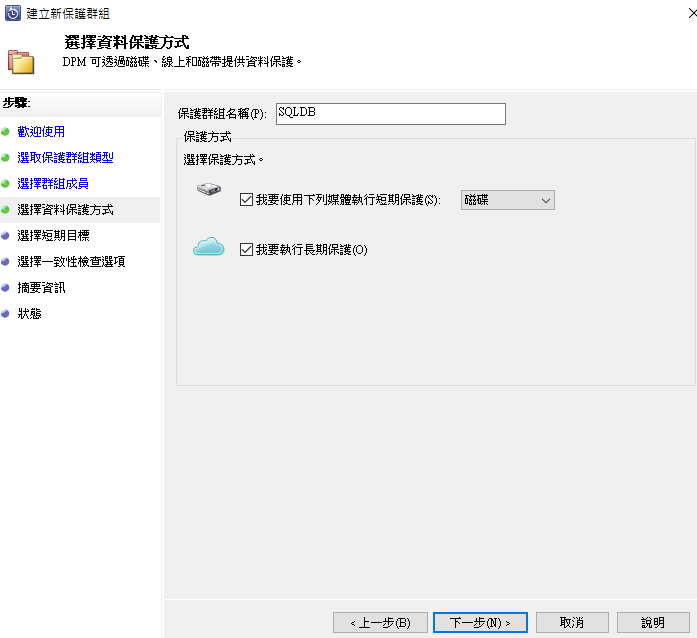
設定保留時間,我是預設值下一步繼續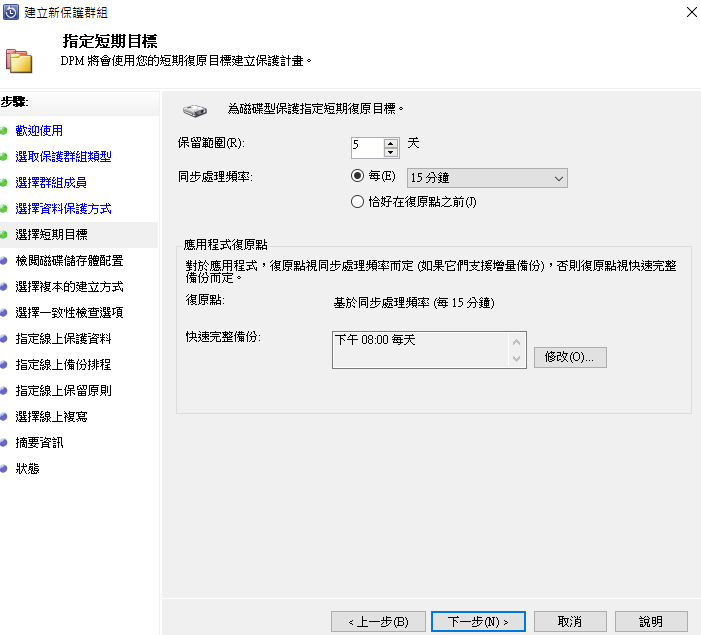
設置的資料量大小與存放位置可用空間標的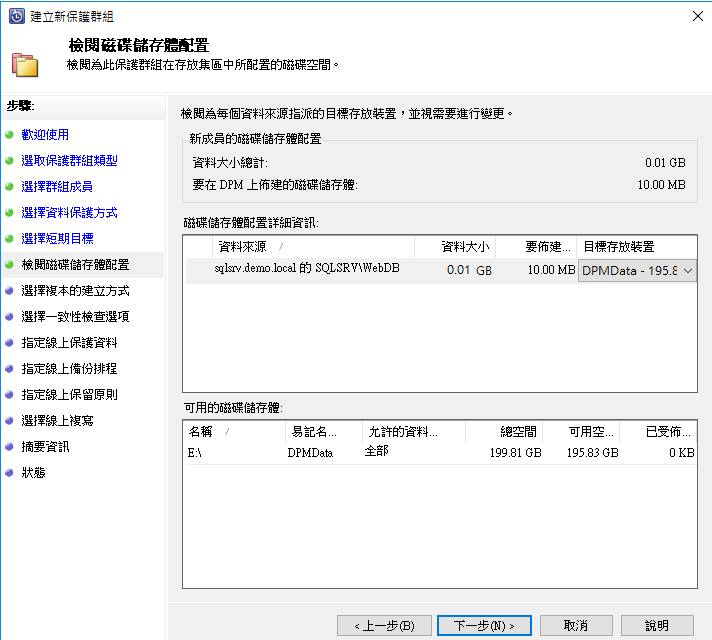
立即透過網路執行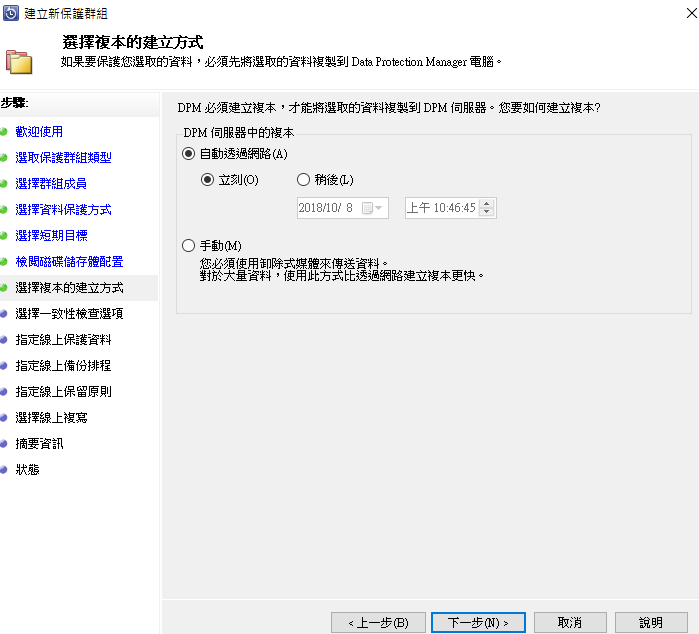
資料不一致的檢查時間設置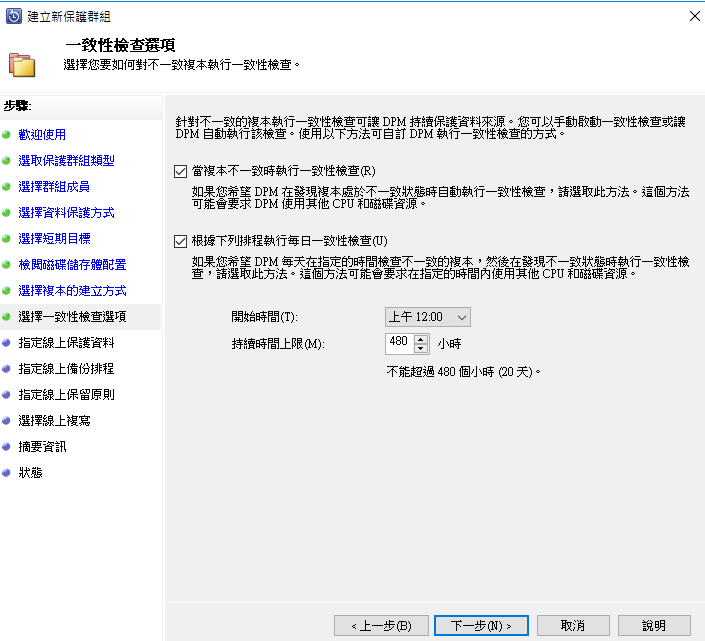
確認受保護的資料來源WebDB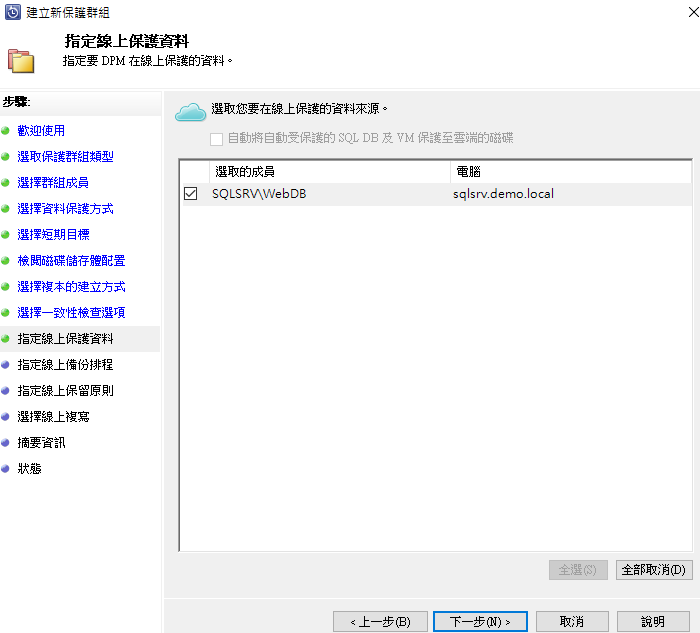
設定排程備份時間,最多一天兩次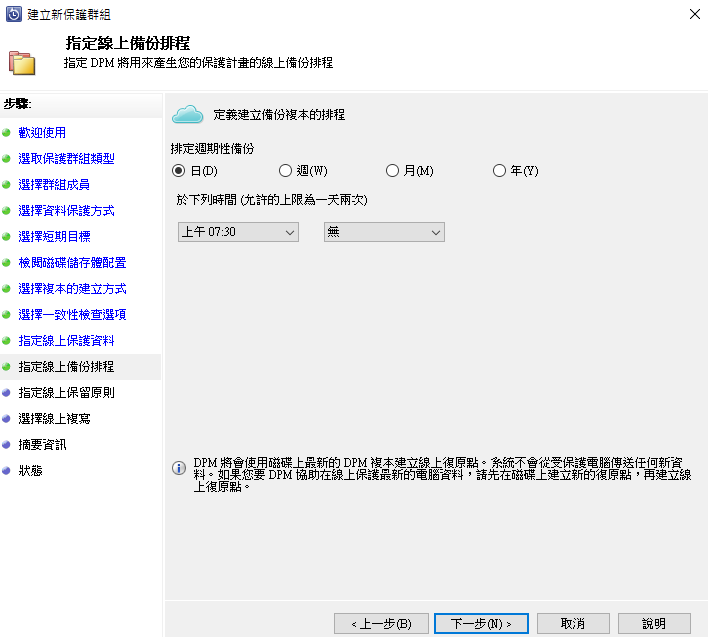
設置長期保留的時間天數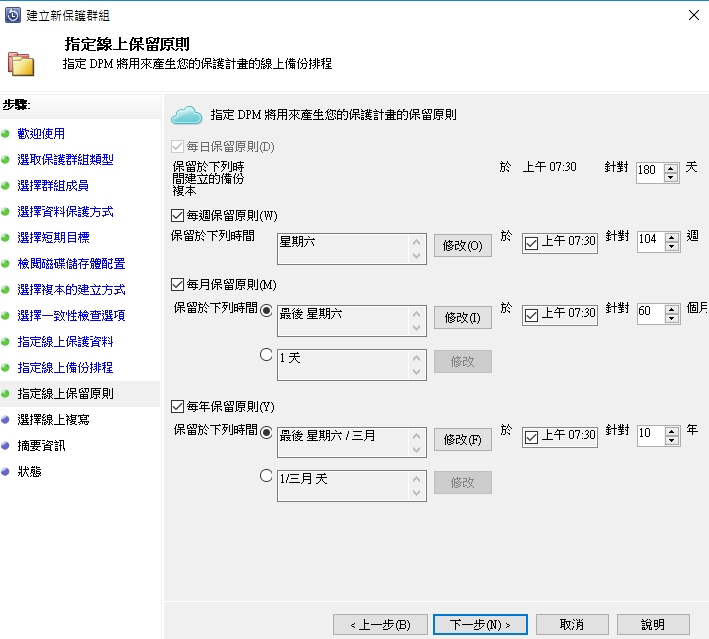
自動透過網路備份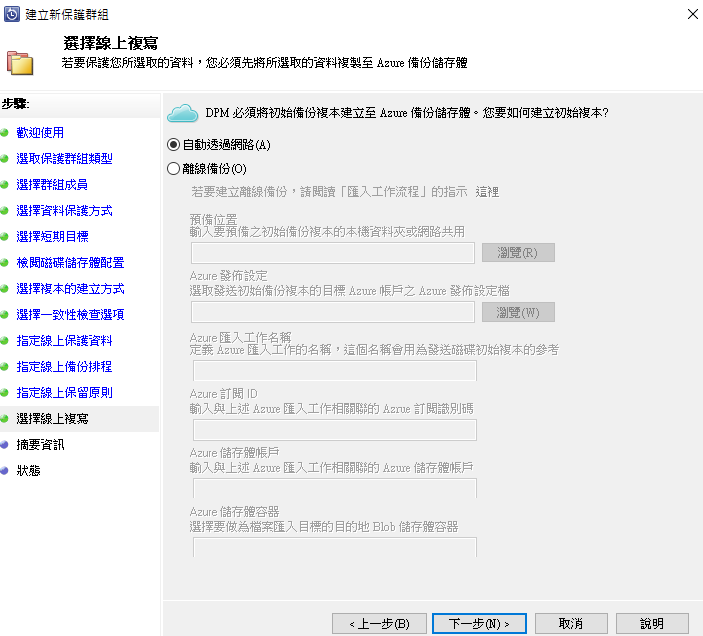
設置無誤後建立群組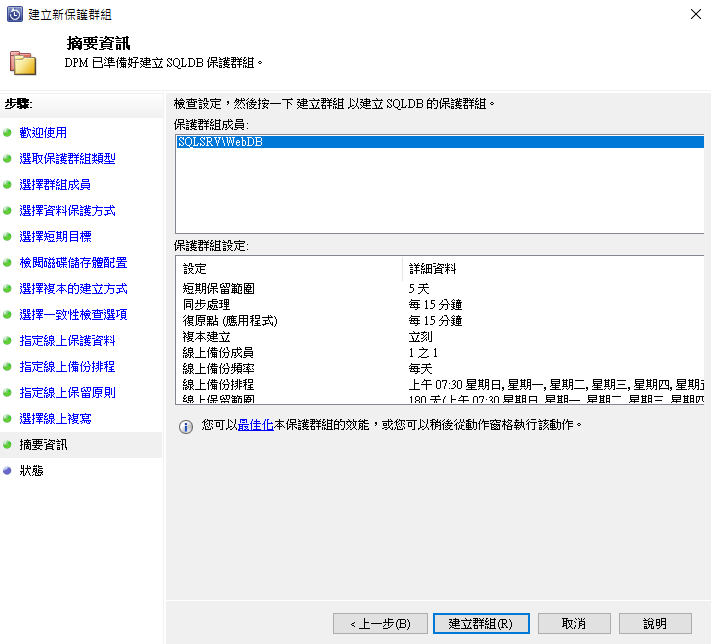
建立進行中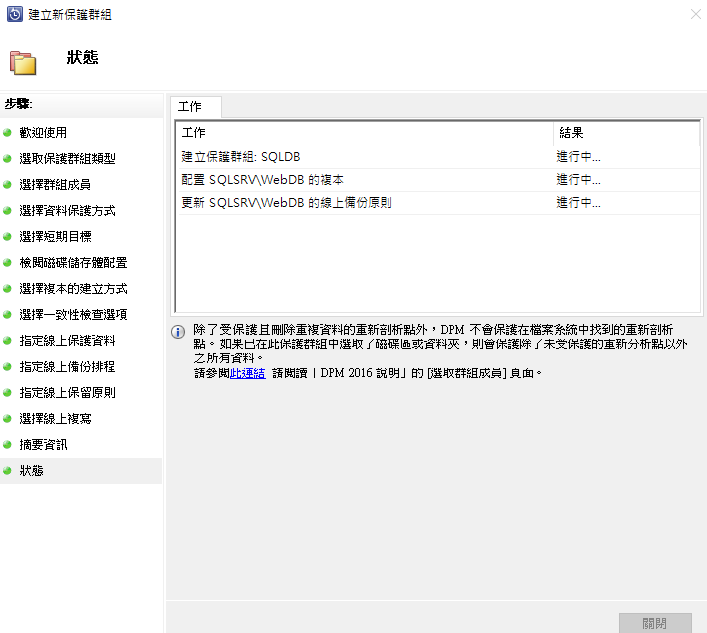
建立成功完成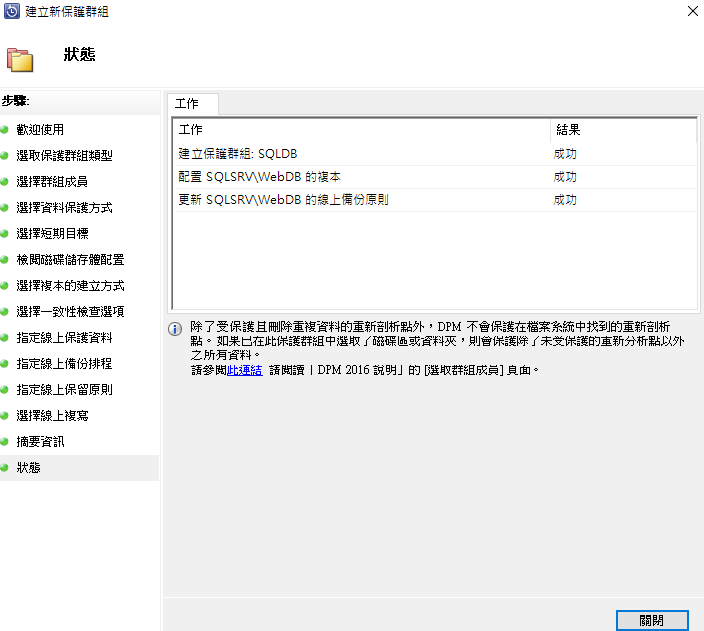
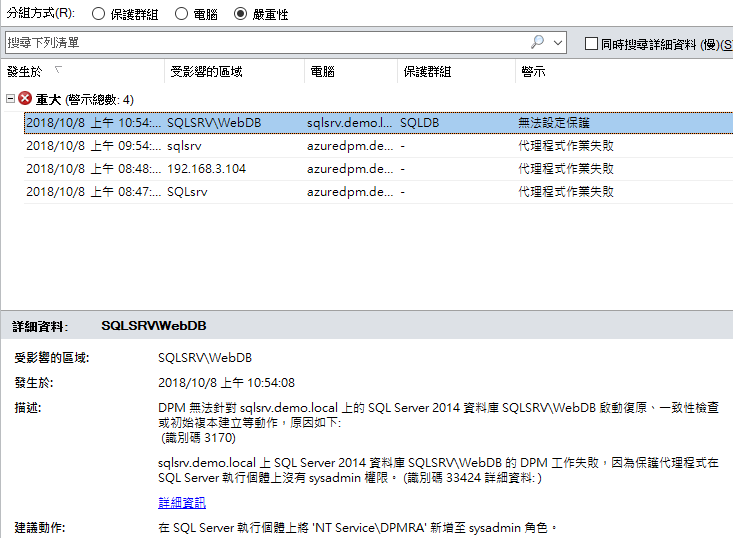
不過小插曲....保護完成後的SQL竟無法設定保護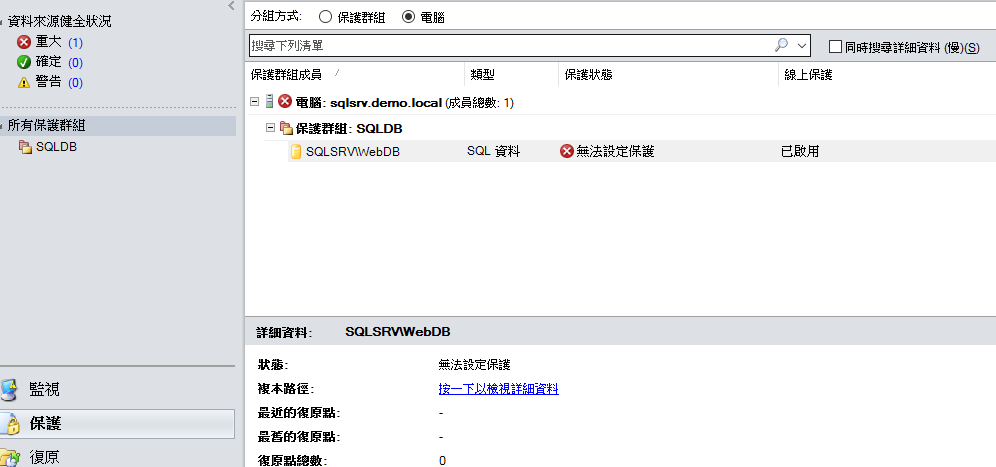
啟動執行一致性檢查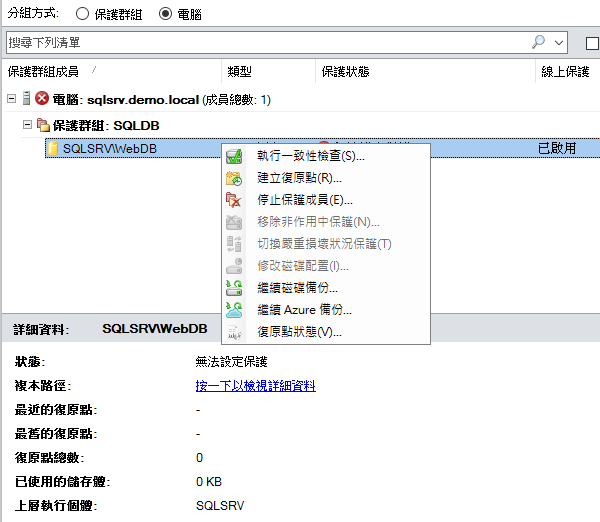
出現錯誤訊息....!看起來是權限問題...建議動作有提示https://ithelp.ithome.com.tw/upload/images/20181008/20025481WguD5dc5x1.png
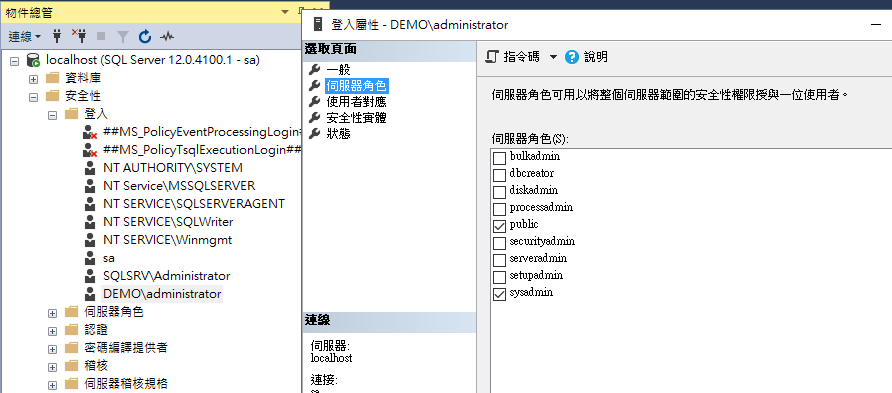
不過我仍以為網域管理者為加入至SQL sysadmin就可以解決,不過當然加入後狀況一樣
還是依照提示乖乖建立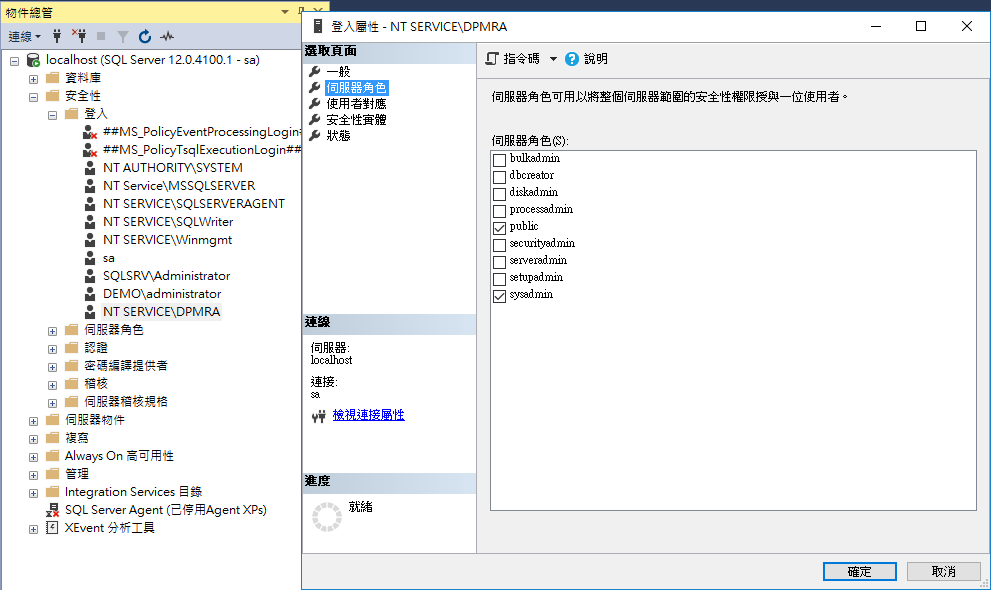
再重新透過失敗的工作Job執行一次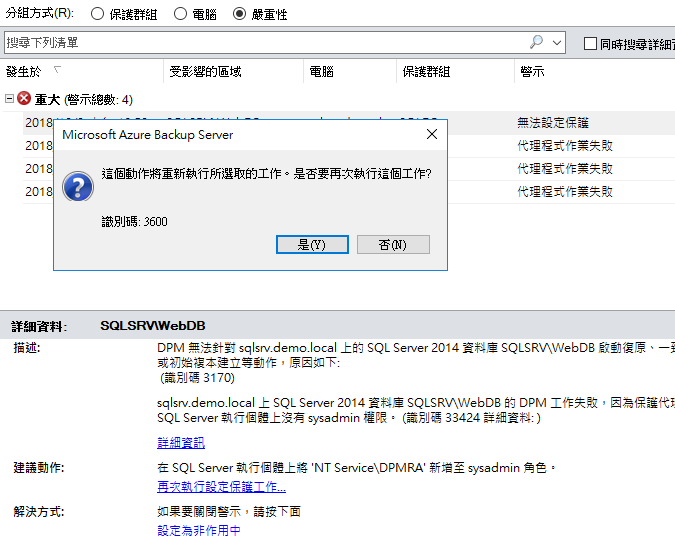
可以了!XD
可以開始建立復原點,先從磁碟保護快速建立開始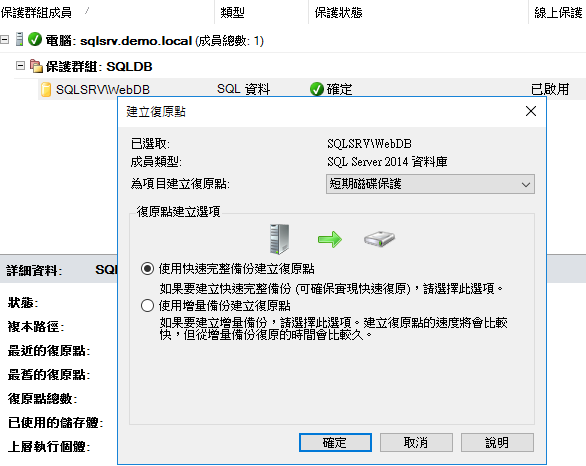
出現一時的不一致狀態...等他一下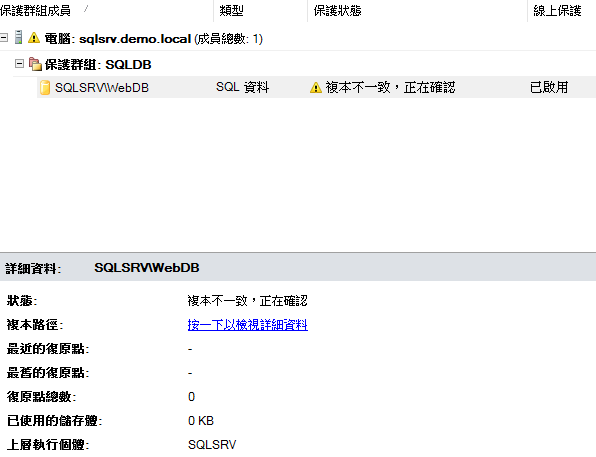
資料復原點已經顯示正確了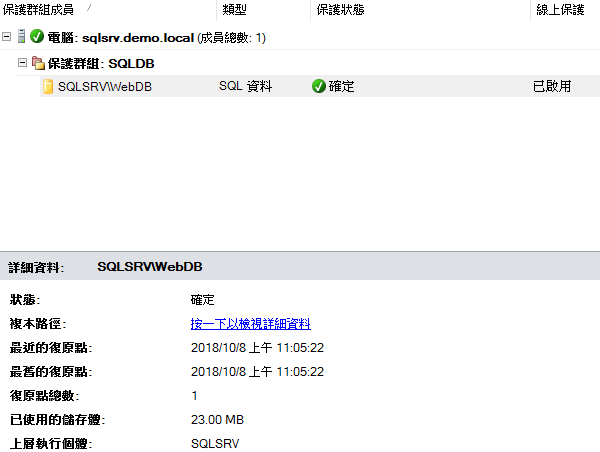
建立進行中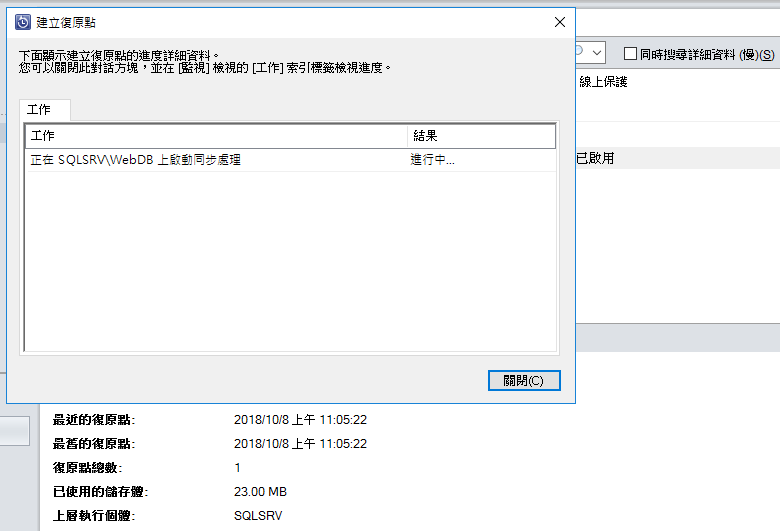
資料同步成功了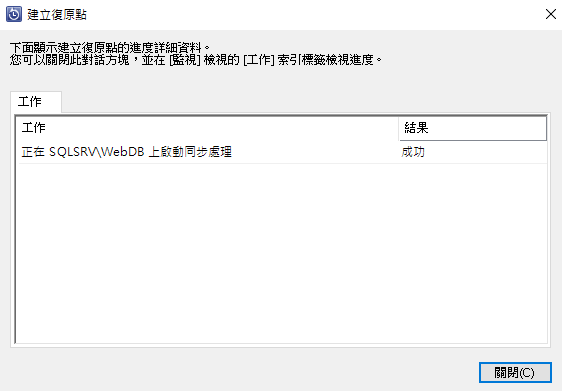
線上保護丟到Azure雲端上的也來一份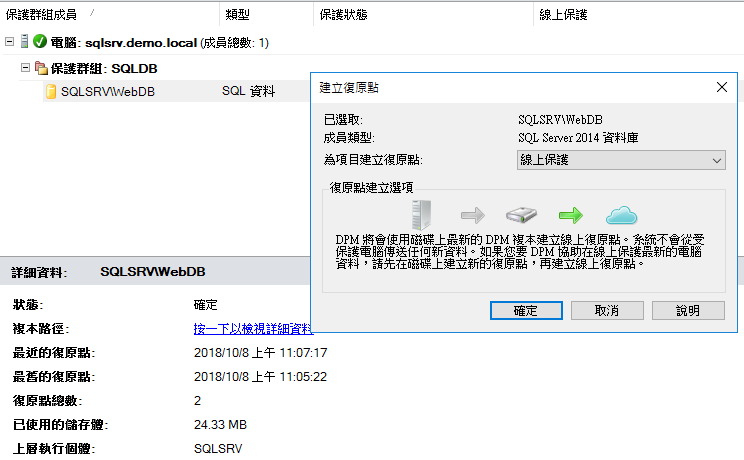
正在傳送中,這就比較久一點了...吃網路嘛!等一會嘍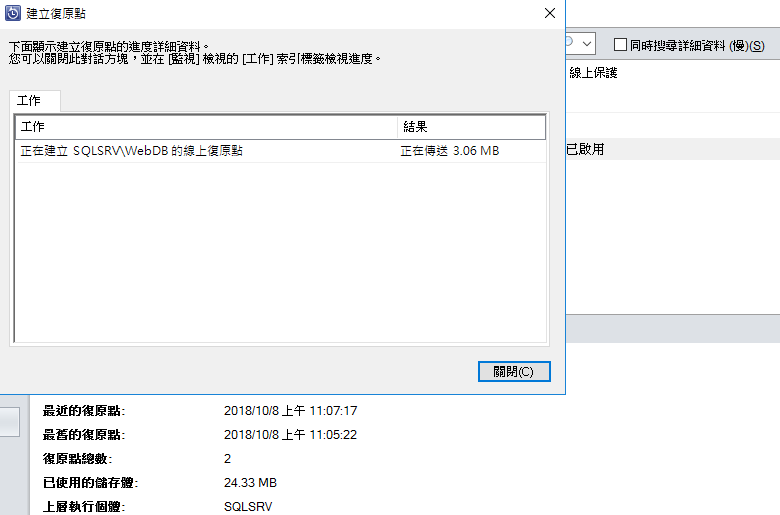
來驗證一下把我目前這DB的資料表刪掉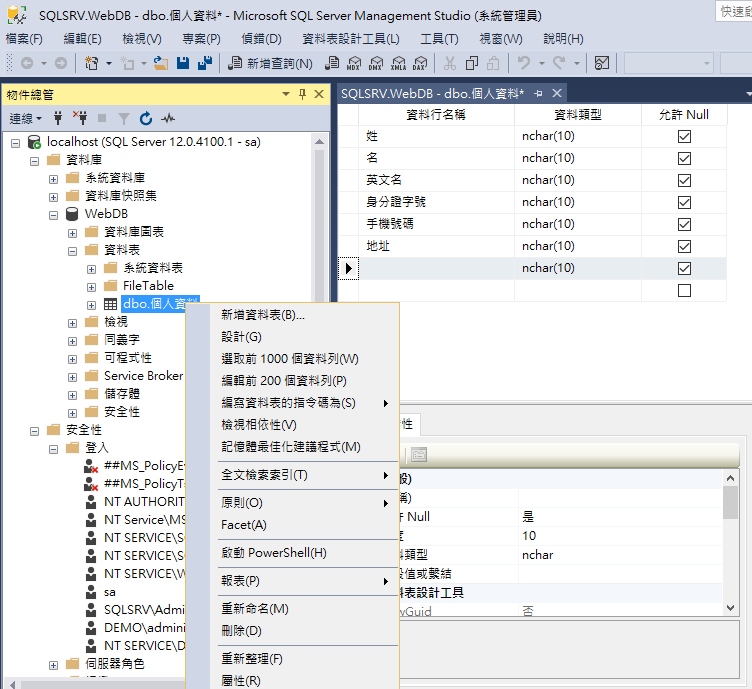
刪除啦!我的資料表沒了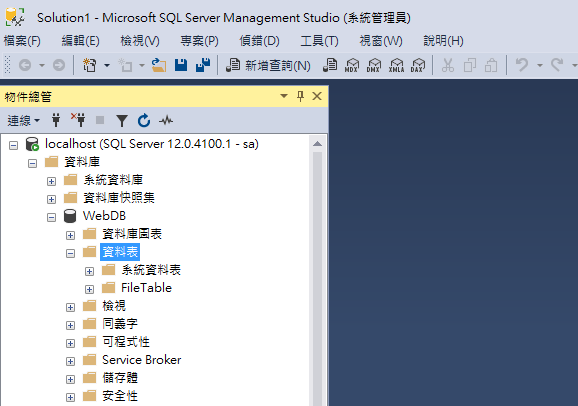
透過Azure DPM的復原功能找到WebDB並選擇你要還原的時間點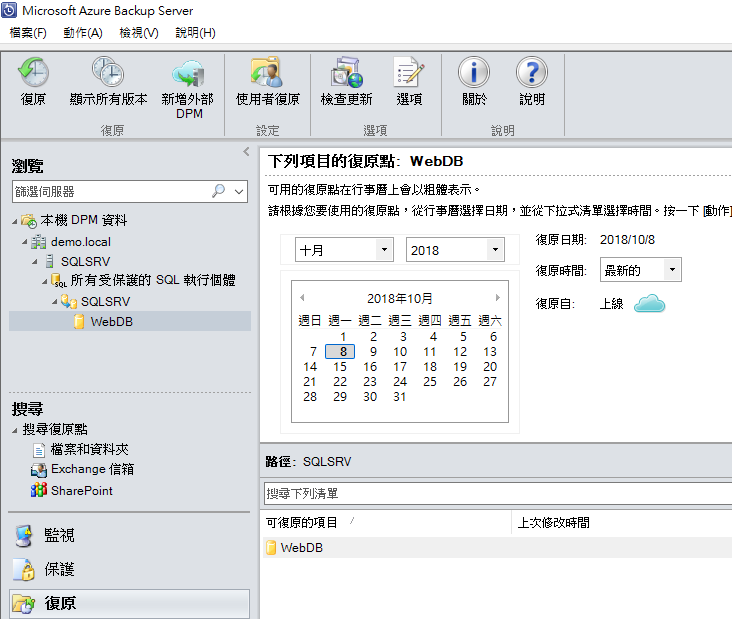
選定好了就下一步繼續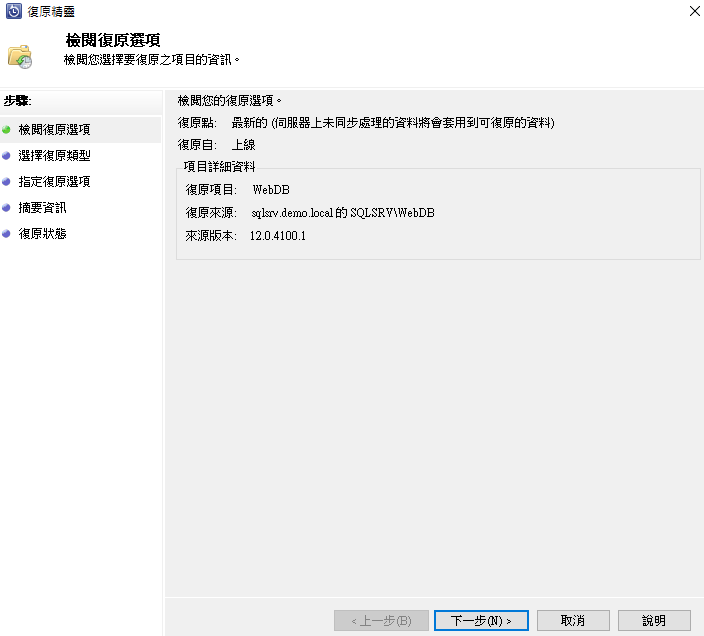
確定從復原點做還原,下一步繼續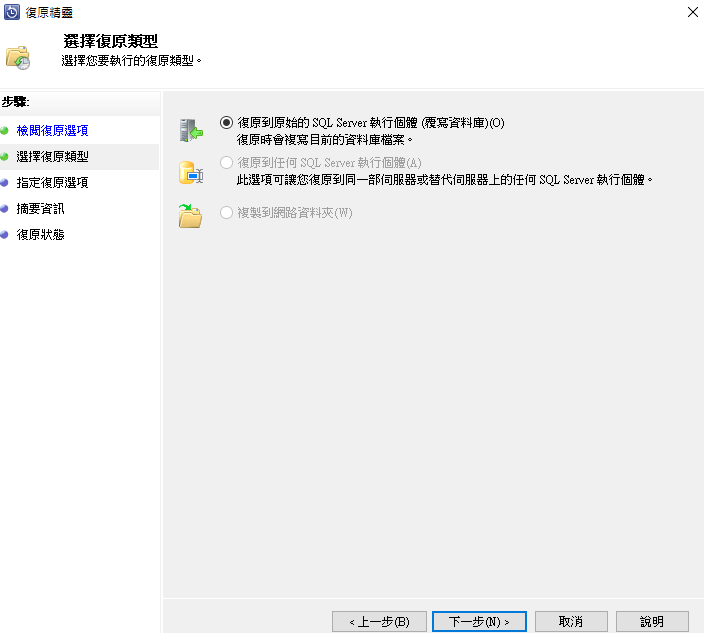
網路節流頻寬設置如果不需要則下一步繼續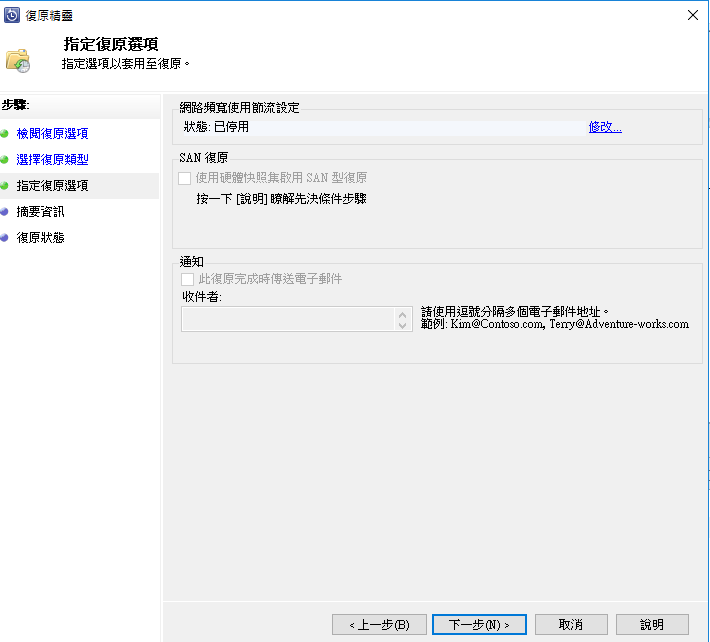
復原進行中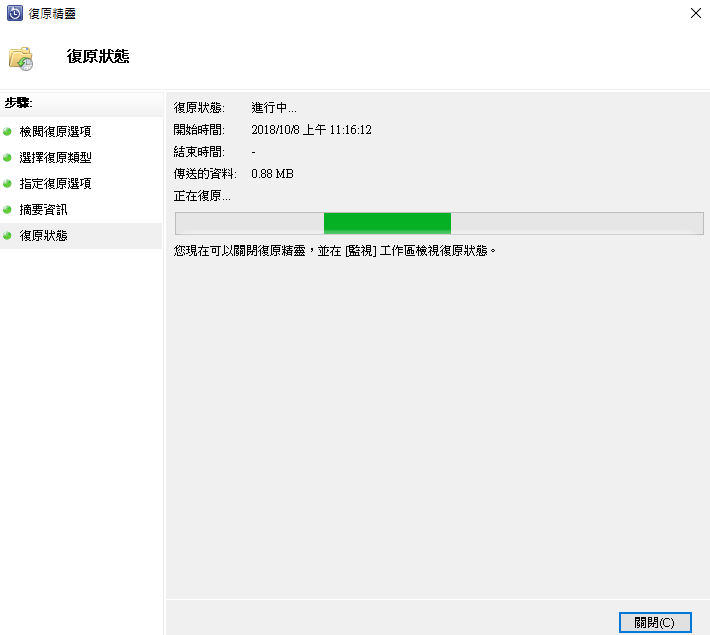
復原完成工作紀錄已成功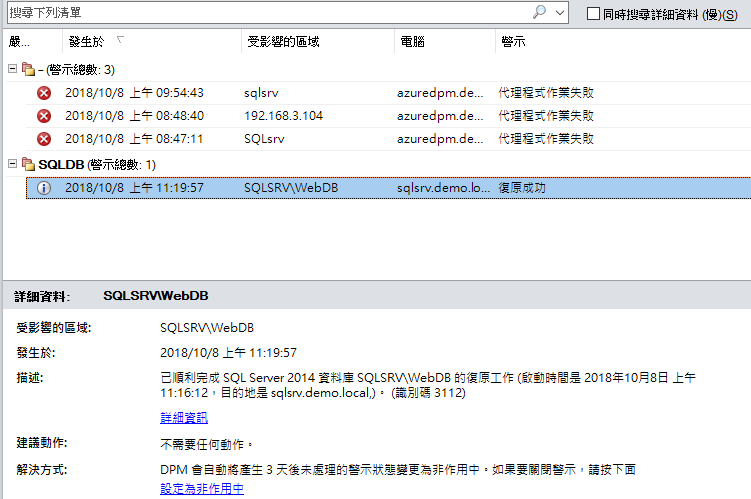
從自己的SQL上看到WebDB的資料表已經回來啦!....我忘了截圖..
好啦!其實還有很多包含Sharepoint,VMware,Exchange等...都是透過DPM來做保護做中介的,所以如果真的正式環境嚴格來看這台可是需要很Powerful的呦!
小弟今天....就先告退...明天再見..

