iT邦幫忙

2019 iT 邦幫忙鐵人賽

DAY 11
0
自我挑戰組

Micropython x ESP H/W 之三十個錦囊妙計系列 第 11

[錦囊XI] Python 有很多好用的編輯方式, 那Microtpyhon 也有嗎? [內建編輯器/ PyCharm篇]

  • 分享至 

  • xImage
  •  

Python 有很多好用的編輯方式, 例如: jupyter notebook, pycharm, vscode ...
大家一定跟筆者一樣好奇, Micropython 除了內建的編輯模式外. 是否還有其他可能呢?
讓筆者依序跟大家介紹

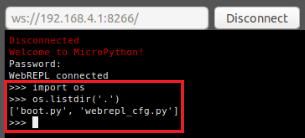
[MicroPython 內建的編輯模式]

  1. 直接使用picocom or webrepl client 登入後就會看到一個編輯模式, 可以直接在上面使用python 做編輯, 編輯模式也支援自動補齊的功能
  2. [範例] 列出當前目錄的檔案
    https://ithelp.ithome.com.tw/upload/images/20181020/20103824XxPuVxcKYL.png

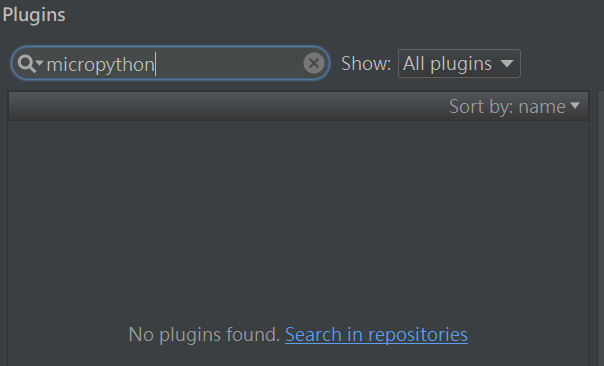
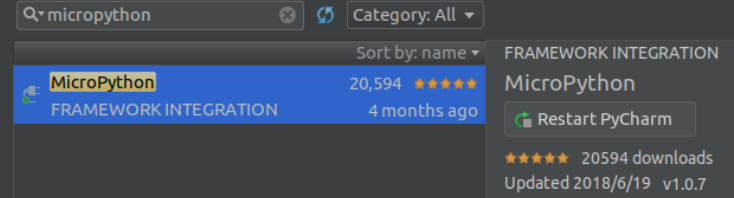
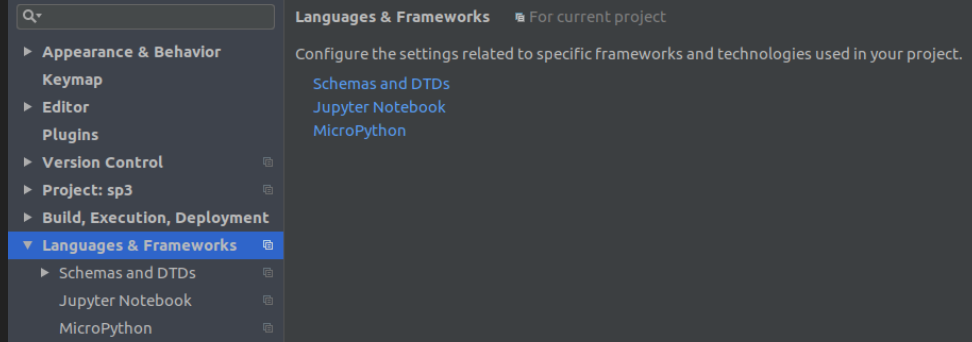
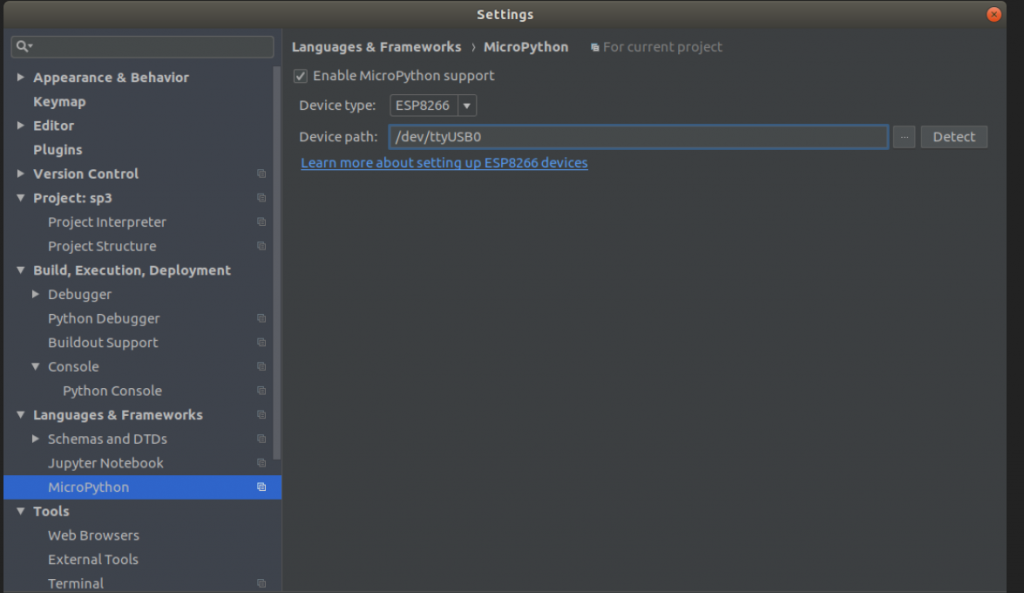
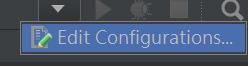
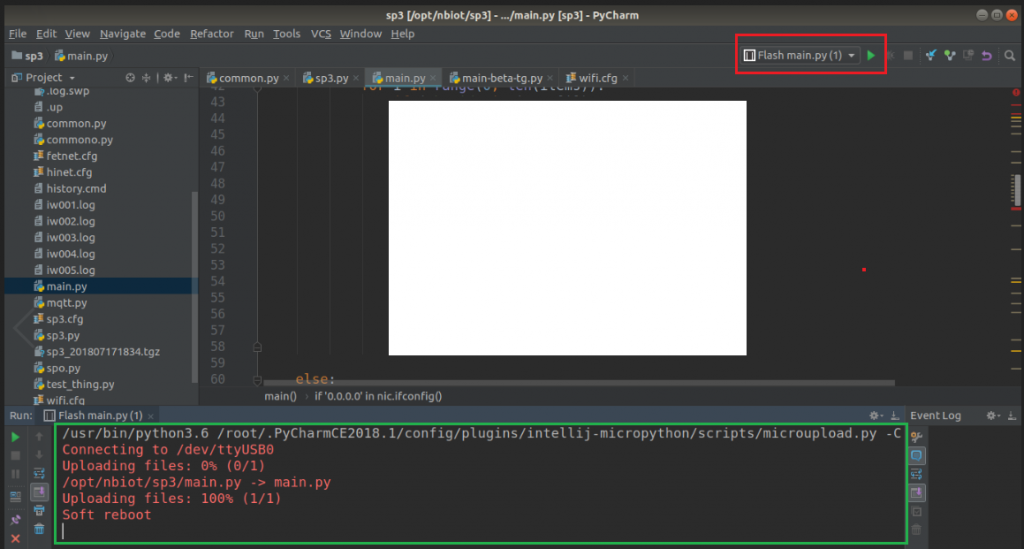
[MicroPython 在PyCharm上該如何設定]

  1. 打開PyCharm 主程式\ File\ Setting\ Plugins, 輸入micropython後可能會出現找不到的情況
    https://ithelp.ithome.com.tw/upload/images/20181020/20103824sf0lcdbAWy.png
  2. 點選Search in repositories 後就找到了
    https://ithelp.ithome.com.tw/upload/images/20181020/20103824FIS6ouVHlH.png
  3. 安裝好後, 提示要重新開啟PyCharm後, 直接重新開啟
    https://ithelp.ithome.com.tw/upload/images/20181020/20103824qTiRAXRkxF.png
  4. 新建一個專案 來使用MicroPython
  5. 點選File\ Settings\ Language and framework 就會看到多了一個Micropython的選項
    https://ithelp.ithome.com.tw/upload/images/20181020/201038242abt7fwM97.png
  6. 點選MicroPython 會看到已經自動選取USB 串口資訊
    https://ithelp.ithome.com.tw/upload/images/20181020/20103824x9l3SOfvQV.png
  7. 點選右上角的Edit configuration 進入設定
    https://ithelp.ithome.com.tw/upload/images/20181020/20103824z2lbSh1KxN.png
  8. 點選第一個"MicroPython" 後可以按**+** 號新增自訂義的Parameter
    [範例] 筆者已經新增兩筆資料, 等候使用
    https://ithelp.ithome.com.tw/upload/images/20181020/20103824n5GjV6Q7ei.png
    9.設定檔案中 主要是設定名稱檔案路徑
    https://ithelp.ithome.com.tw/upload/images/20181020/20103824RKNiiRVxXA.png
    [秘訣] 設定在這邊的每一個Parameter 都可以透過Flash 的方式傳輸到ESP-01S 的EEPROM 中.
  9. 點選編輯器右上角紅框處後, 就會開始將parameter 設定好的內容傳輸到ESP-01S 上去 (如下圖綠框處)
    https://ithelp.ithome.com.tw/upload/images/20181020/20103824GgbJbci0sj.png

上一篇
[錦囊十] 工要善其事 必先利其器 [軟體安裝篇-6][最終篇]
下一篇
[錦囊XII] 要如何使用jupyter notebook 編輯ESP呢?
系列文
Micropython x ESP H/W 之三十個錦囊妙計31
圖片
  直播研討會
圖片
{{ item.channelVendor }} {{ item.webinarstarted }} |
{{ formatDate(item.duration) }}
直播中

尚未有邦友留言

立即登入留言