
今天開始講元件觸發的四種方式,
因為很多人在學習Android都會被這樣不同的寫法搞混,
並且因為差異過大,
往往就放棄了,
因此特別在這裡介紹,
讓大家理解到其中的差異性.
這四種方式加以理解後,
就會發現只是寫法不同,
其目的都是一樣的,
就是監聽用戶的反應而已,
在這四種的方法中,
只要學會運用其中一種,
就可以順利寫出Android的應用程式.
第一種方式: 透過class的方式
以下是程式碼
activity_main.xml
<?xml version="1.0" encoding="utf-8"?>
<android.support.constraint.ConstraintLayout xmlns:android="http://schemas.android.com/apk/res/android"
    xmlns:app="http://schemas.android.com/apk/res-auto"
    xmlns:tools="http://schemas.android.com/tools"
    android:layout_width="match_parent"
    android:layout_height="match_parent"
    tools:context=".MainActivity">

    <RelativeLayout
        android:layout_width="match_parent"
        android:layout_height="match_parent"
        android:orientation="vertical">

        <ImageView
            android:id="@+id/imageView1"
            android:layout_width="wrap_content"
            android:layout_height="wrap_content"
            android:layout_alignParentLeft="true"
            android:layout_alignParentTop="true"
            android:layout_marginLeft="@dimen/activity_horizontal_margin"
            android:layout_marginTop="@dimen/activity_vertical_margin"
            android:src="@drawable/ic_launcher" />

    </RelativeLayout>
</android.support.constraint.ConstraintLayout>
MainActivity.java
package com.example.user.test;

import android.graphics.Color;
import android.support.v7.app.AppCompatActivity;
import android.os.Bundle;
import android.text.Editable;
import android.text.TextWatcher;
import android.util.Log;
import android.view.MotionEvent;
import android.view.View;
import android.view.View.OnKeyListener;
import android.view.KeyEvent;
import android.view.inputmethod.InputMethodManager;
import android.widget.ImageView;
import android.widget.Toast;

public class MainActivity extends AppCompatActivity {
    private ImageView myImageView;

    @Override
    protected void onCreate(Bundle savedInstanceState) {
        super.onCreate(savedInstanceState);
        setContentView(R.layout.activity_main);

        //初始化控制項
        initViews();
        //初始化資料
        initData();
        //設定監聽事件
        setListeners();
    }

    private void initViews()
    {
        myImageView = (ImageView)findViewById(R.id.imageView1);
    }

    private void initData()
    {
    }

    private void setListeners()
    {
        //呼叫一個新的class
        myImageView.setOnTouchListener(new MyOnTouchListener());
    }

    private final class MyOnTouchListener implements View.OnTouchListener{
        @Override
        public boolean onTouch(View v, MotionEvent event) {
            ImageView t_v = (ImageView)v;
            if(t_v == myImageView)
            {
                Toast.makeText(getApplicationContext(), "您好!Android!", Toast.LENGTH_SHORT).show();
            }
            return false;
        }
    }
}
以下是點擊圖片之後的畫面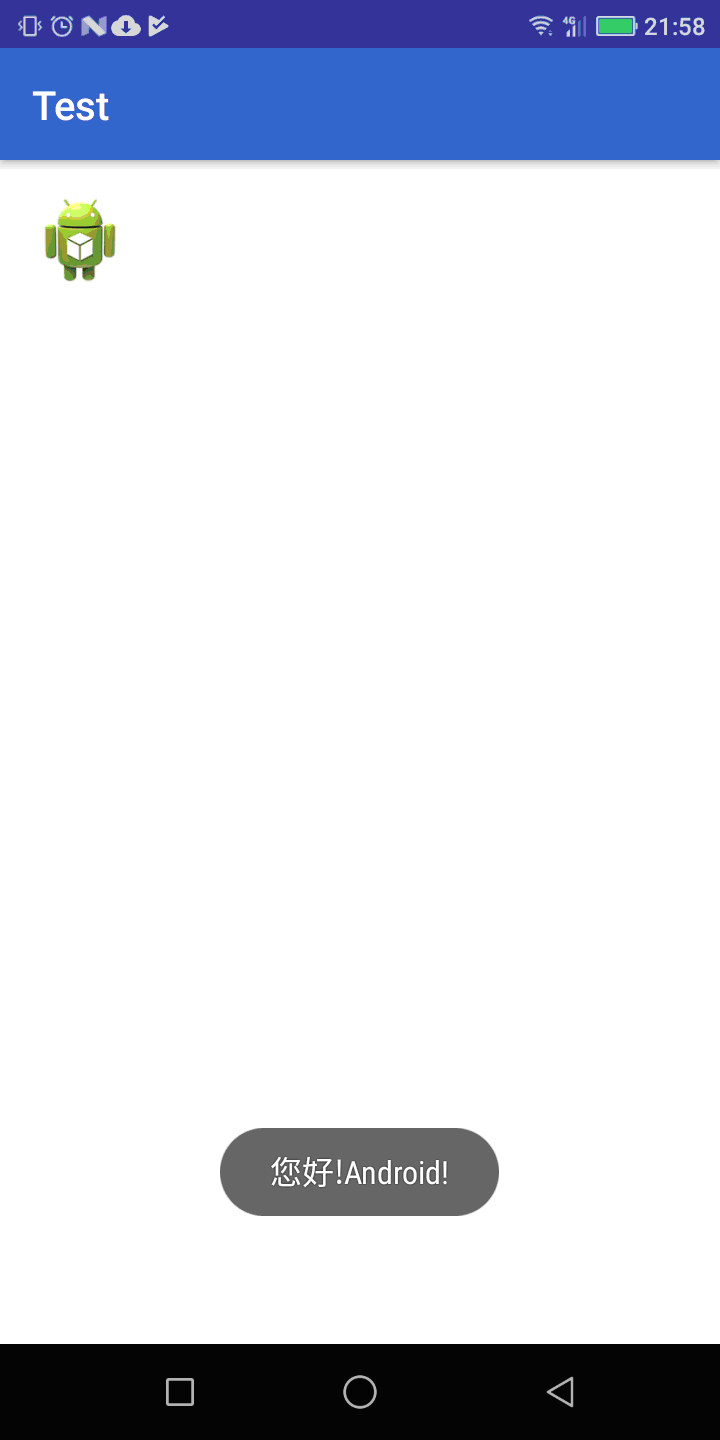
我們可以看到第一種方法,就是用整個class的方法,並在這一個class加上implements OnTouchListener的方法,把監聽用戶按下OnTouch()的事件。
首先介紹一下implements,這是設定一個或多個監聽觸發事件,當設定的觸摸事件被調度和監聽時,只要當事件發生的時候,implements就會回頭呼叫被呼叫的接口函數。例如觸摸事件,當這個class設定之後,onTouch()回調函數將被呼叫。
private final class MyOnTouchListener implements View.OnTouchListener{
    @Override
    public boolean onTouch(View v, MotionEvent event) {
            return false;
    }
}
那如果要監聽兩個的話,寫法如下
private final class MyOnTouchListener implements View.OnTouchListener{
    @Override
    public boolean onTouch(View v, MotionEvent event) { //按下的動作
            return false;
    }
    @Override
    public boolean onKey(View v, int keyCode, KeyEvent event) { //鍵盤的動作
            return false;
    }
}
當要監聽某個接口的時候,同樣的,也需要設定回call的函數名稱
開發者要告訴程式到底哪一個元件要做這一個反應,因為用戶可以設定
imageView1.setOnTouchListener(new MyOnTouchListener());
imageView2.setOnTouchListener(new MyOnTouchListener());
imageView3.setOnTouchListener(new MyOnTouchListener());
不同的元件都可以使用同一個觸發事件,所以要如何判斷是選哪一個,就是要透過onTouch函式來判斷
@Override
public boolean onTouch(View v, MotionEvent event) {
    ImageView t_v = (ImageView)v;
    if(t_v == myImageView)
想求一下dimens.xml裡面的程式碼???
因為想嘗試寫出一模一樣的東西來練習,找資料到最後剩下dimen設定的部分
就是類似
<dimen name="activity_vertical_margin">10dp</dimen>
的長相(?
還是說其實大大的數字是隨意設定的呢?
謝謝大大~
阿抱歉,沒事了
新版概念好像是把dimens.xml砍掉了
我再研究看看~
