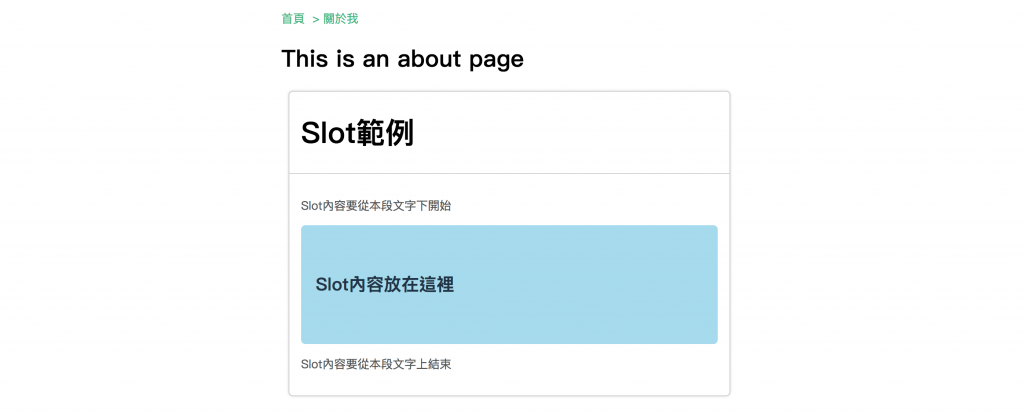
大家一定對Component越來越熟悉了,也開始體會它的便利性,其實它還能結合一個好用的功能Slots插槽,它可以幫你在Component中設定一個位置,讓你在引用Component後,插入想要的內容,用於巢狀元件上相當實用,包用容的方法很容易,直接像html標籤一樣,頭尾包起來就行!這樣我們的Component在使用上可以有更多變化!忘記Component可以再回頭看看( https://ithelp.ithome.com.tw/articles/10202766 )
實際做個簡單的東西試試!我直接拿上次的Component Card來複製修改就好,取名SlotCard.vue!
<template>
    <div class="card">
        <div class="card_title"><h1>Slot範例</h1></div>
        <div class="card_body">
            <p>Slot內容要從本段文字下開始</p>
            <slot></slot>
            <p>Slot內容要從本段文字上結束</p>
        </div>
    </div>
</template>

<script>
export default {}
</script>

<style scoped>
    .card {
        width: 600px;
        margin: 10px;
        background: white;
        border: 1px solid #cccccc;
        border-radius: 6px;
        box-shadow: 0 0 4px 0 rgba(0,0,0,0.2);
    }
    .card_title {
        padding: 16px;
        border-bottom: 1px solid #cccccc;
        color: black;
        font-size: 20px;
        line-height: 26px;
        font-weight: bold;
    }
    .card_body {
        padding: 16px;
        color: #555555;
        font-size: 16px;
        line-height: 22px;
    }
</style>
接著我把SlotCard.vue引用到About.vue頁面裡,並包個內容試試:
<template>
  <div class="about">
    <h1>This is an about page</h1>
    <SlotCard>
      <div class="content">
          <h2>Slot內容放在這裡</h2>
      </div>
    </SlotCard>
  </div>
</template>

<script>
import SlotCard from '../components/SlotCard'

export default {
  name: 'about',
  components: {
    SlotCard
  }
}
</script>

<style>
.content {
  padding: 50px 20px;
  border-radius: 6px;
  background: #a7daed;
  color: #233447;
}
</style>
包法就像一開始說的,當成一個html標籤來包!相信你也完成了!
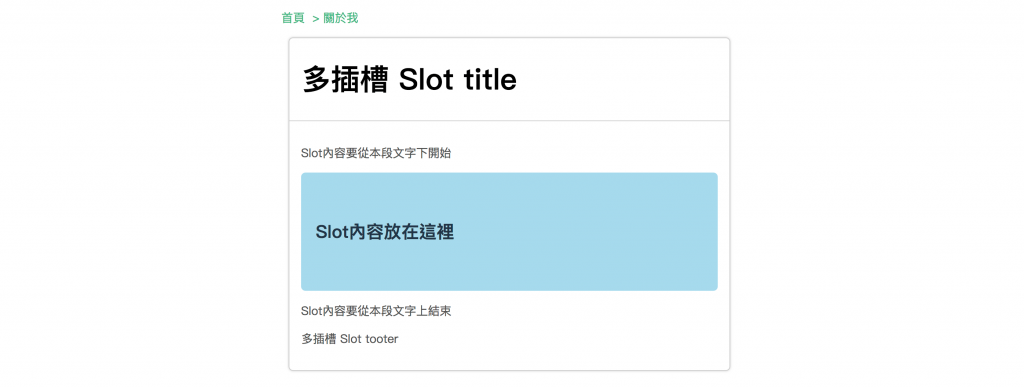
那如果我想使用多個插槽呢?這也做的到!可以用<slot name=""></slot>定義不同的插槽,另用<template slot="">製作對應的內容,那如果其中沒被定義到的<slot>呢?它會變成「預設插槽」也就是沒被定義的插入元素就會預設放在那。
<template>
    <div class="card">
        <div class="card_title">
            <slot name="slot_title"></slot>
        </div>
        <div class="card_body">
            <p>Slot內容要從本段文字下開始</p>
            <slot></slot>
            <p>Slot內容要從本段文字上結束</p>
            <slot name="slot_footer"></slot>
        </div>
    </div>
</template>

<script>
export default {}
</script>

<style scoped>
    .card {
        width: 600px;
        margin: 10px;
        background: white;
        border: 1px solid #cccccc;
        border-radius: 6px;
        box-shadow: 0 0 4px 0 rgba(0,0,0,0.2);
    }
    .card_title {
        padding: 16px;
        border-bottom: 1px solid #cccccc;
        color: black;
        font-size: 20px;
        line-height: 26px;
        font-weight: bold;
    }
    .card_body {
        padding: 16px;
        color: #555555;
        font-size: 16px;
        line-height: 22px;
    }
</style>
接下來換到頁面,把不同的內容做定義,我故意將內容的排序亂排,看會不會對到正確位置!
<template>
  <div class="about">
    <SlotCard>
      <div class="content">
          <h2>Slot內容放在這裡</h2>
      </div>
      <template slot="slot_footer">
          <p>多插槽 Slot tooter</p>
      </template>
      <template slot="slot_title">
          <h1>多插槽 Slot title</h1>
      </template>
    </SlotCard>
  </div>
</template>

<script>
import SlotCard from '../components/SlotCard'

export default {
  name: 'about',
  components: {
    SlotCard
  }
}
</script>

<style>
.content {
  padding: 50px 20px;
  border-radius: 6px;
  background: #a7daed;
  color: #233447;
}
</style>
完成!那為什麼一定要用<template>標籤當父層包住內容?因為如果用<div>的話,你會多一層<div>結構出來,但<template>不會出現在你的瀏覽器中,它是虛擬的。
等等!這樣一來,我們不就可以用它來做頁面layout了?沒錯!為了做好分類管理,可以新增一個layout資料夾,裡面的layout做法就跟剛剛的「多插槽Component」一樣!很容易吧?需要哪種頁面layout就引用它,有空大家可以試著做一頁layout練習看看。
今天就先到這~
