今天要分享第四種方法,第四種方法跟第三種方法非常像,只是在第三種方法中,當很多的元件想使用同一動作的時候,程式看起來很亂,而每一個元件各寫一次一模一樣的程式,維護起來也麻煩。所以在第四種方法,我們就用一個變數,讓所有元件指到這一個變數就可以了。
以下是程式碼
activity_main.xml
<?xml version="1.0" encoding="utf-8"?>
<android.support.constraint.ConstraintLayout xmlns:android="http://schemas.android.com/apk/res/android"
    xmlns:app="http://schemas.android.com/apk/res-auto"
    xmlns:tools="http://schemas.android.com/tools"
    android:layout_width="match_parent"
    android:layout_height="match_parent"
    tools:context=".MainActivity">

    <RelativeLayout
        android:layout_width="match_parent"
        android:layout_height="match_parent"
        android:orientation="vertical">

        <ImageView
            android:id="@+id/imageView1"
            android:layout_width="wrap_content"
            android:layout_height="wrap_content"
            android:layout_alignParentLeft="true"
            android:layout_alignParentTop="true"
            android:layout_marginLeft="@dimen/activity_horizontal_margin"
            android:layout_marginTop="@dimen/activity_vertical_margin"
            android:src="@drawable/ic_launcher" />

    </RelativeLayout>
</android.support.constraint.ConstraintLayout>
MainActivity.java
package com.example.user.test;

import android.app.Activity;
import android.graphics.Color;
import android.support.v7.app.AppCompatActivity;
import android.os.Bundle;
import android.text.Editable;
import android.text.TextWatcher;
import android.util.Log;
import android.view.MotionEvent;
import android.view.View;
import android.view.View.OnKeyListener;
import android.view.View.OnTouchListener;
import android.view.KeyEvent;
import android.view.inputmethod.InputMethodManager;
import android.widget.ImageView;
import android.widget.Toast;

public class MainActivity extends Activity {
    private ImageView myImageView;

    @Override
    protected void onCreate(Bundle savedInstanceState) {
        super.onCreate(savedInstanceState);
        setContentView(R.layout.activity_main);

        //初始化控制項
        initViews();
        //初始化資料
        initData();
        //設定監聽事件
        setListeners();
    }

    private void initViews()
    {
        myImageView = (ImageView)findViewById(R.id.imageView1);
    }

    private void initData()
    {
    }

    private void setListeners()
    {
        //呼叫一個新的class
        myImageView.setOnTouchListener(mOnTouchListener);
    }

    private OnTouchListener mOnTouchListener = new OnTouchListener() {
        @Override
        public boolean onTouch(View v, MotionEvent event) {
            ImageView t_v = (ImageView)v;
            if(t_v == myImageView)
            {
                Toast.makeText(getApplicationContext(), "您好!Android!", Toast.LENGTH_SHORT).show();
            }
            return false;
        }
    };
}
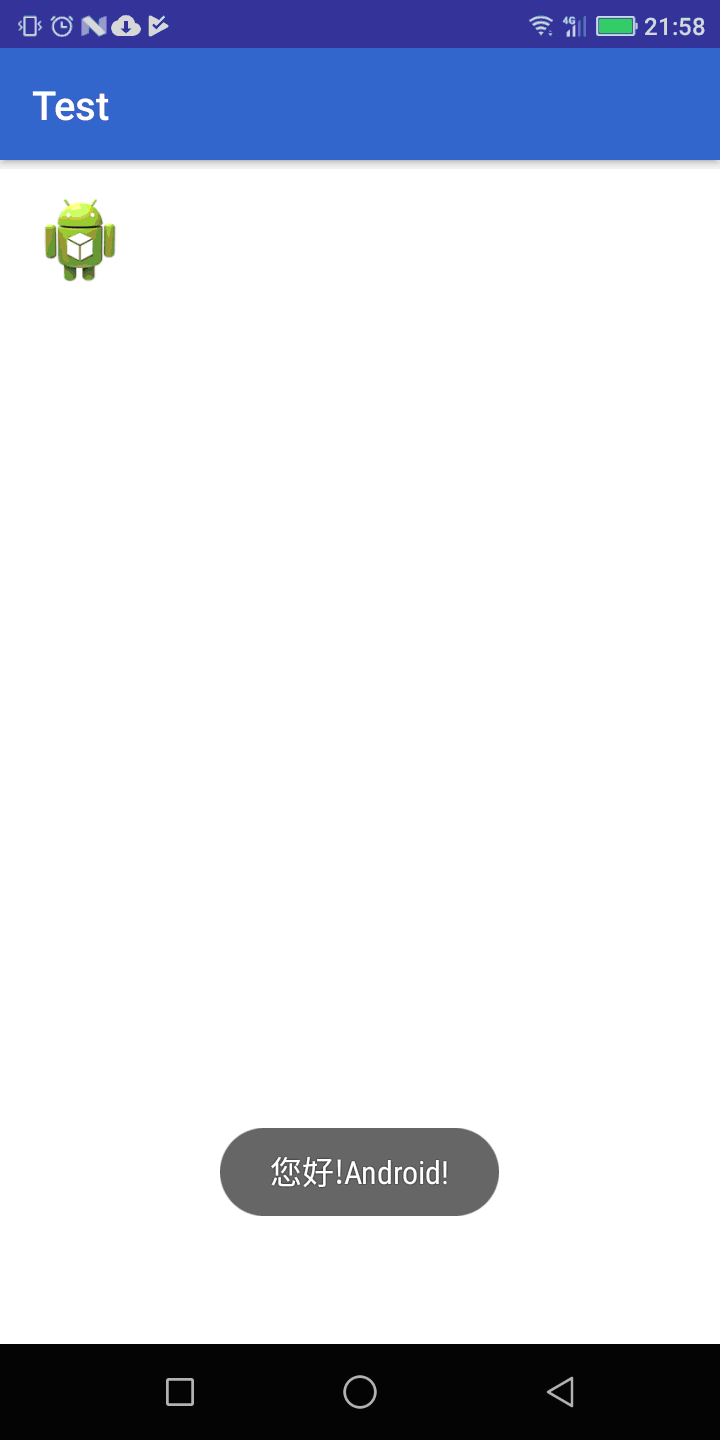
畫面跟前幾天一樣
說明如下
首先把設定的動作單獨出來,並指定一個變數
private OnTouchListener mOnTouchListener = new OnTouchListener() {
    @Override
    public boolean onTouch(View v, MotionEvent event) {
        return false;
    }
};
這樣在使用某個元件的話,就只要透過這一個變數就可以達到監聽反應的動作,例如:
imageView1.setOnTouchListener(mOnTouchListener);
imageView2.setOnTouchListener(mOnTouchListener);
