1. 列的左滑刪除
iphone的使用者應該都不陌生,你可以對清單的任一列往左滑動,顯示出一個或多個按鈕,然後你點擊按鈕可以進行刪除或編輯等操作.我們只需要再UITableViewDelegate中去實作editActionsForRowAt這個system callback,你就可以在裡面去定義向左滑動要顯示幾個按鈕與按下按鈕後的行為,以下我們舉左滑刪除來當作例子:
extension ViewController: UITableViewDelegate {
    func tableView(_ tableView: UITableView, editActionsForRowAt indexPath: IndexPath) -> [UITableViewRowAction]? {
        let deleteAction = UITableViewRowAction(style: .default, title: "刪除") {
            action, index in
            self.list.remove(at: index.row)
            self.mTableView.reloadData()
        }
        return [deleteAction]
    }
}
加入上述的code後,對某一列左滑,就可以呈現如下圖1的效果,當按下刪除後,就會執行self.list.remove(at: index.row)和self.mTableView.reloadData(),執行完後,結果如圖2
圖1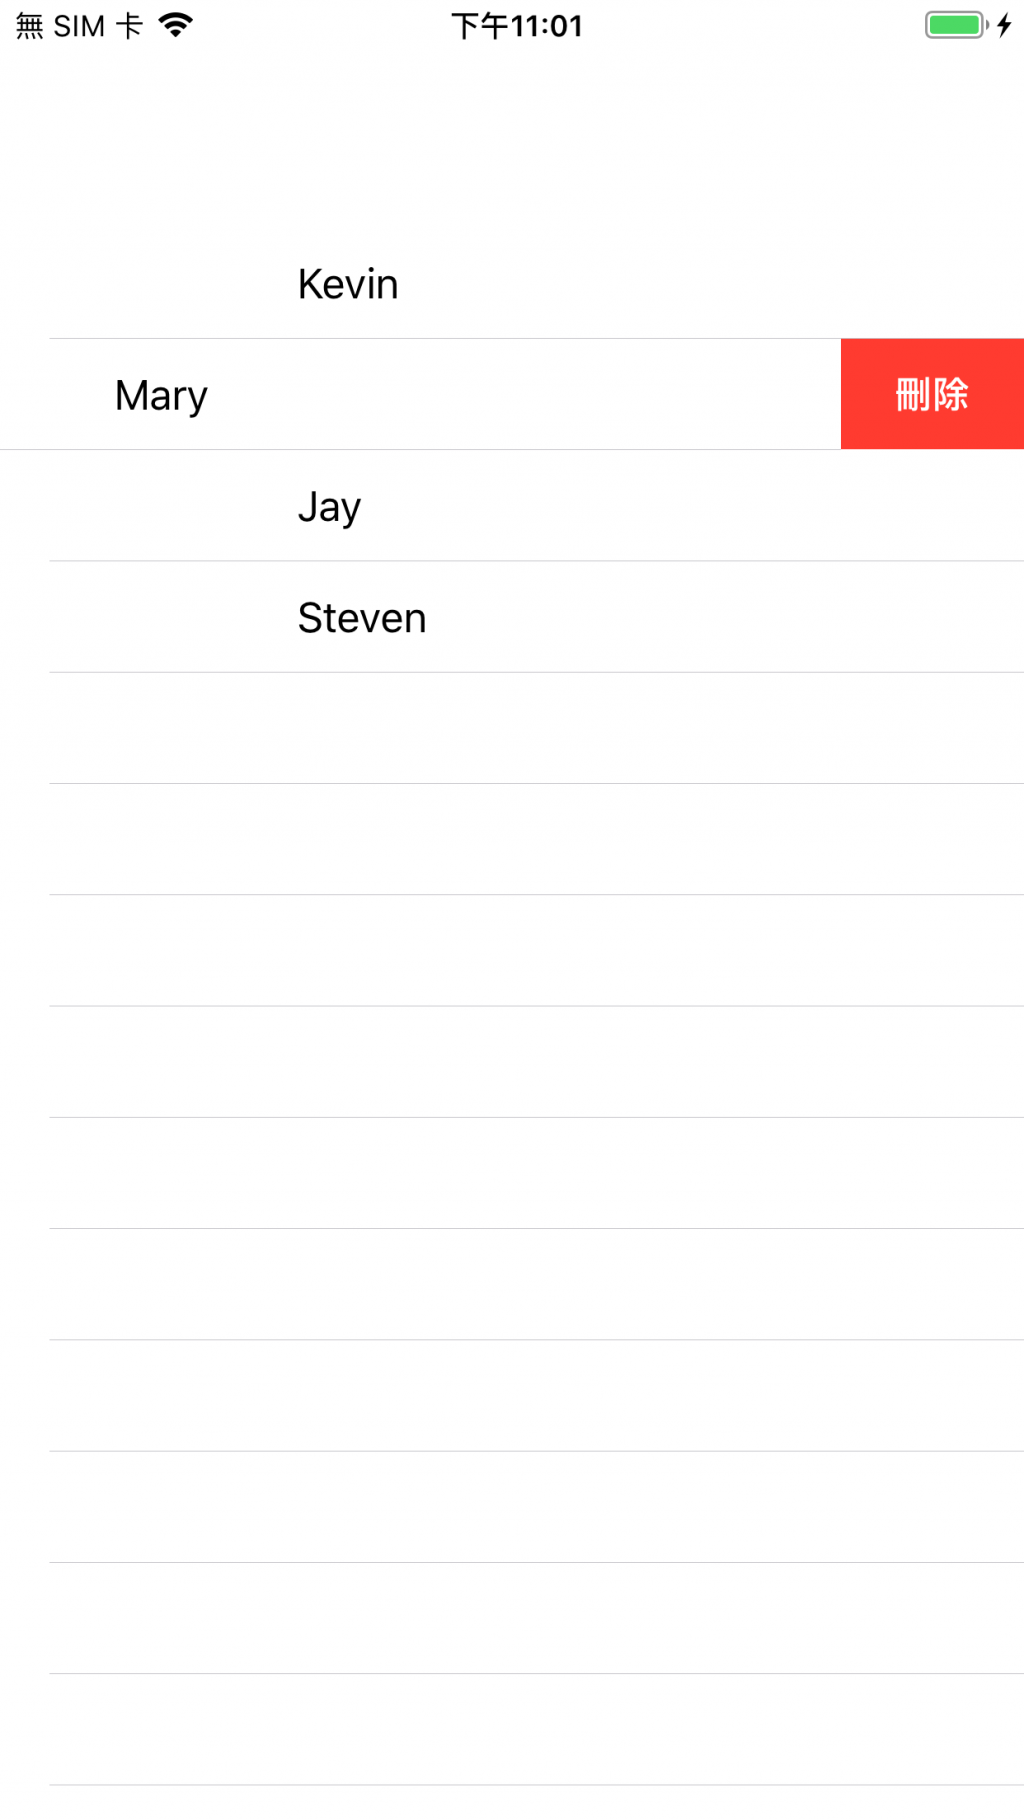
圖2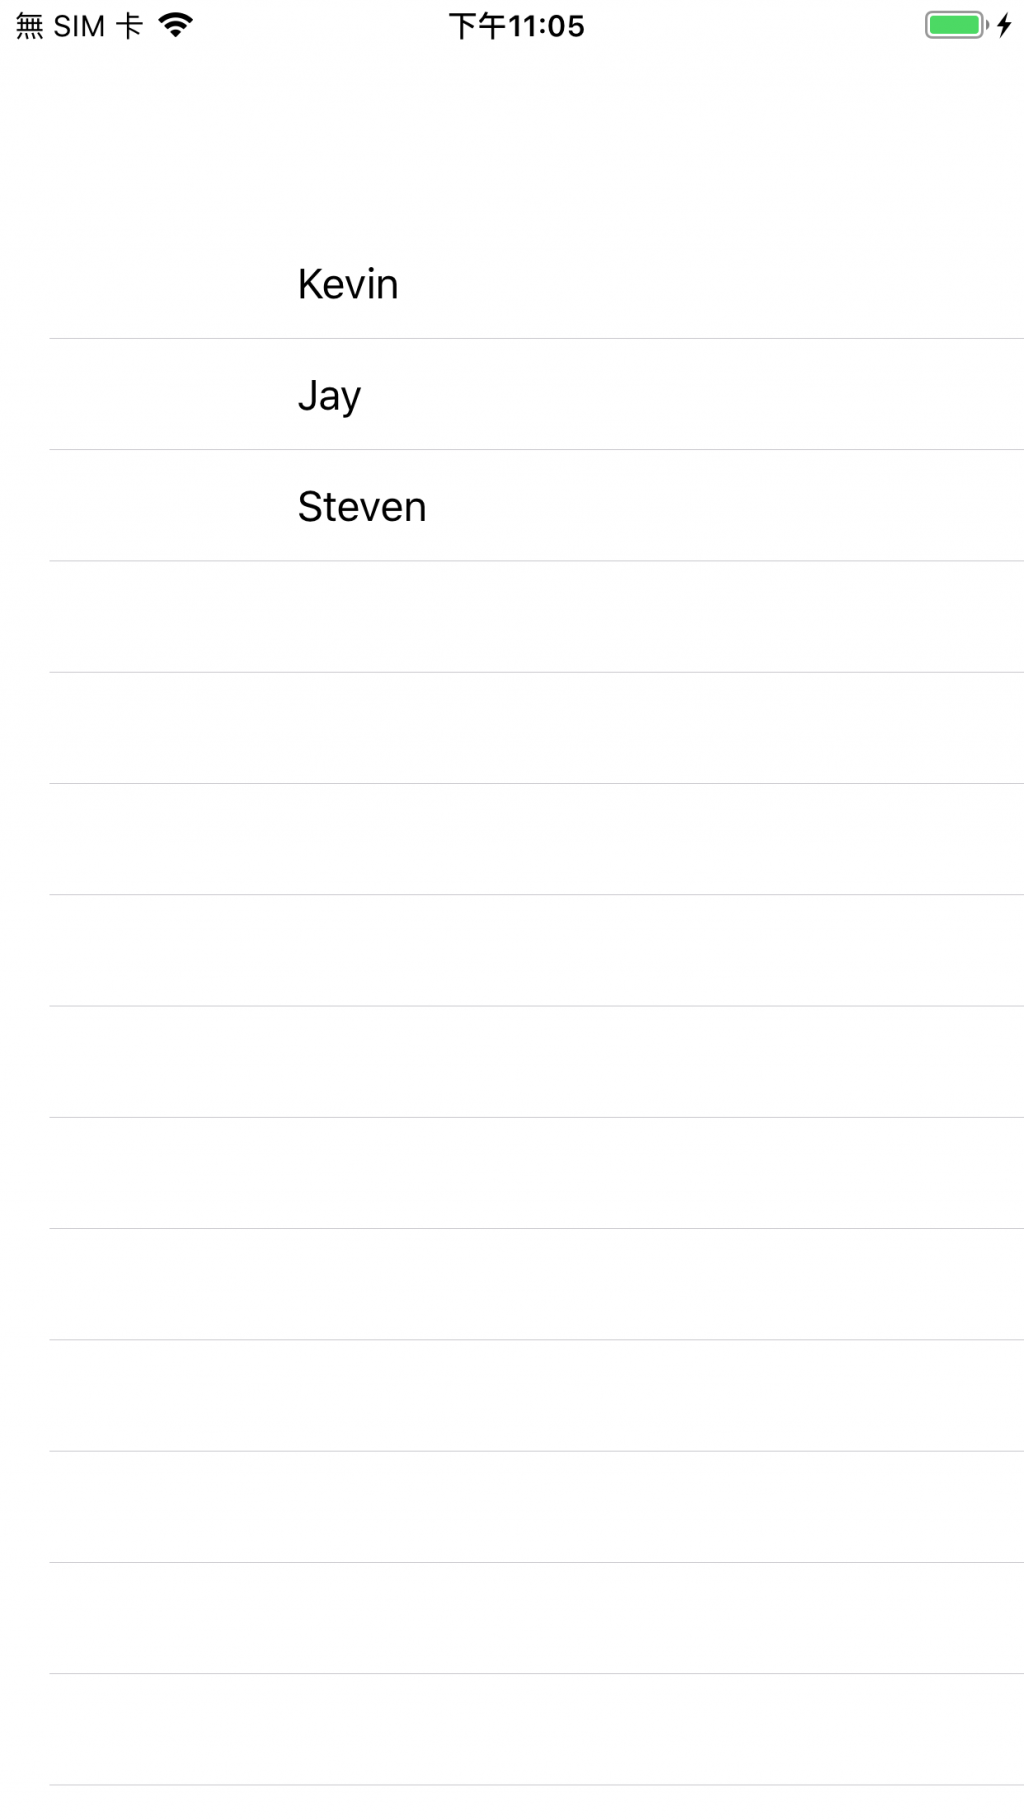
2. 移動並重新排序
要移動某一列的話,我們需要讓tableview進入編輯模式(mTableView.isEditing = true),之後再利用moveRowAt這個system callback.
當使用者對某一列的最右邊的按鈕長按時,就會讓讓一列看起來像浮起來,這時我們就可以向上或向下移動,但如果要真的把某列從原本的位置移動到新的位置,我們還需要在這個system callback內去填一些code才能實現,詳細code如下所示:
func tableView(_ tableView: UITableView, moveRowAt sourceIndexPath: IndexPath, to destinationIndexPath: IndexPath) {
    let itemToMove = list[sourceIndexPath.row]
    list.remove(at: sourceIndexPath.row)
    list.insert(itemToMove, at: destinationIndexPath.row)
}
結果如下圖所示: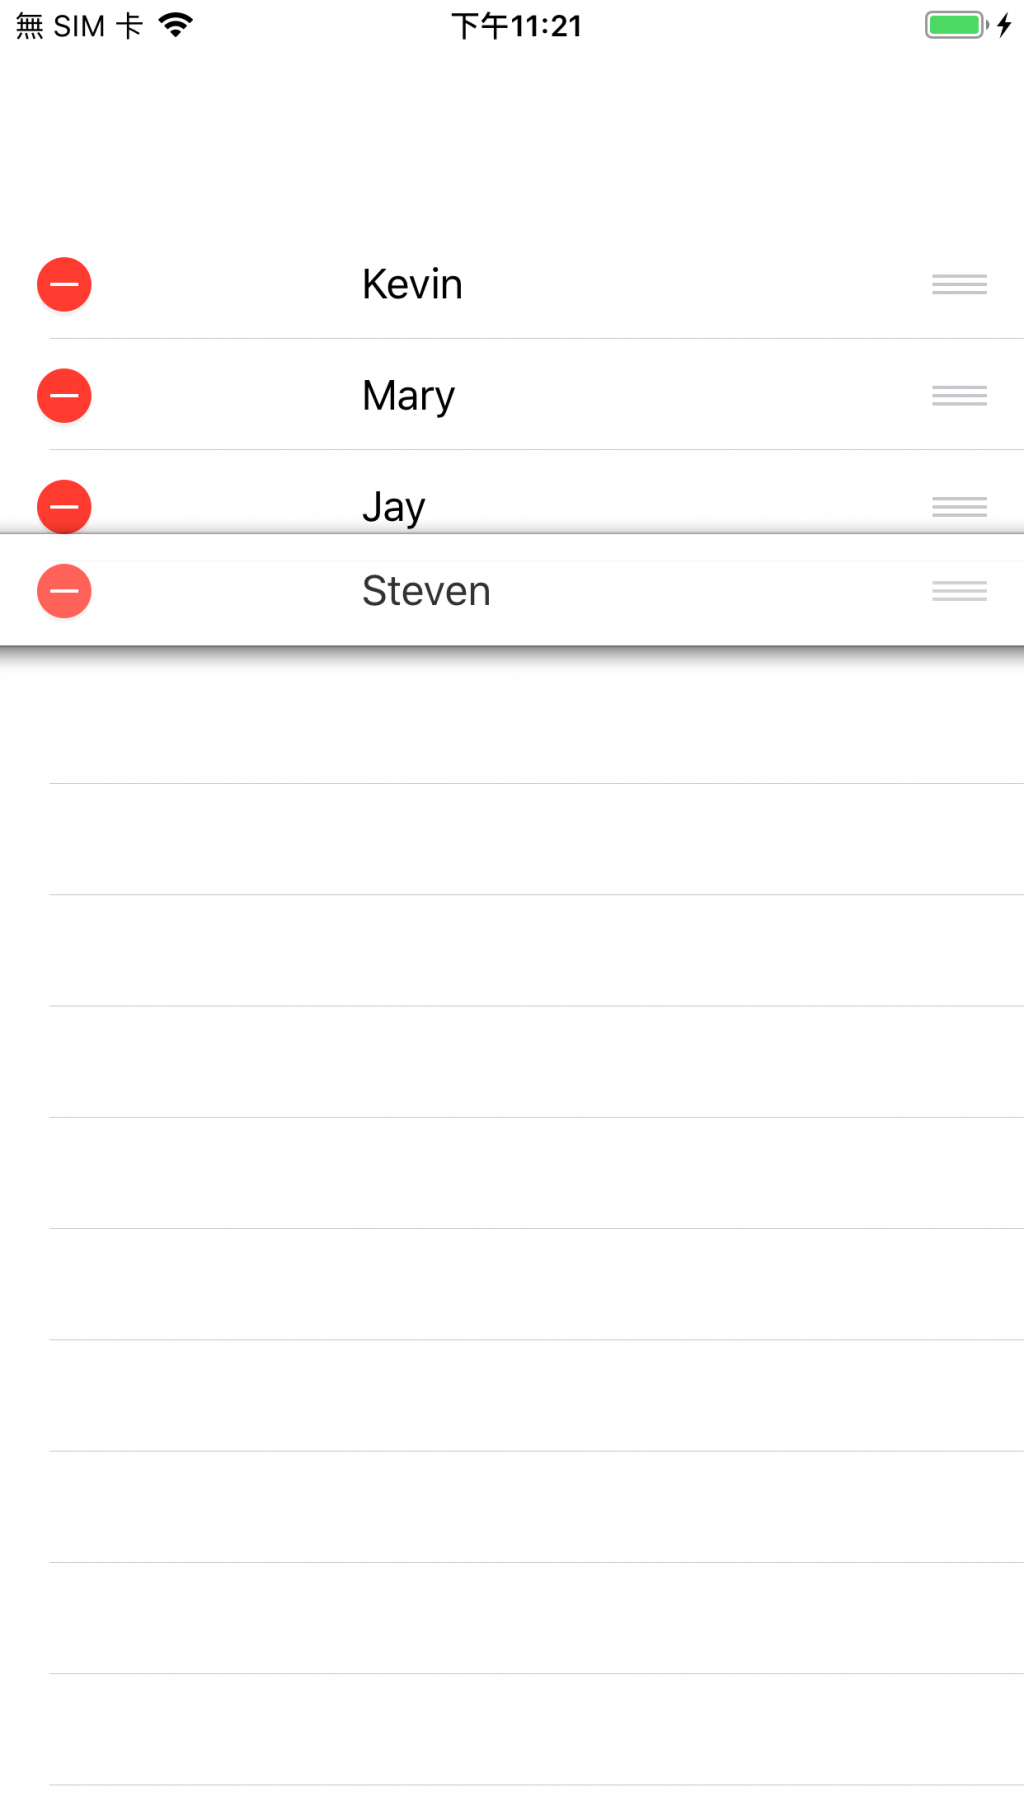
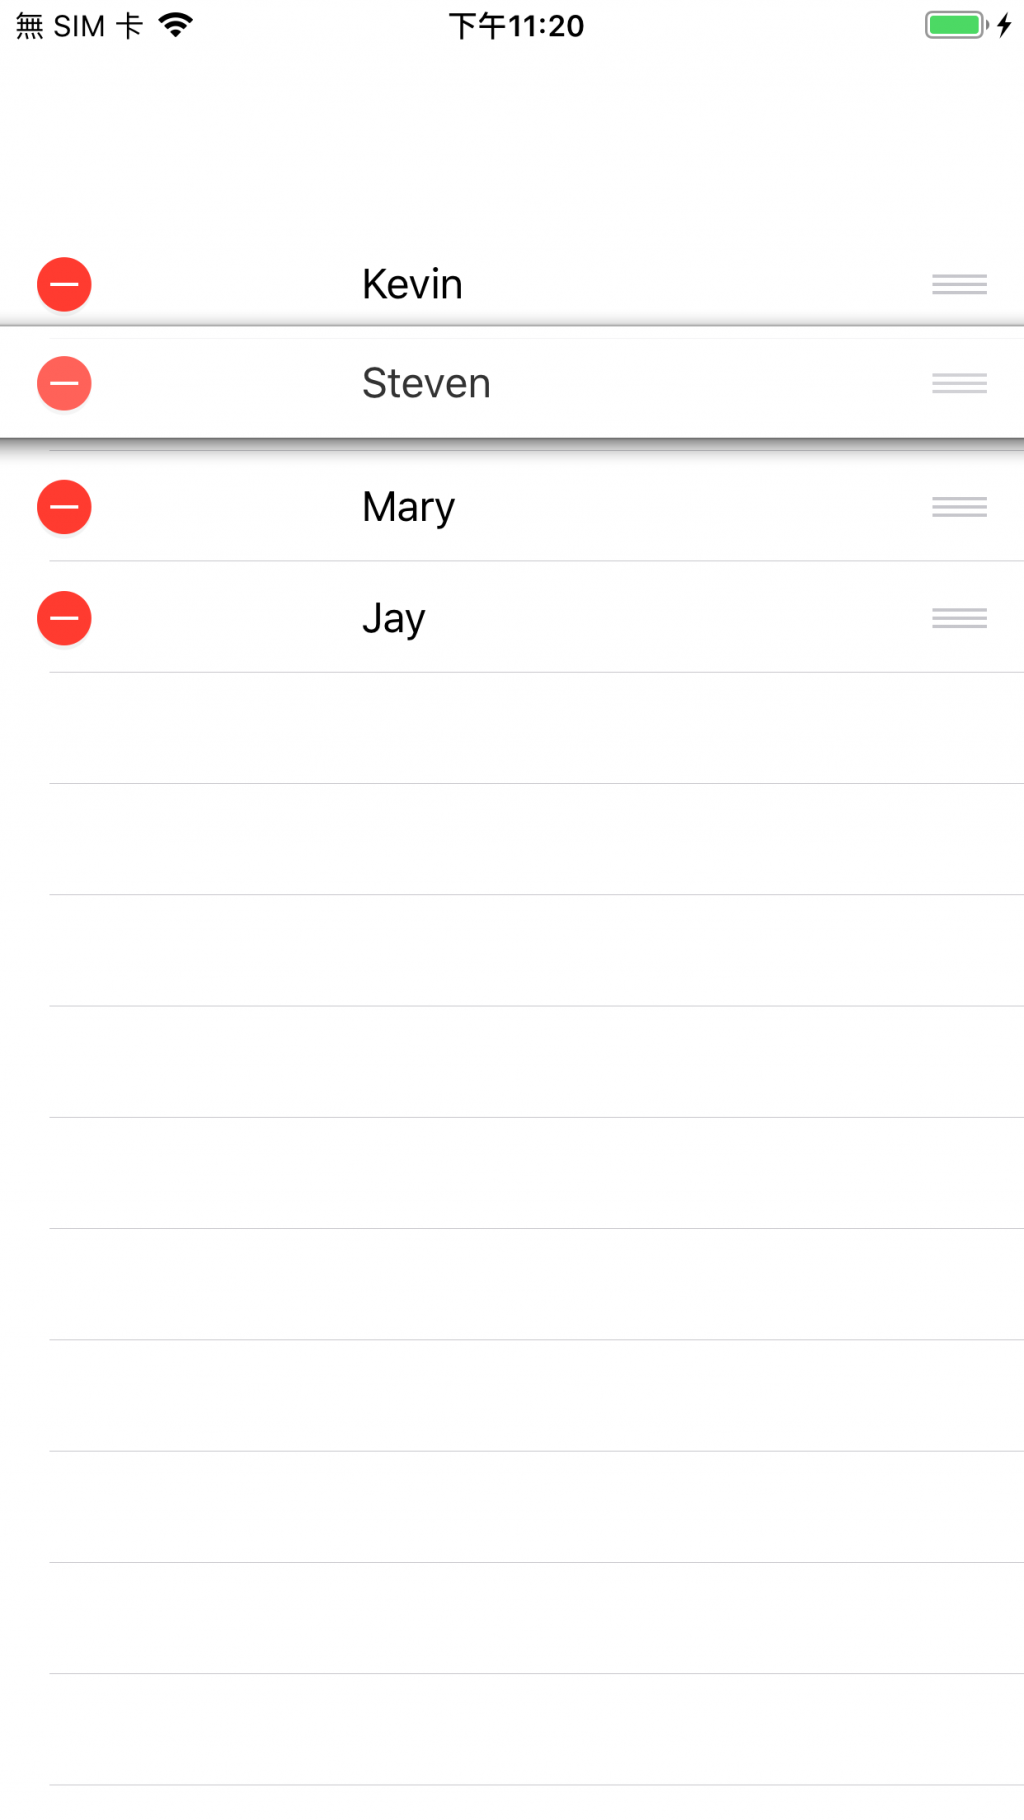
如果我們不希望顯示左邊的減號icon,我們可以加入下面這個system callback(editingStyleForRowAt),這樣就只會顯示最右邊的reorder icon
    func tableView(_ tableView: UITableView, editingStyleForRowAt indexPath: IndexPath) -> UITableViewCell.EditingStyle {
      return .none
    }
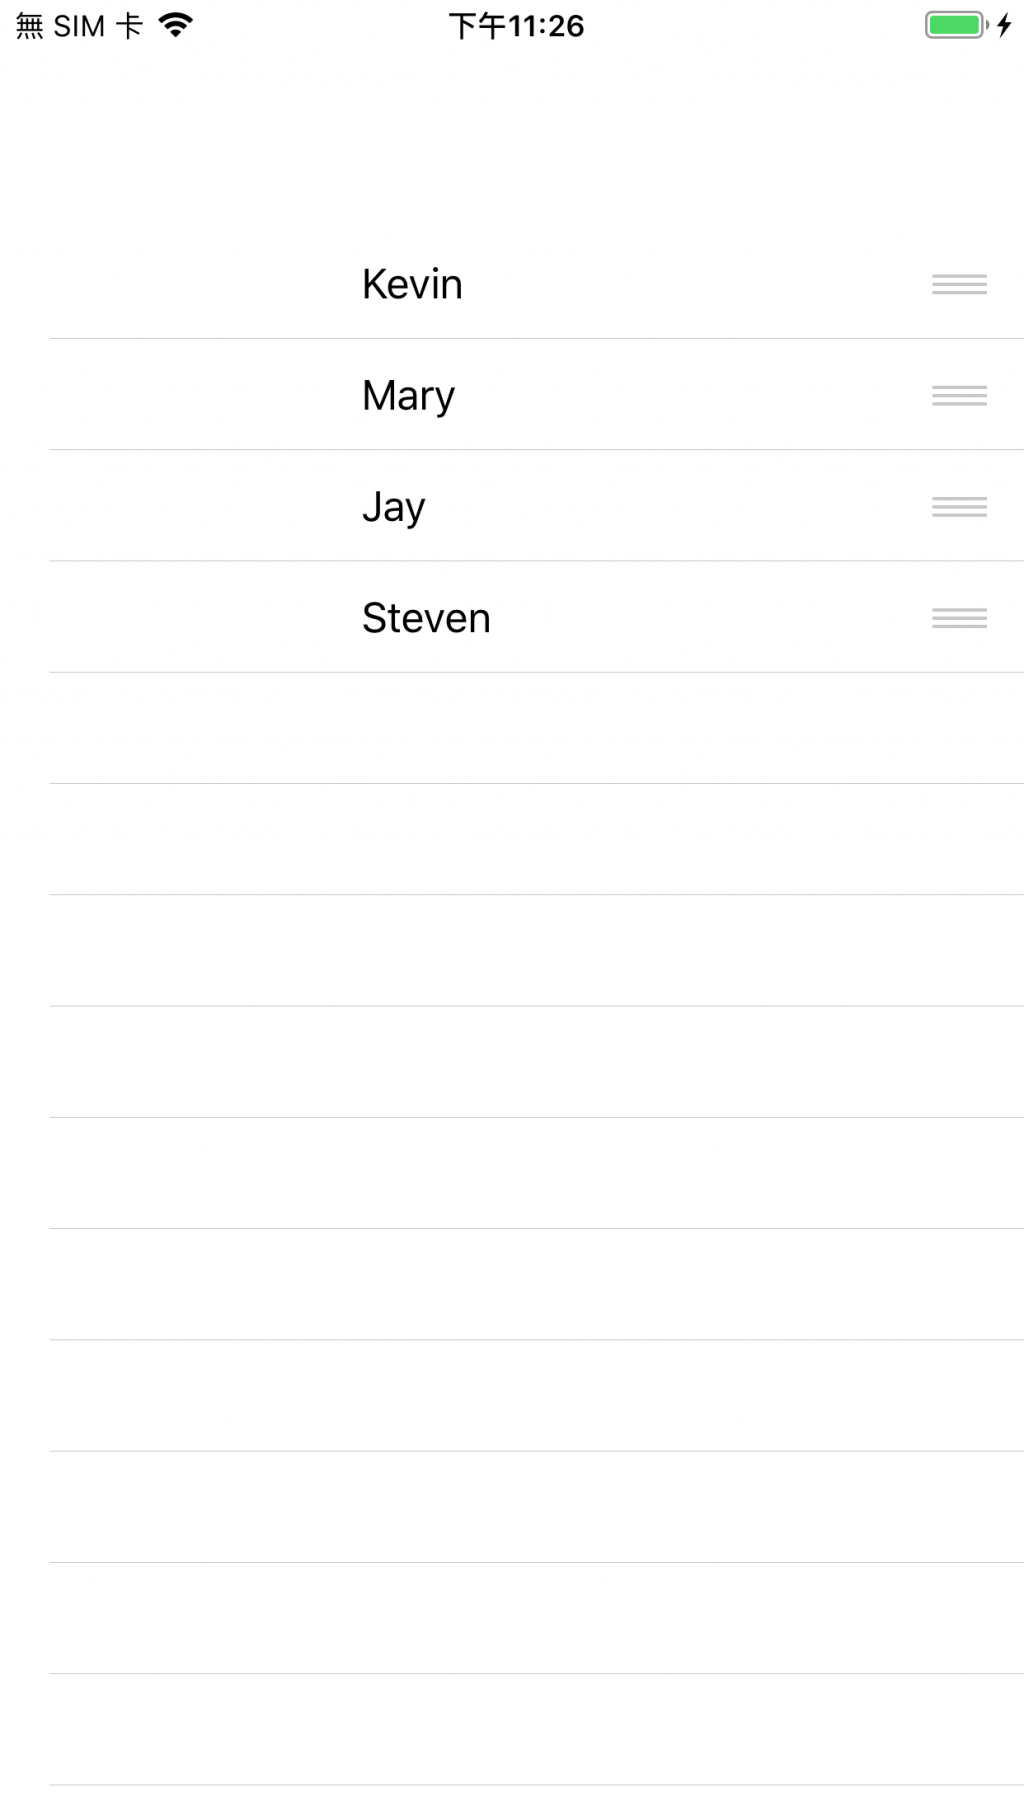
我們只要區分現在tableview是不是在編輯模式,是的話,回傳.none.如果非編輯模式下,回傳.delete即可.詳細code如下:
    func tableView(_ tableView: UITableView, editingStyleForRowAt indexPath: IndexPath) -> UITableViewCell.EditingStyle {
        if mTableView.isEditing {
            return .none
        } else {
            return .delete
        }
    }
https://github.com/tgnivekucn/UITableViewSample
